
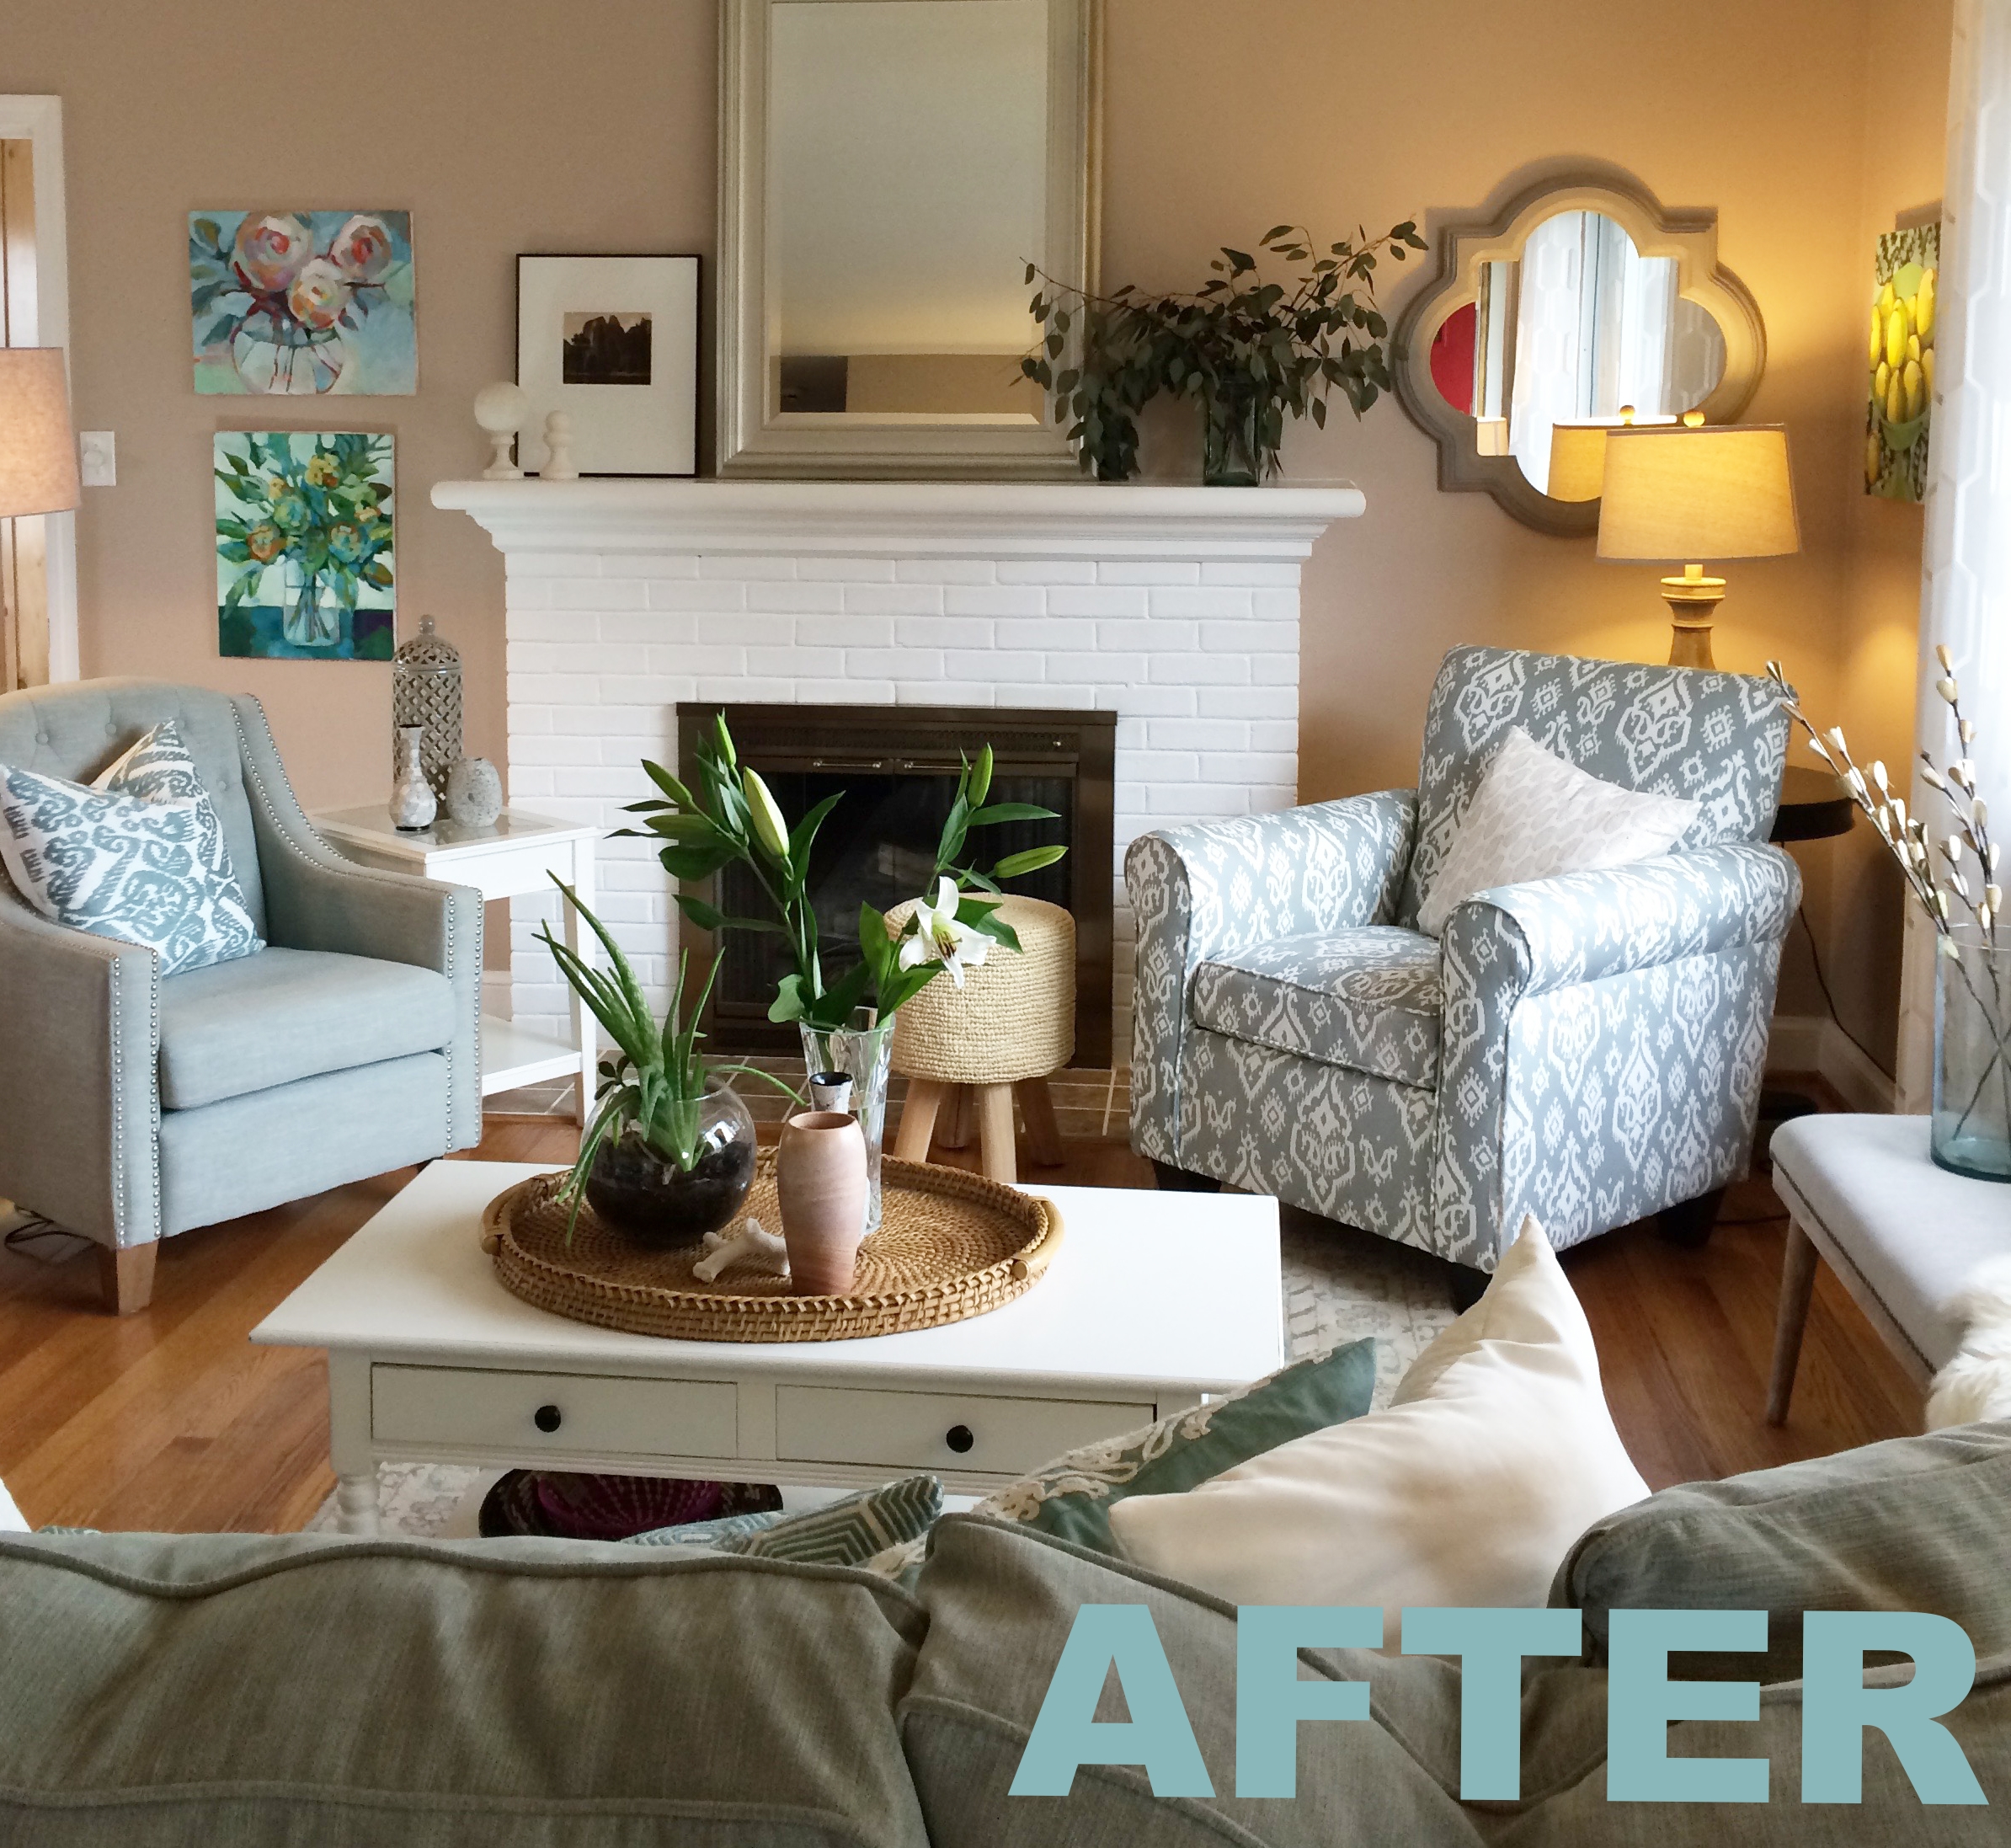
BEFORE AND AFTER
Living Room Transformation
When my client asked for a living room update, we ended up transforming the room from top to bottom. After, viewing several design concepts, my client selected this option....

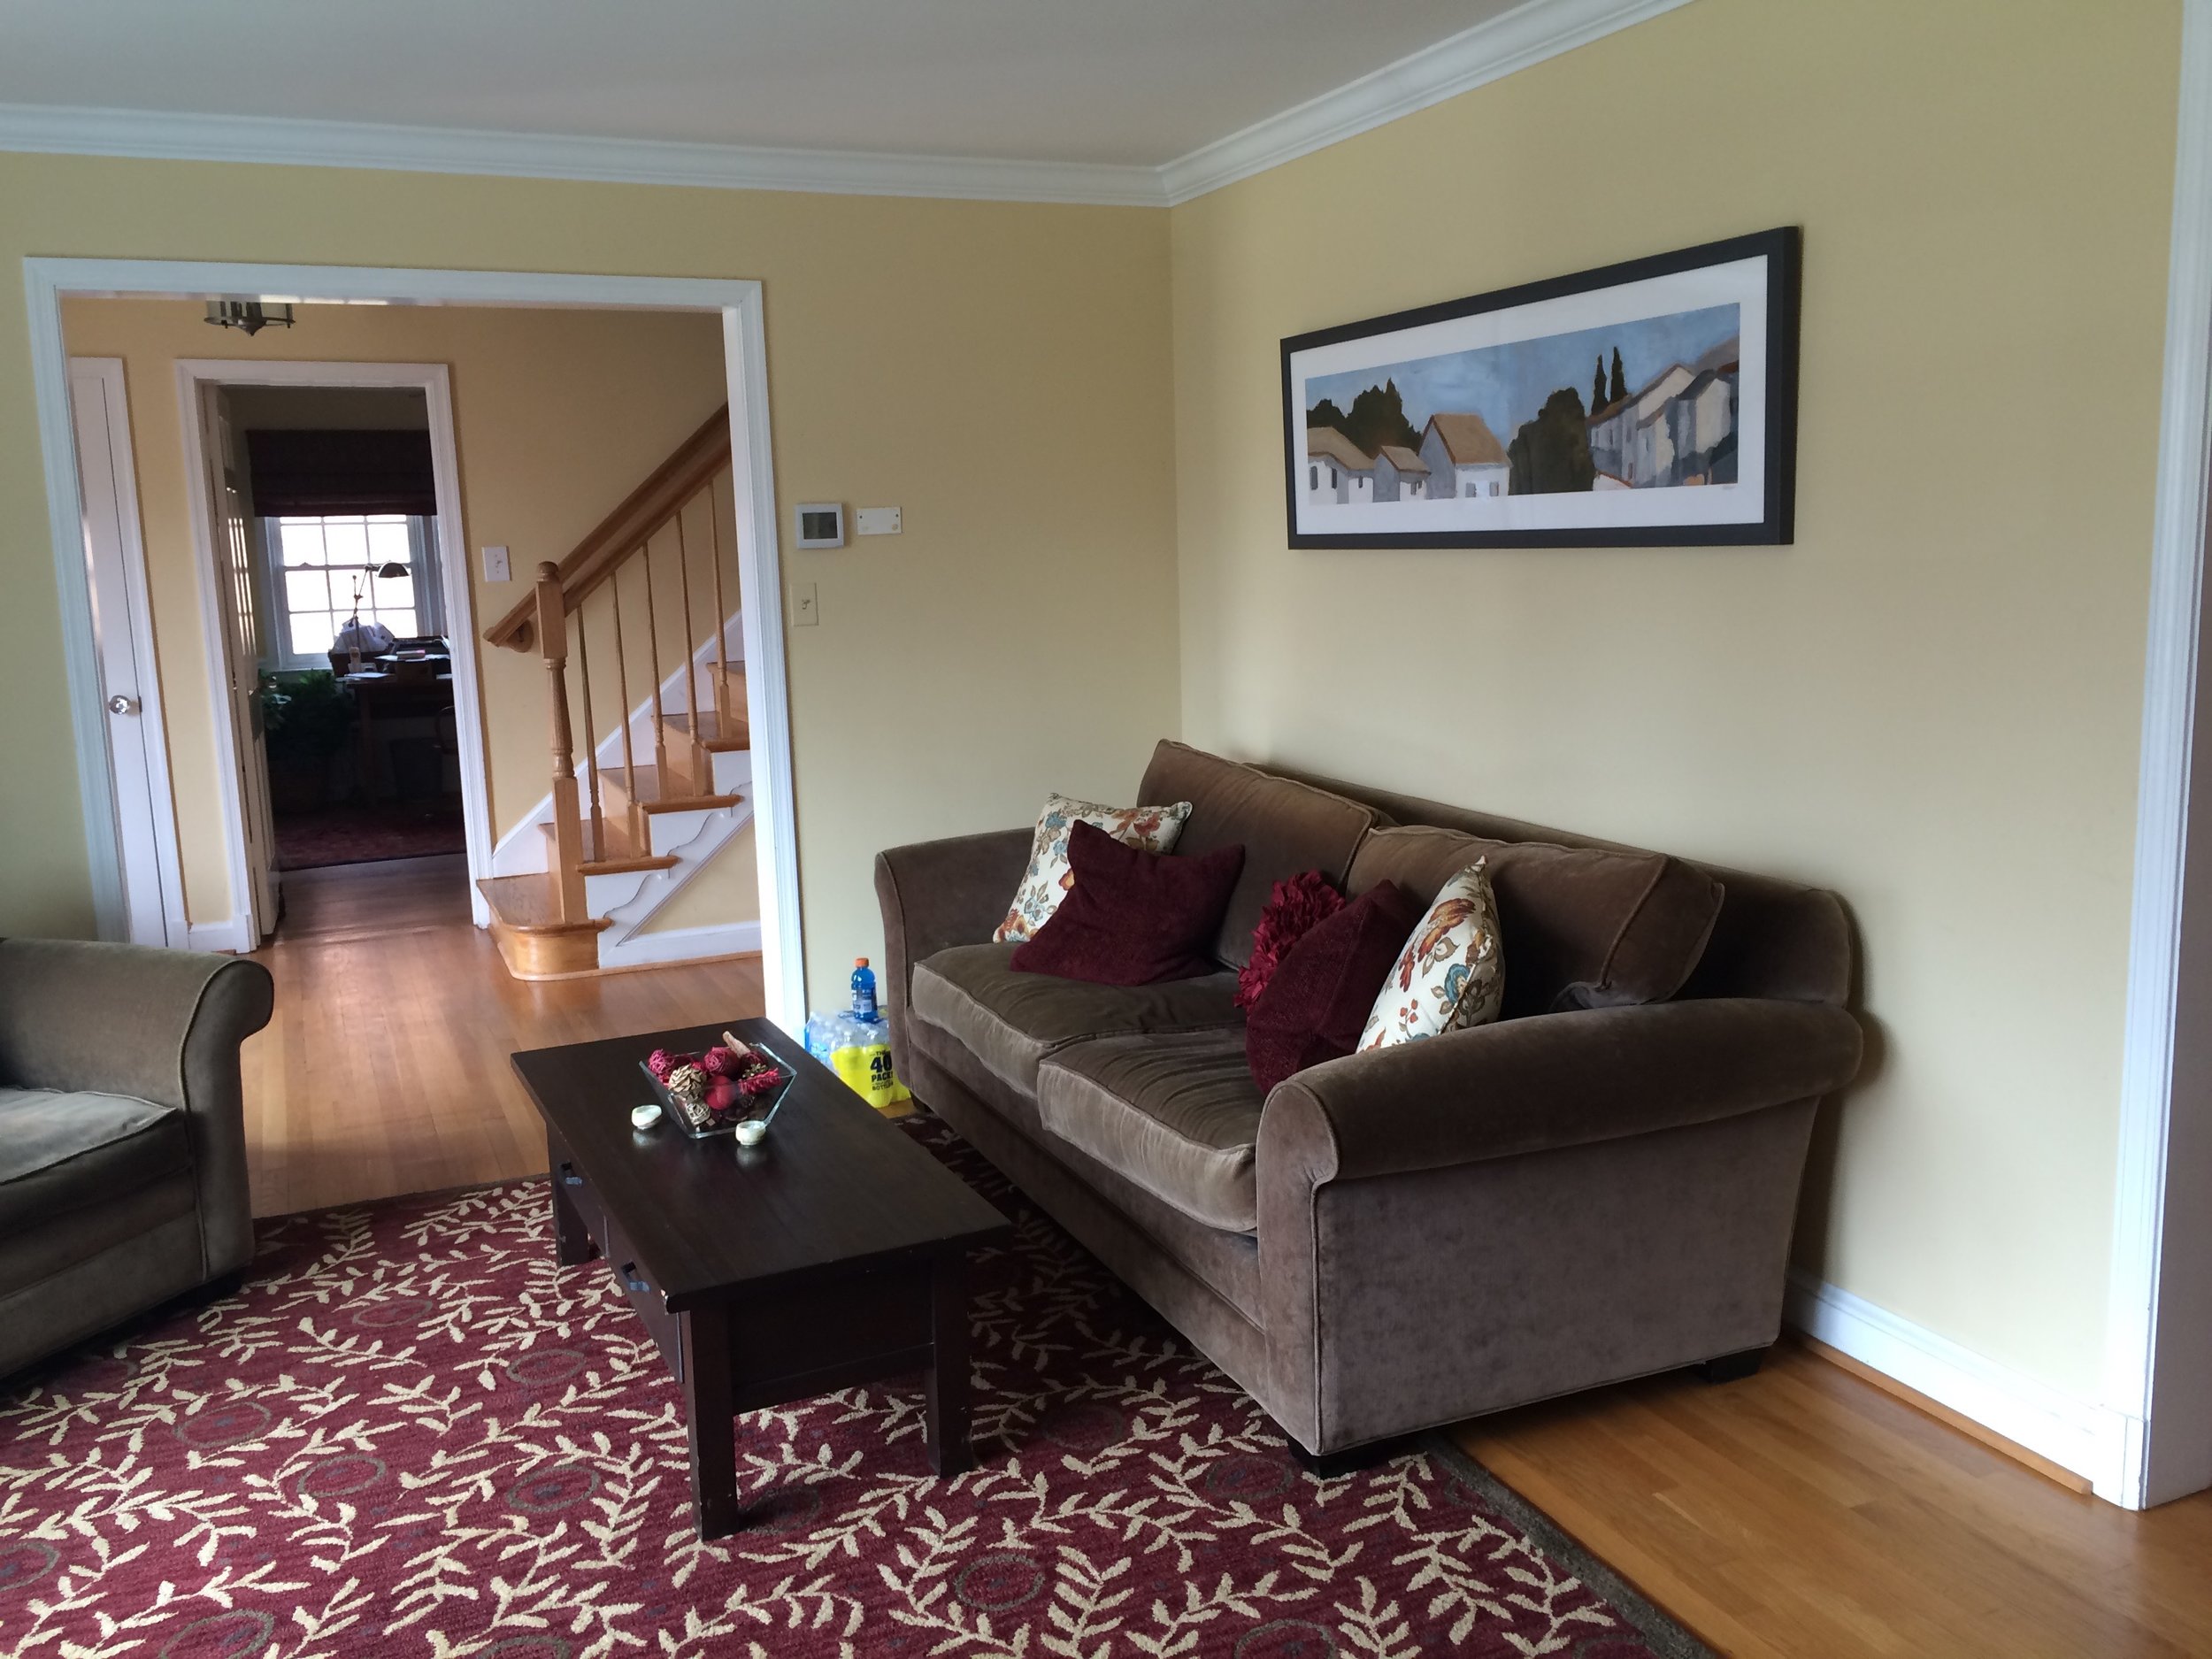
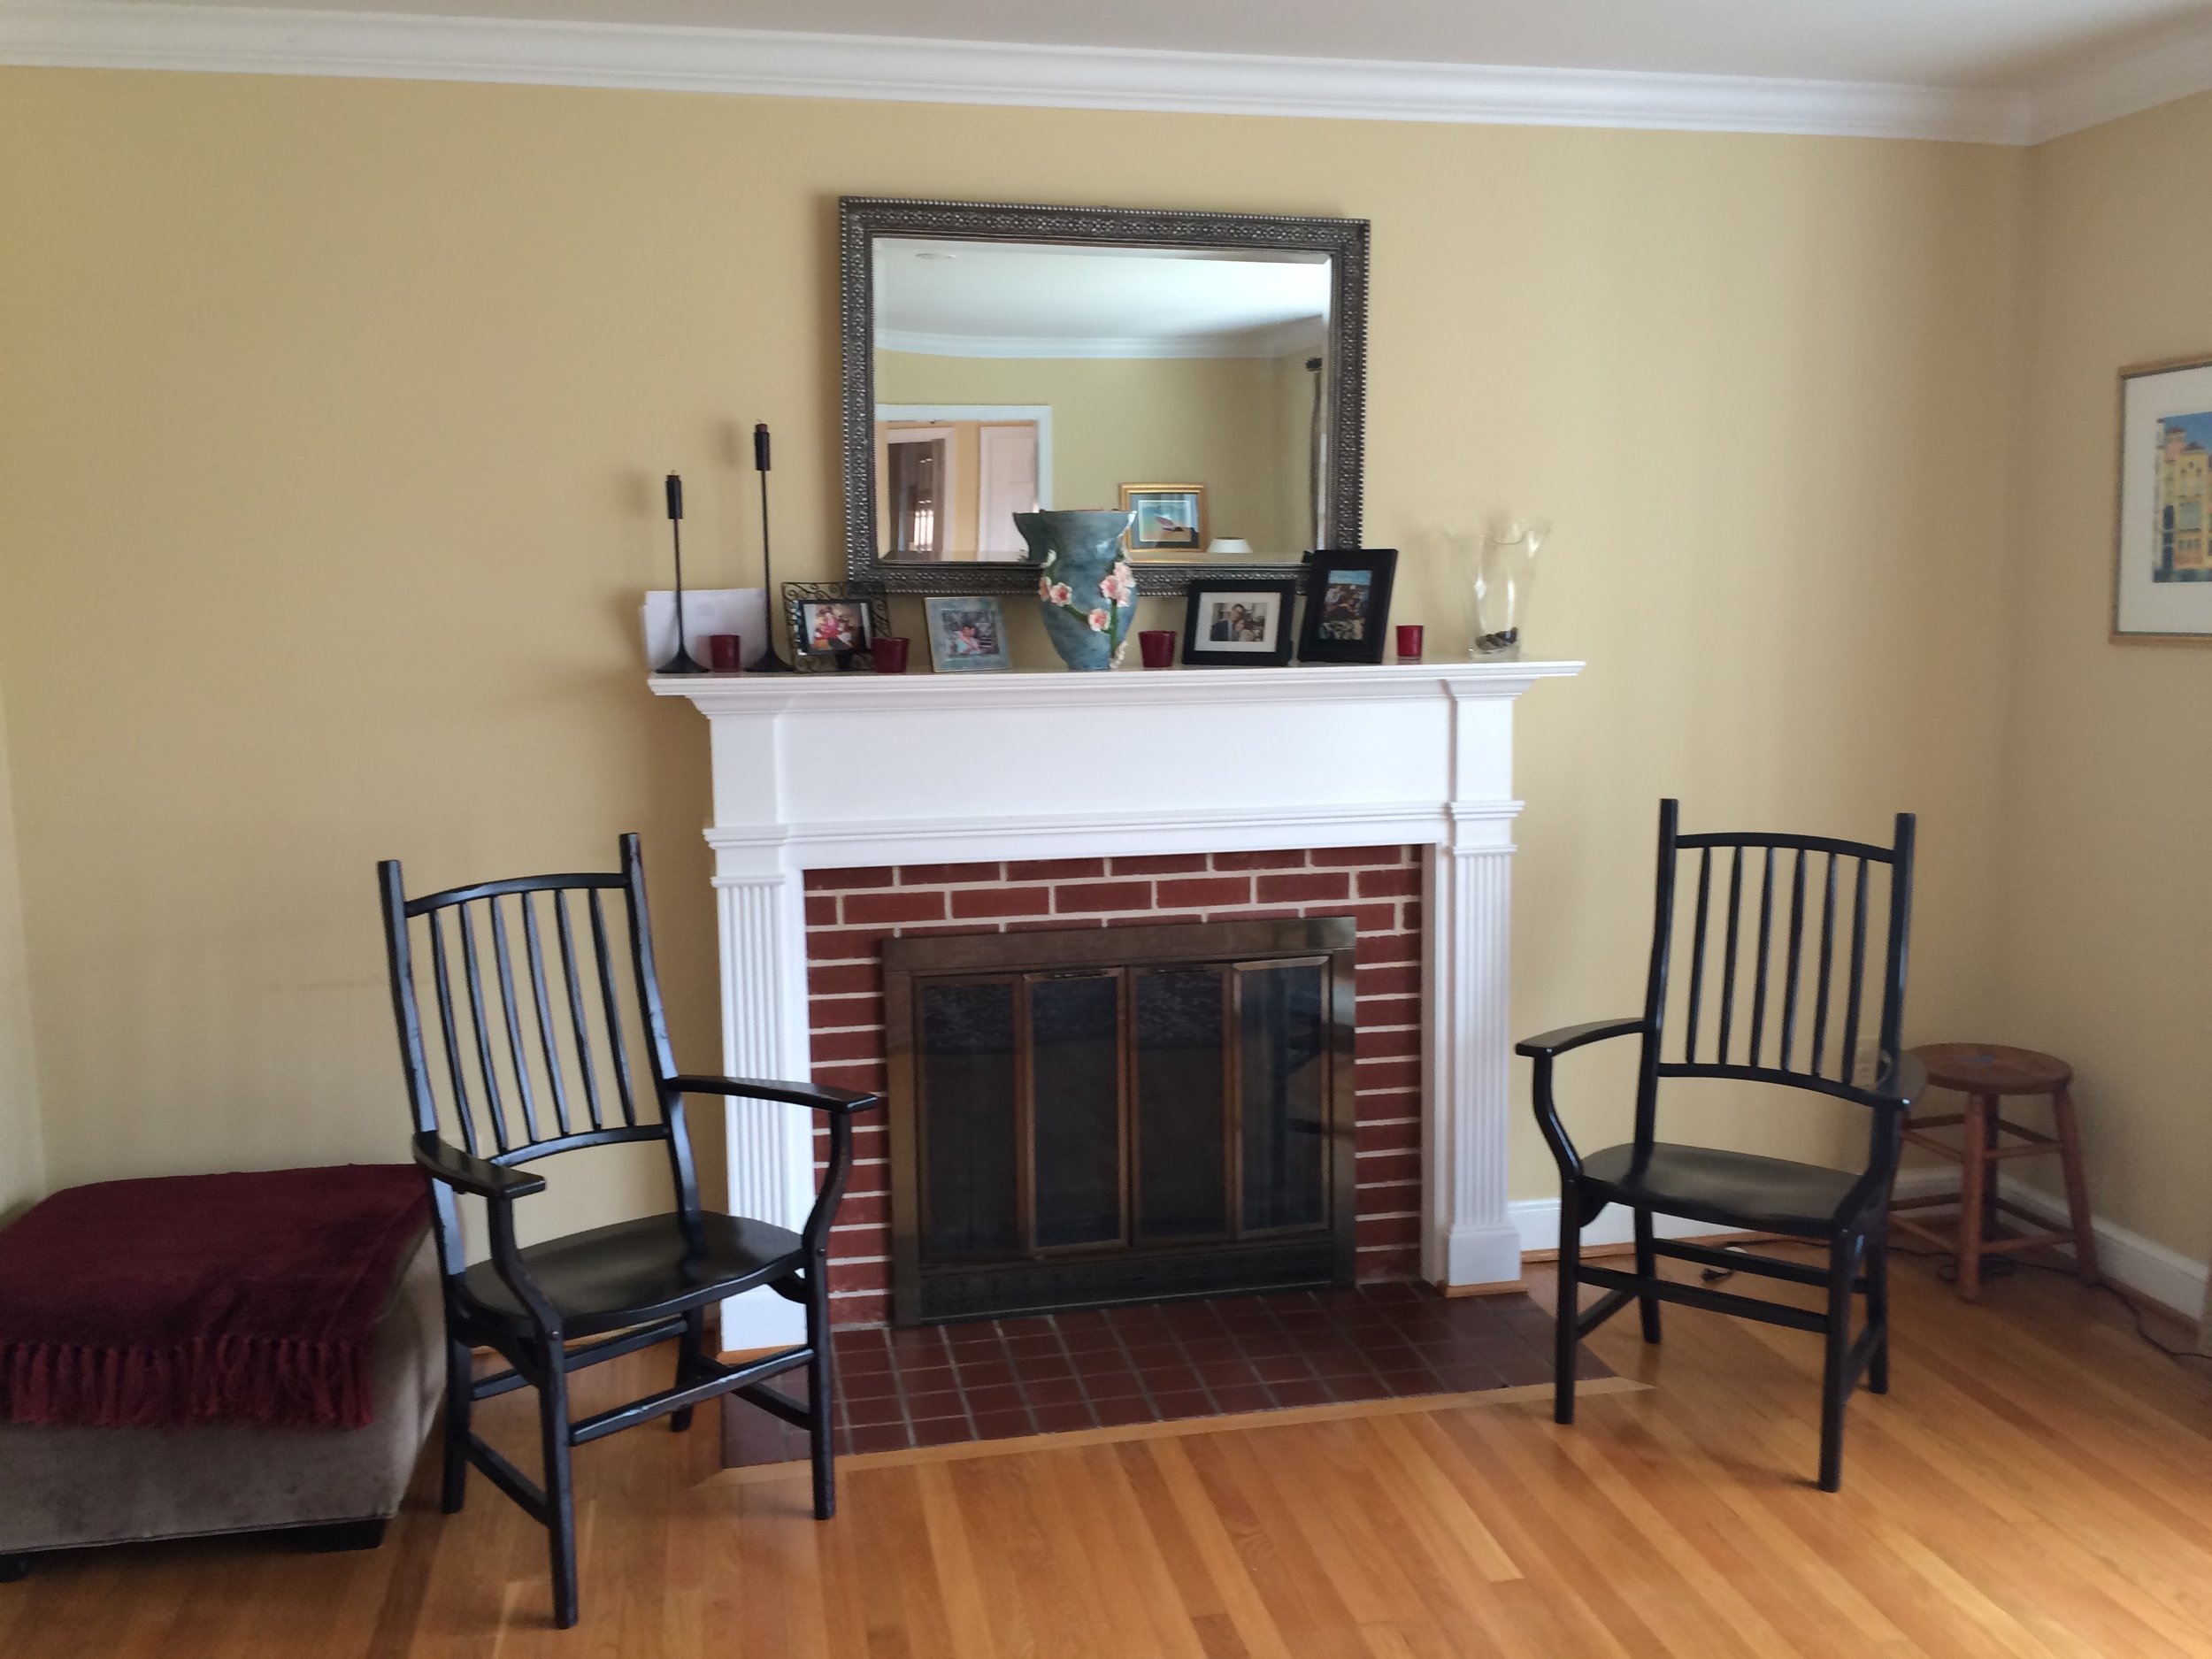
Here are images of the before photos....

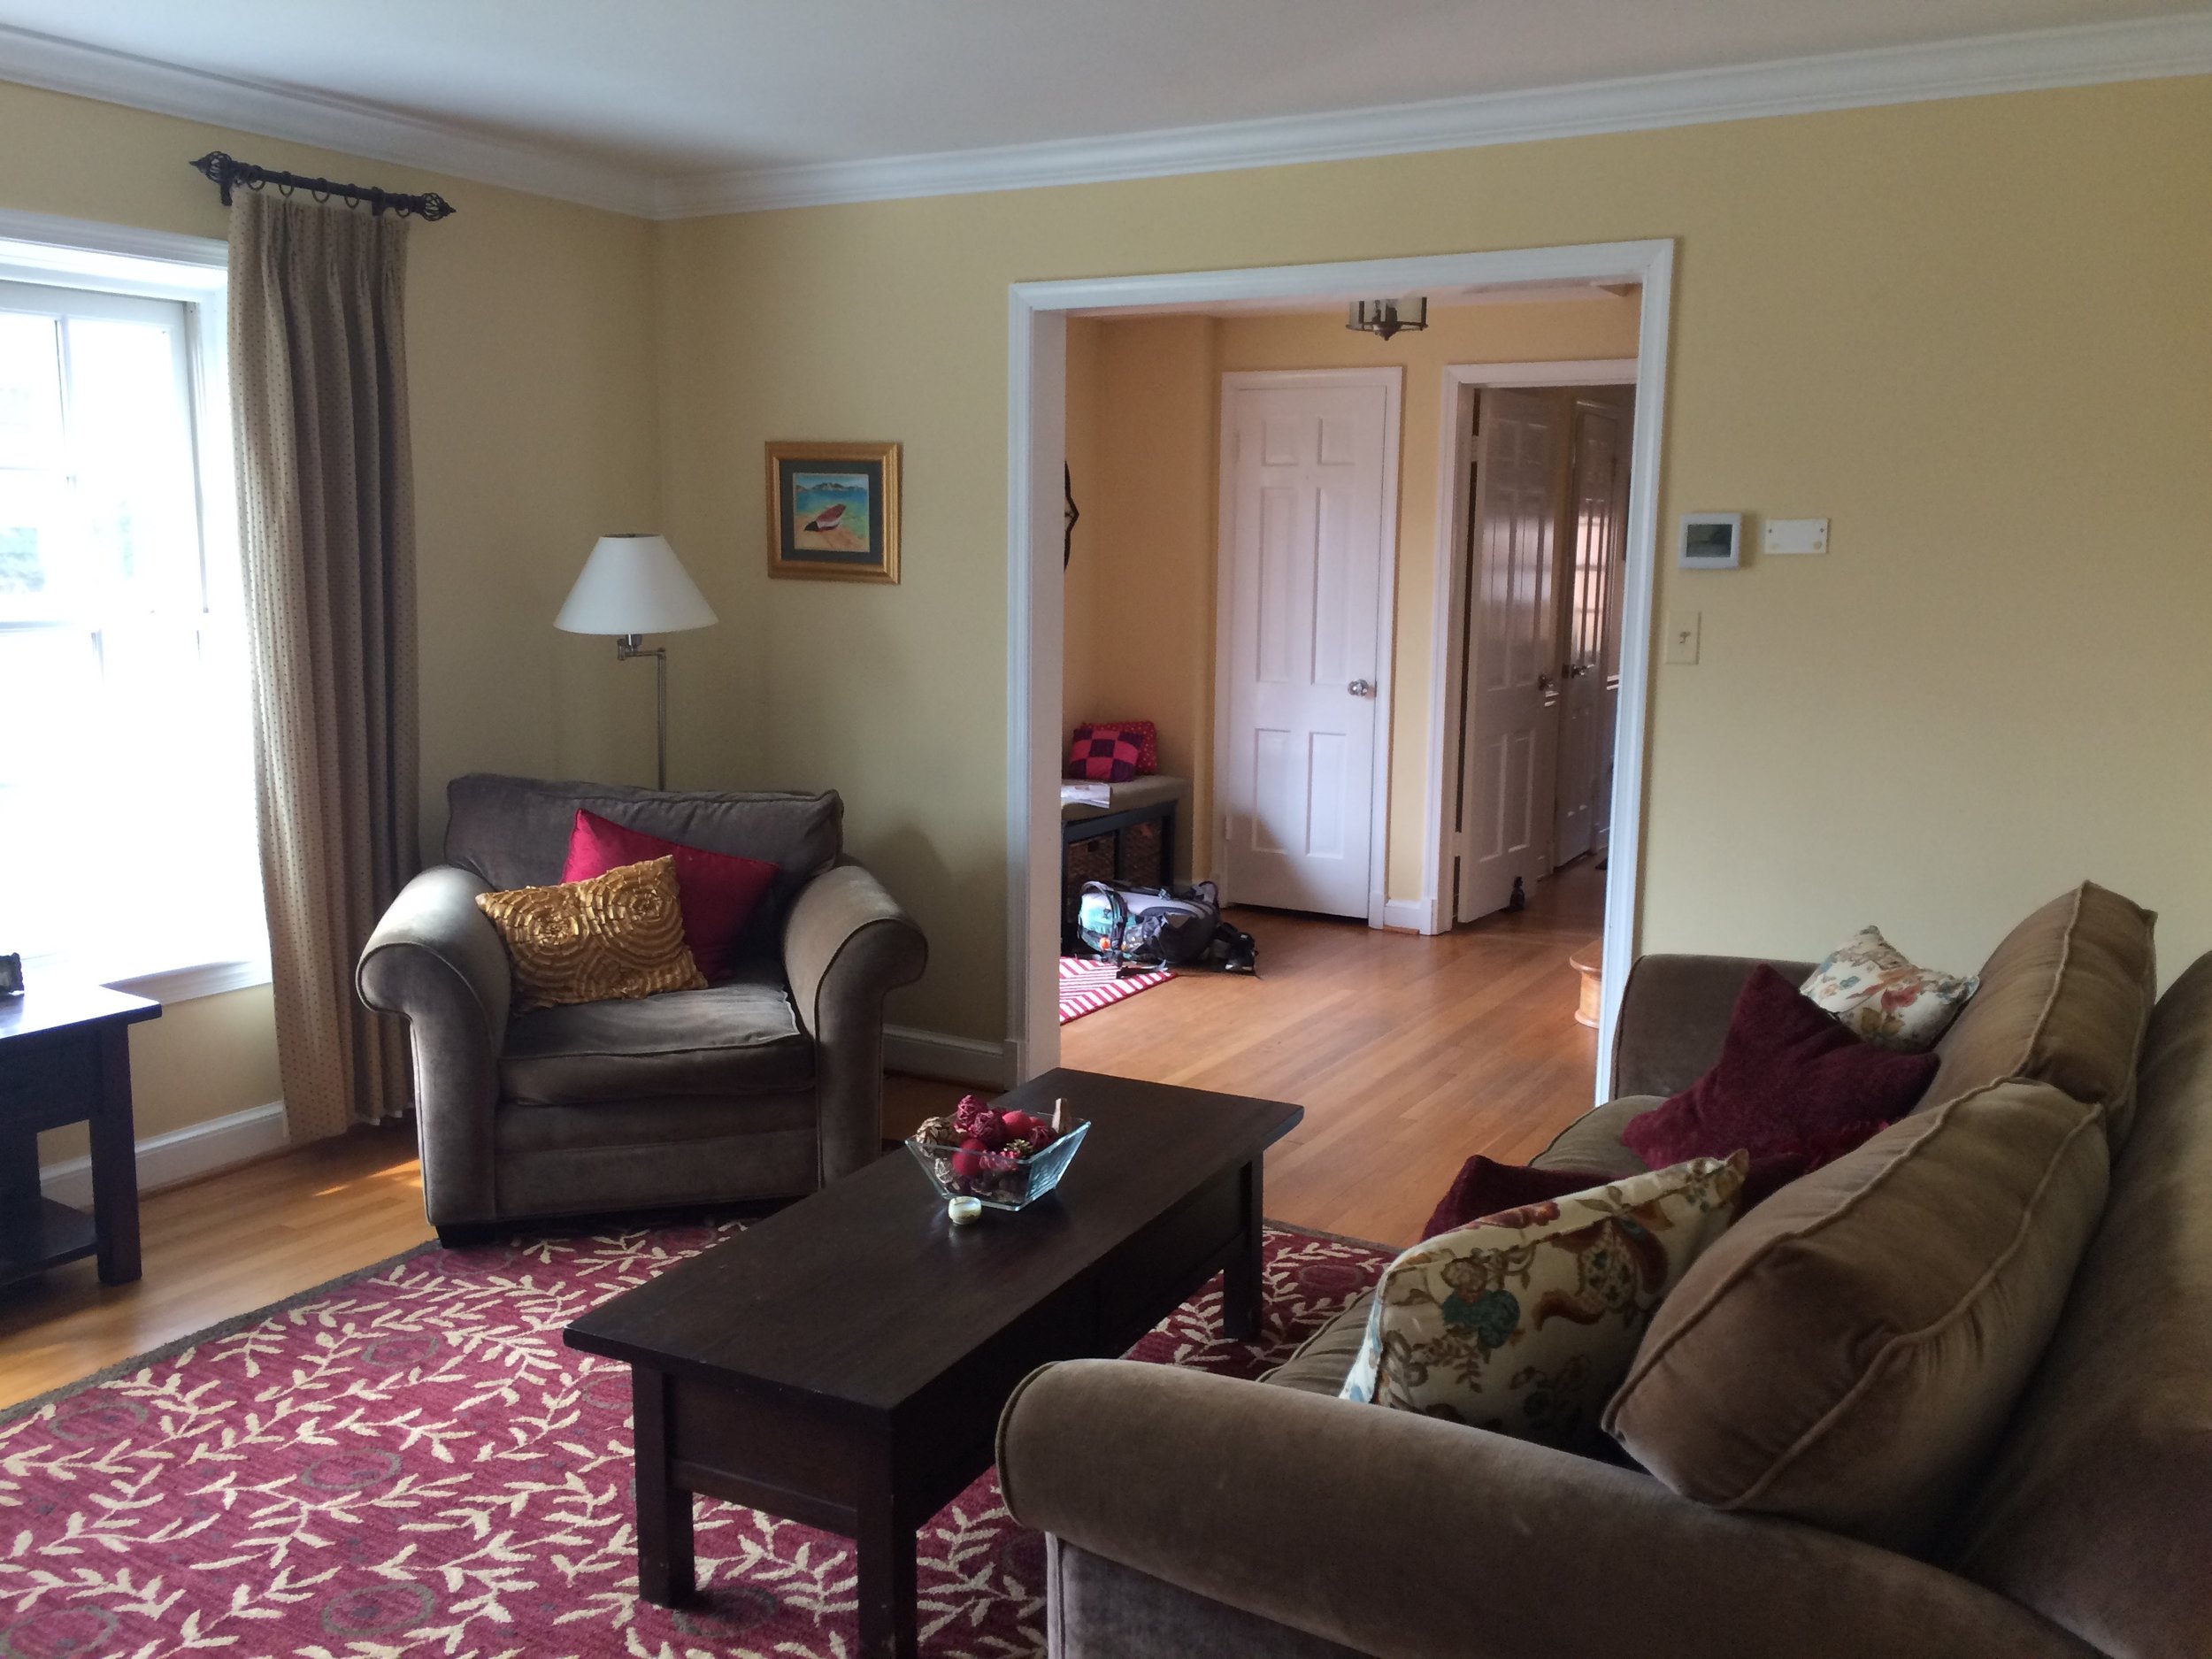
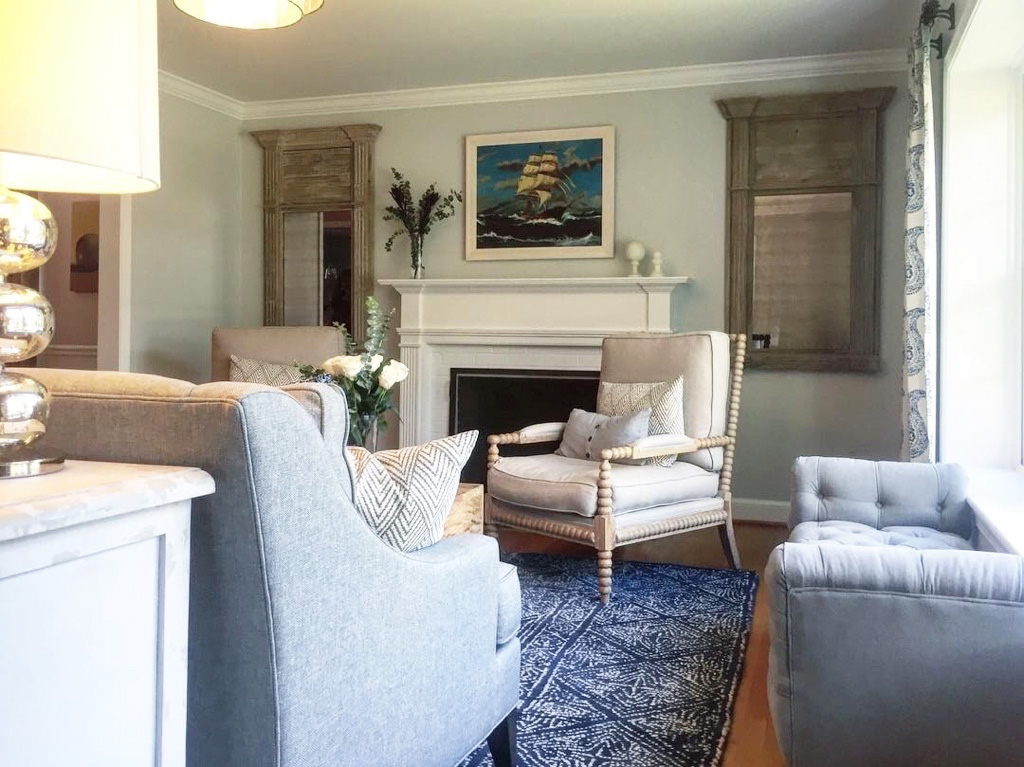
The living room is long and has two entrances. The layout had to change to optimize seating in this room.
When you work with lovely people, designing the perfect room is an absolute joy and so gratifying.
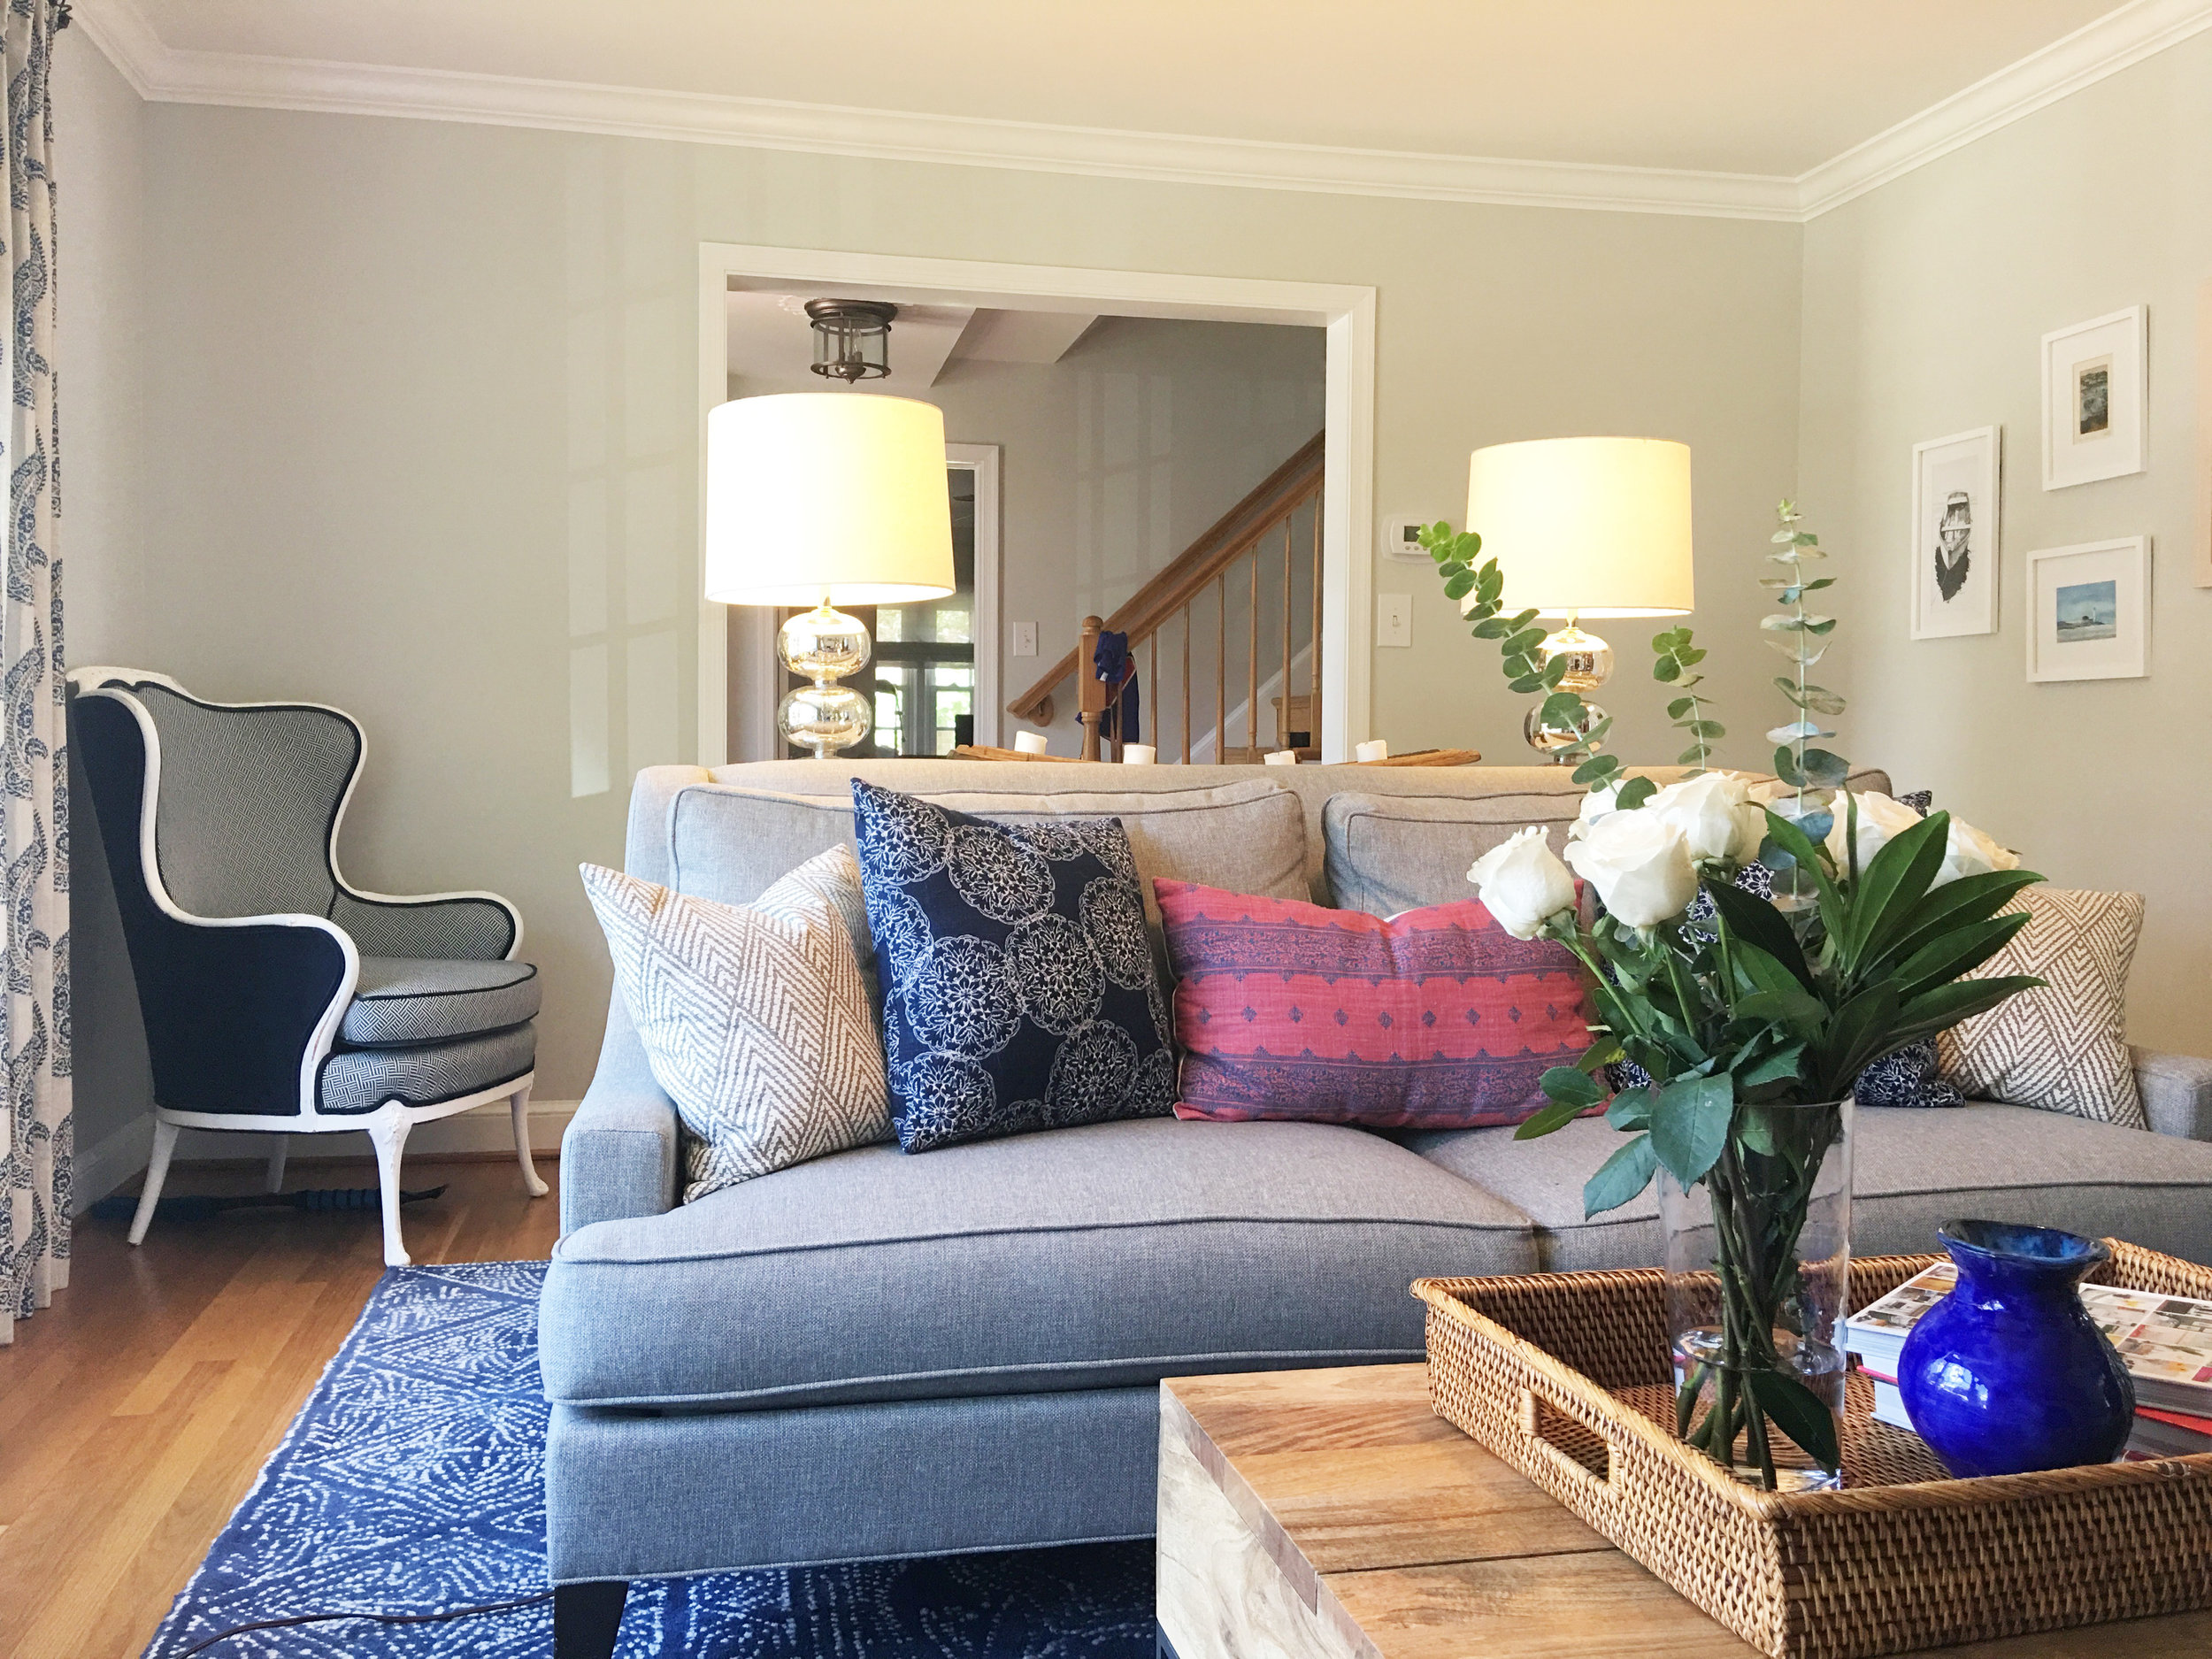
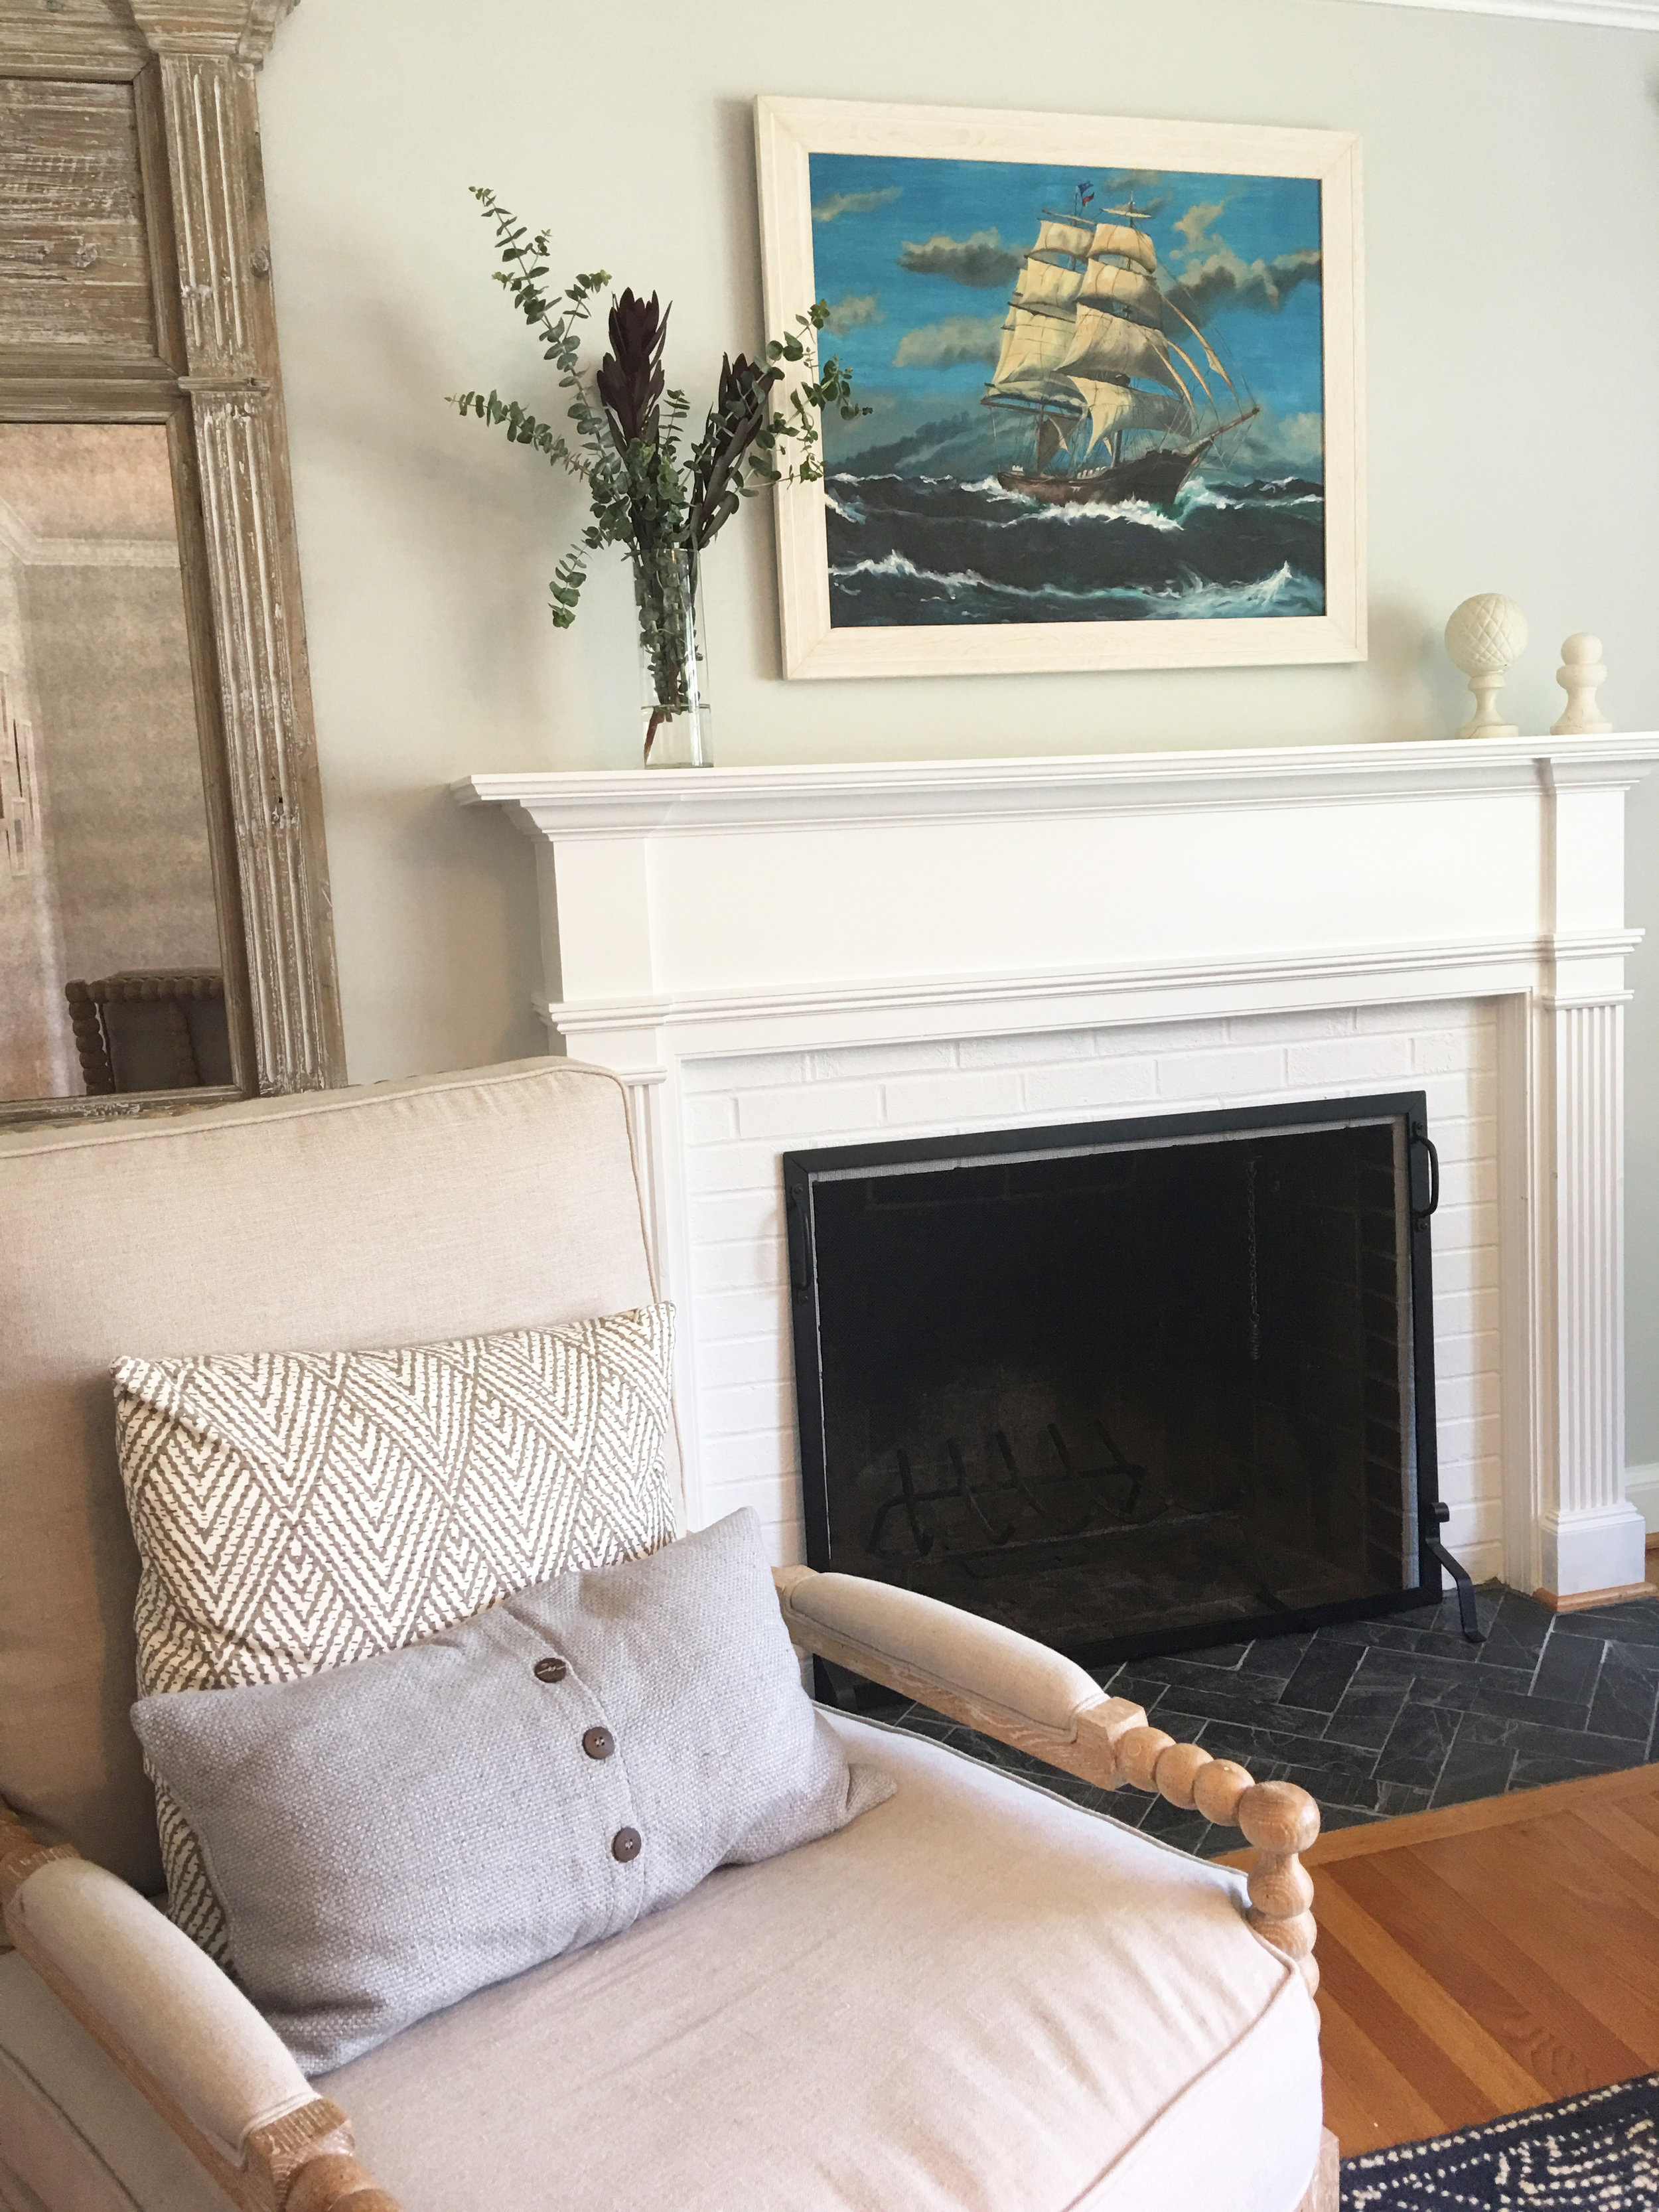
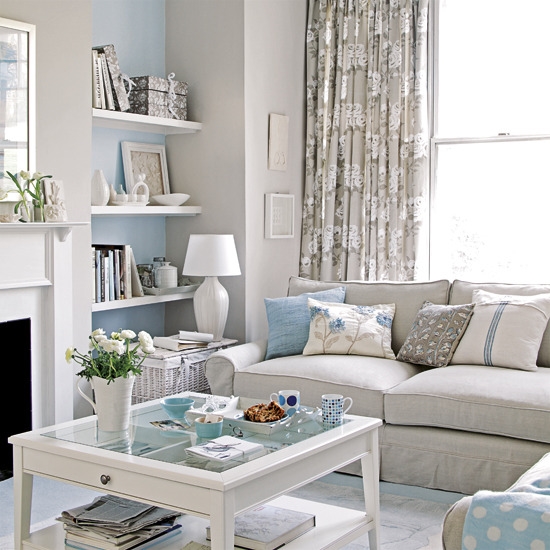
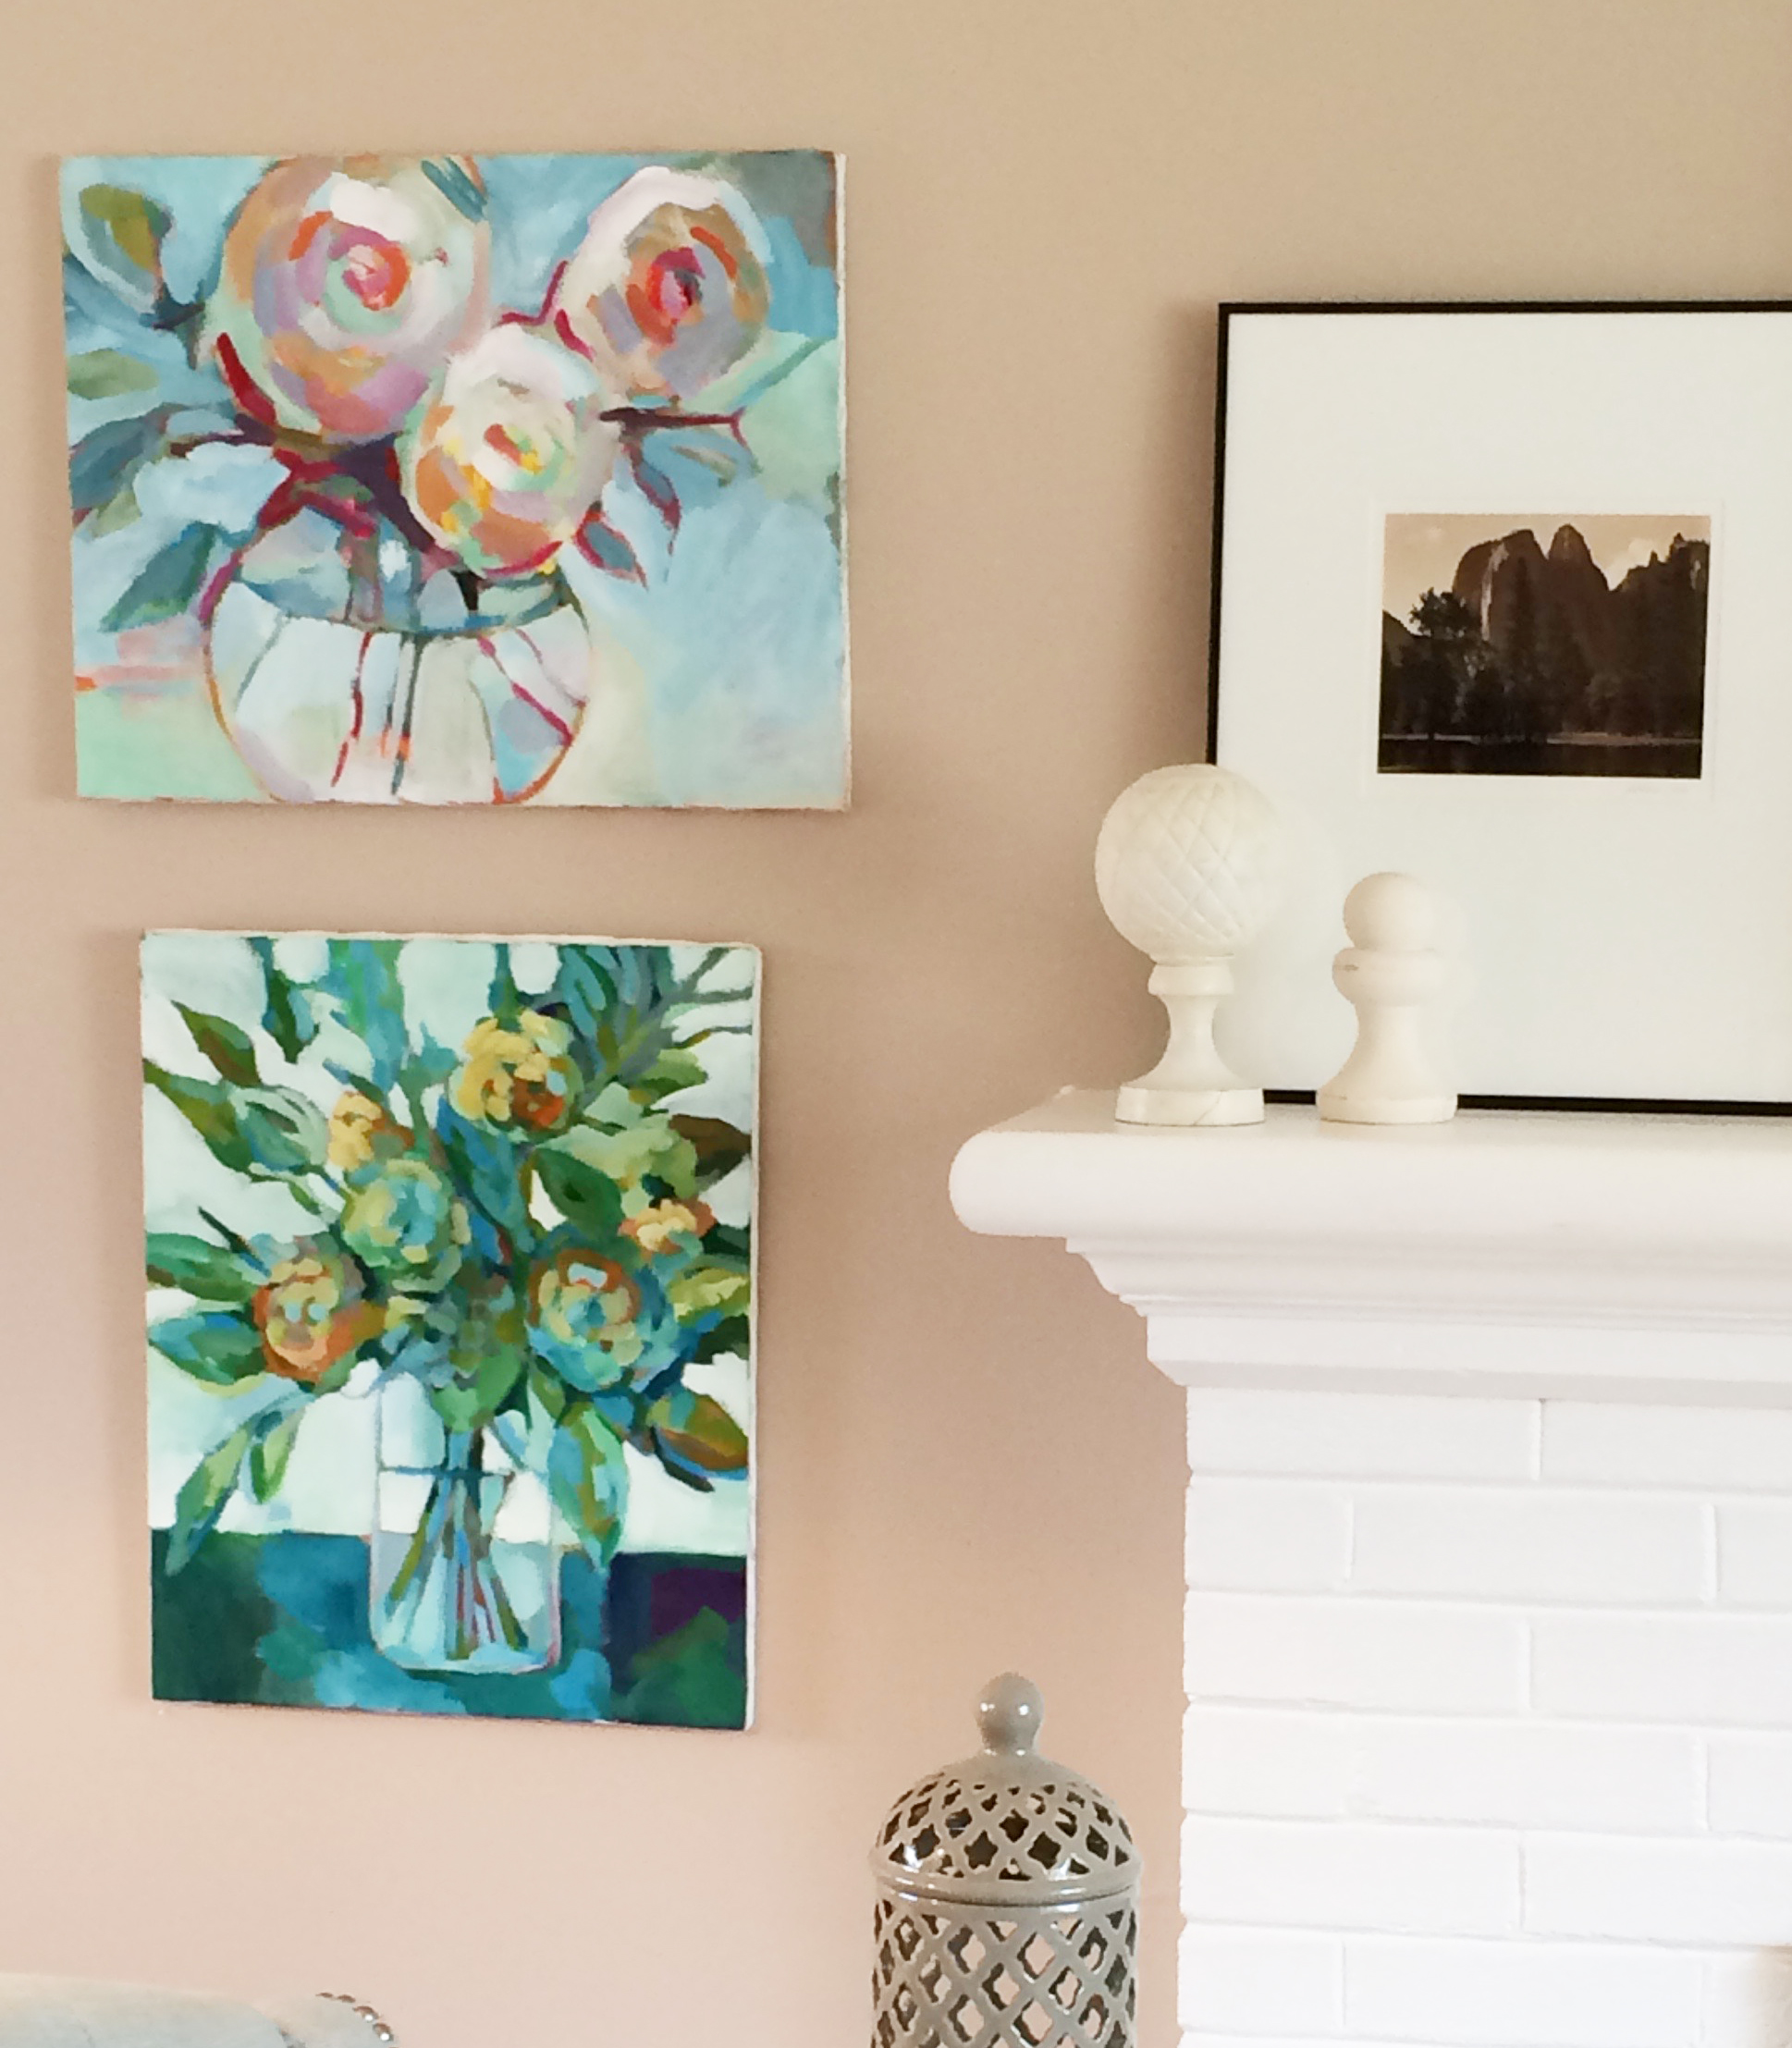
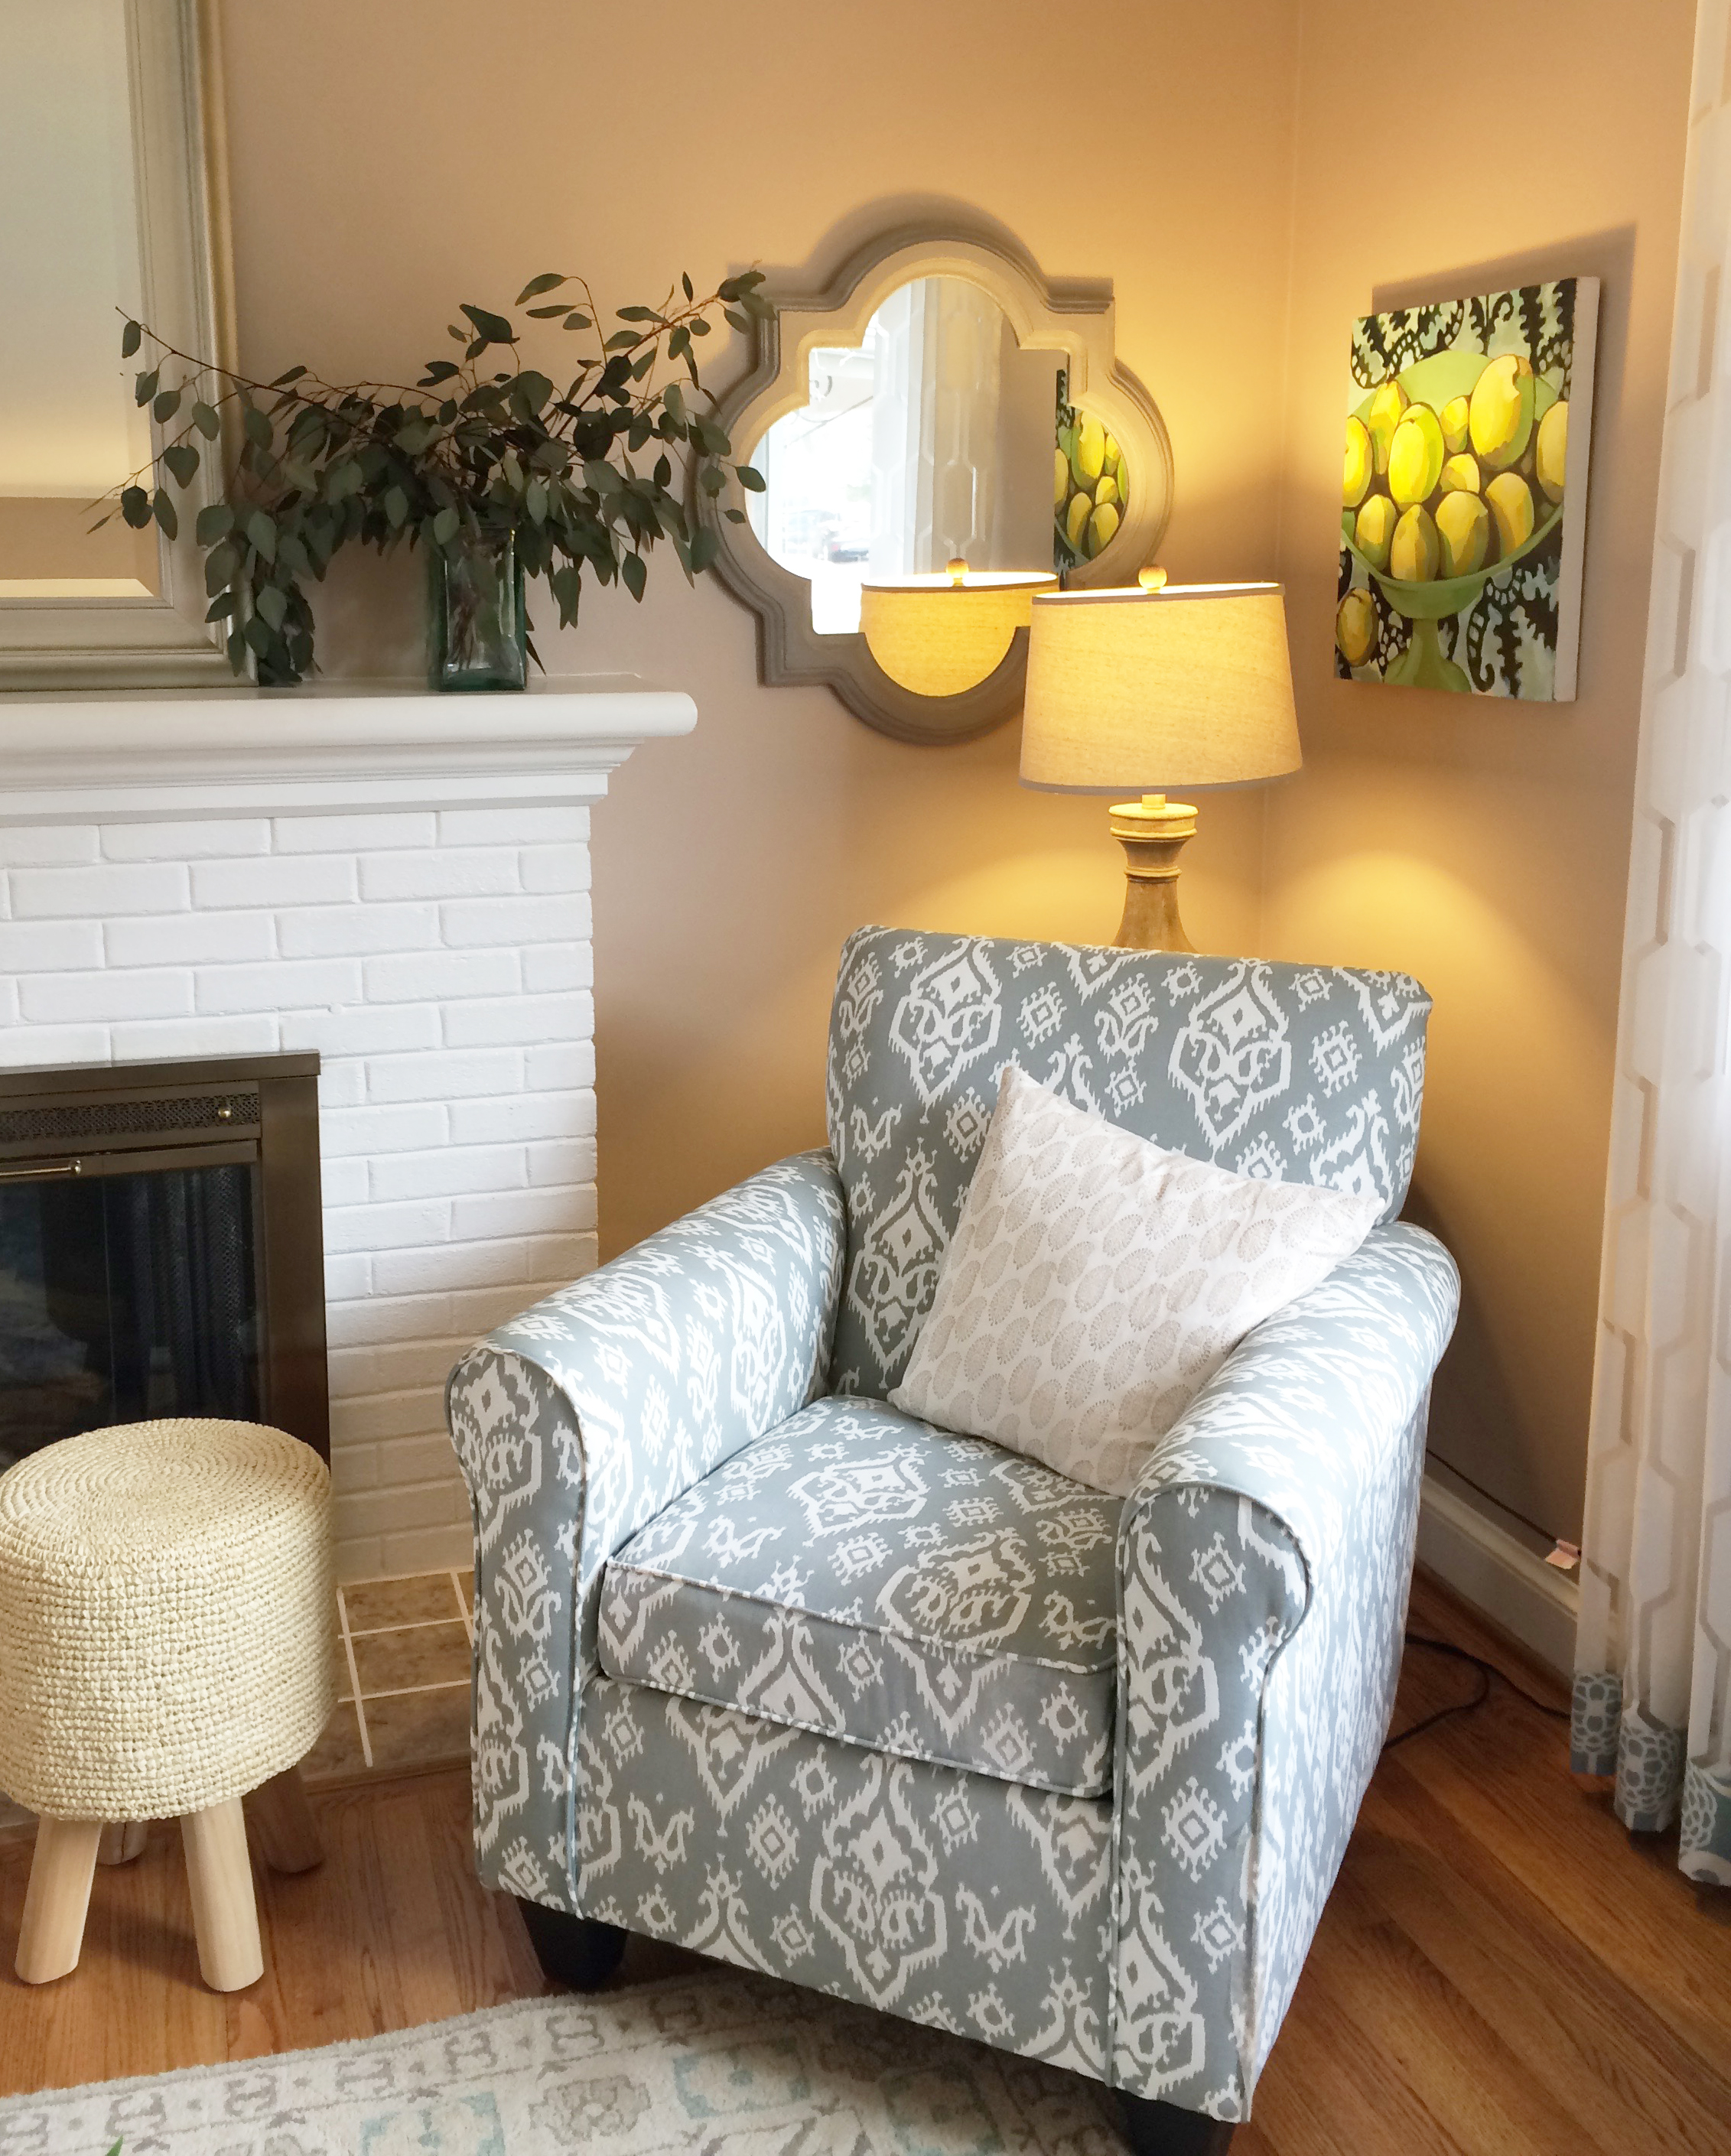
First, the room was painted a beautiful light gray with at touch of blue. Benjamin Moore's, Wickham Gray, gave the room a calm serene aura. I placed two large distressed wood mirrors on each side of the fireplace. The mirrors gave the room the illusion of high ceilings and the reflection made the space look larger. The painting over the fireplace was painted by my client's grandmother and with a new frame the painting adds nautical charm. The natural capiz shell chandelier gave room an illuminating glow.
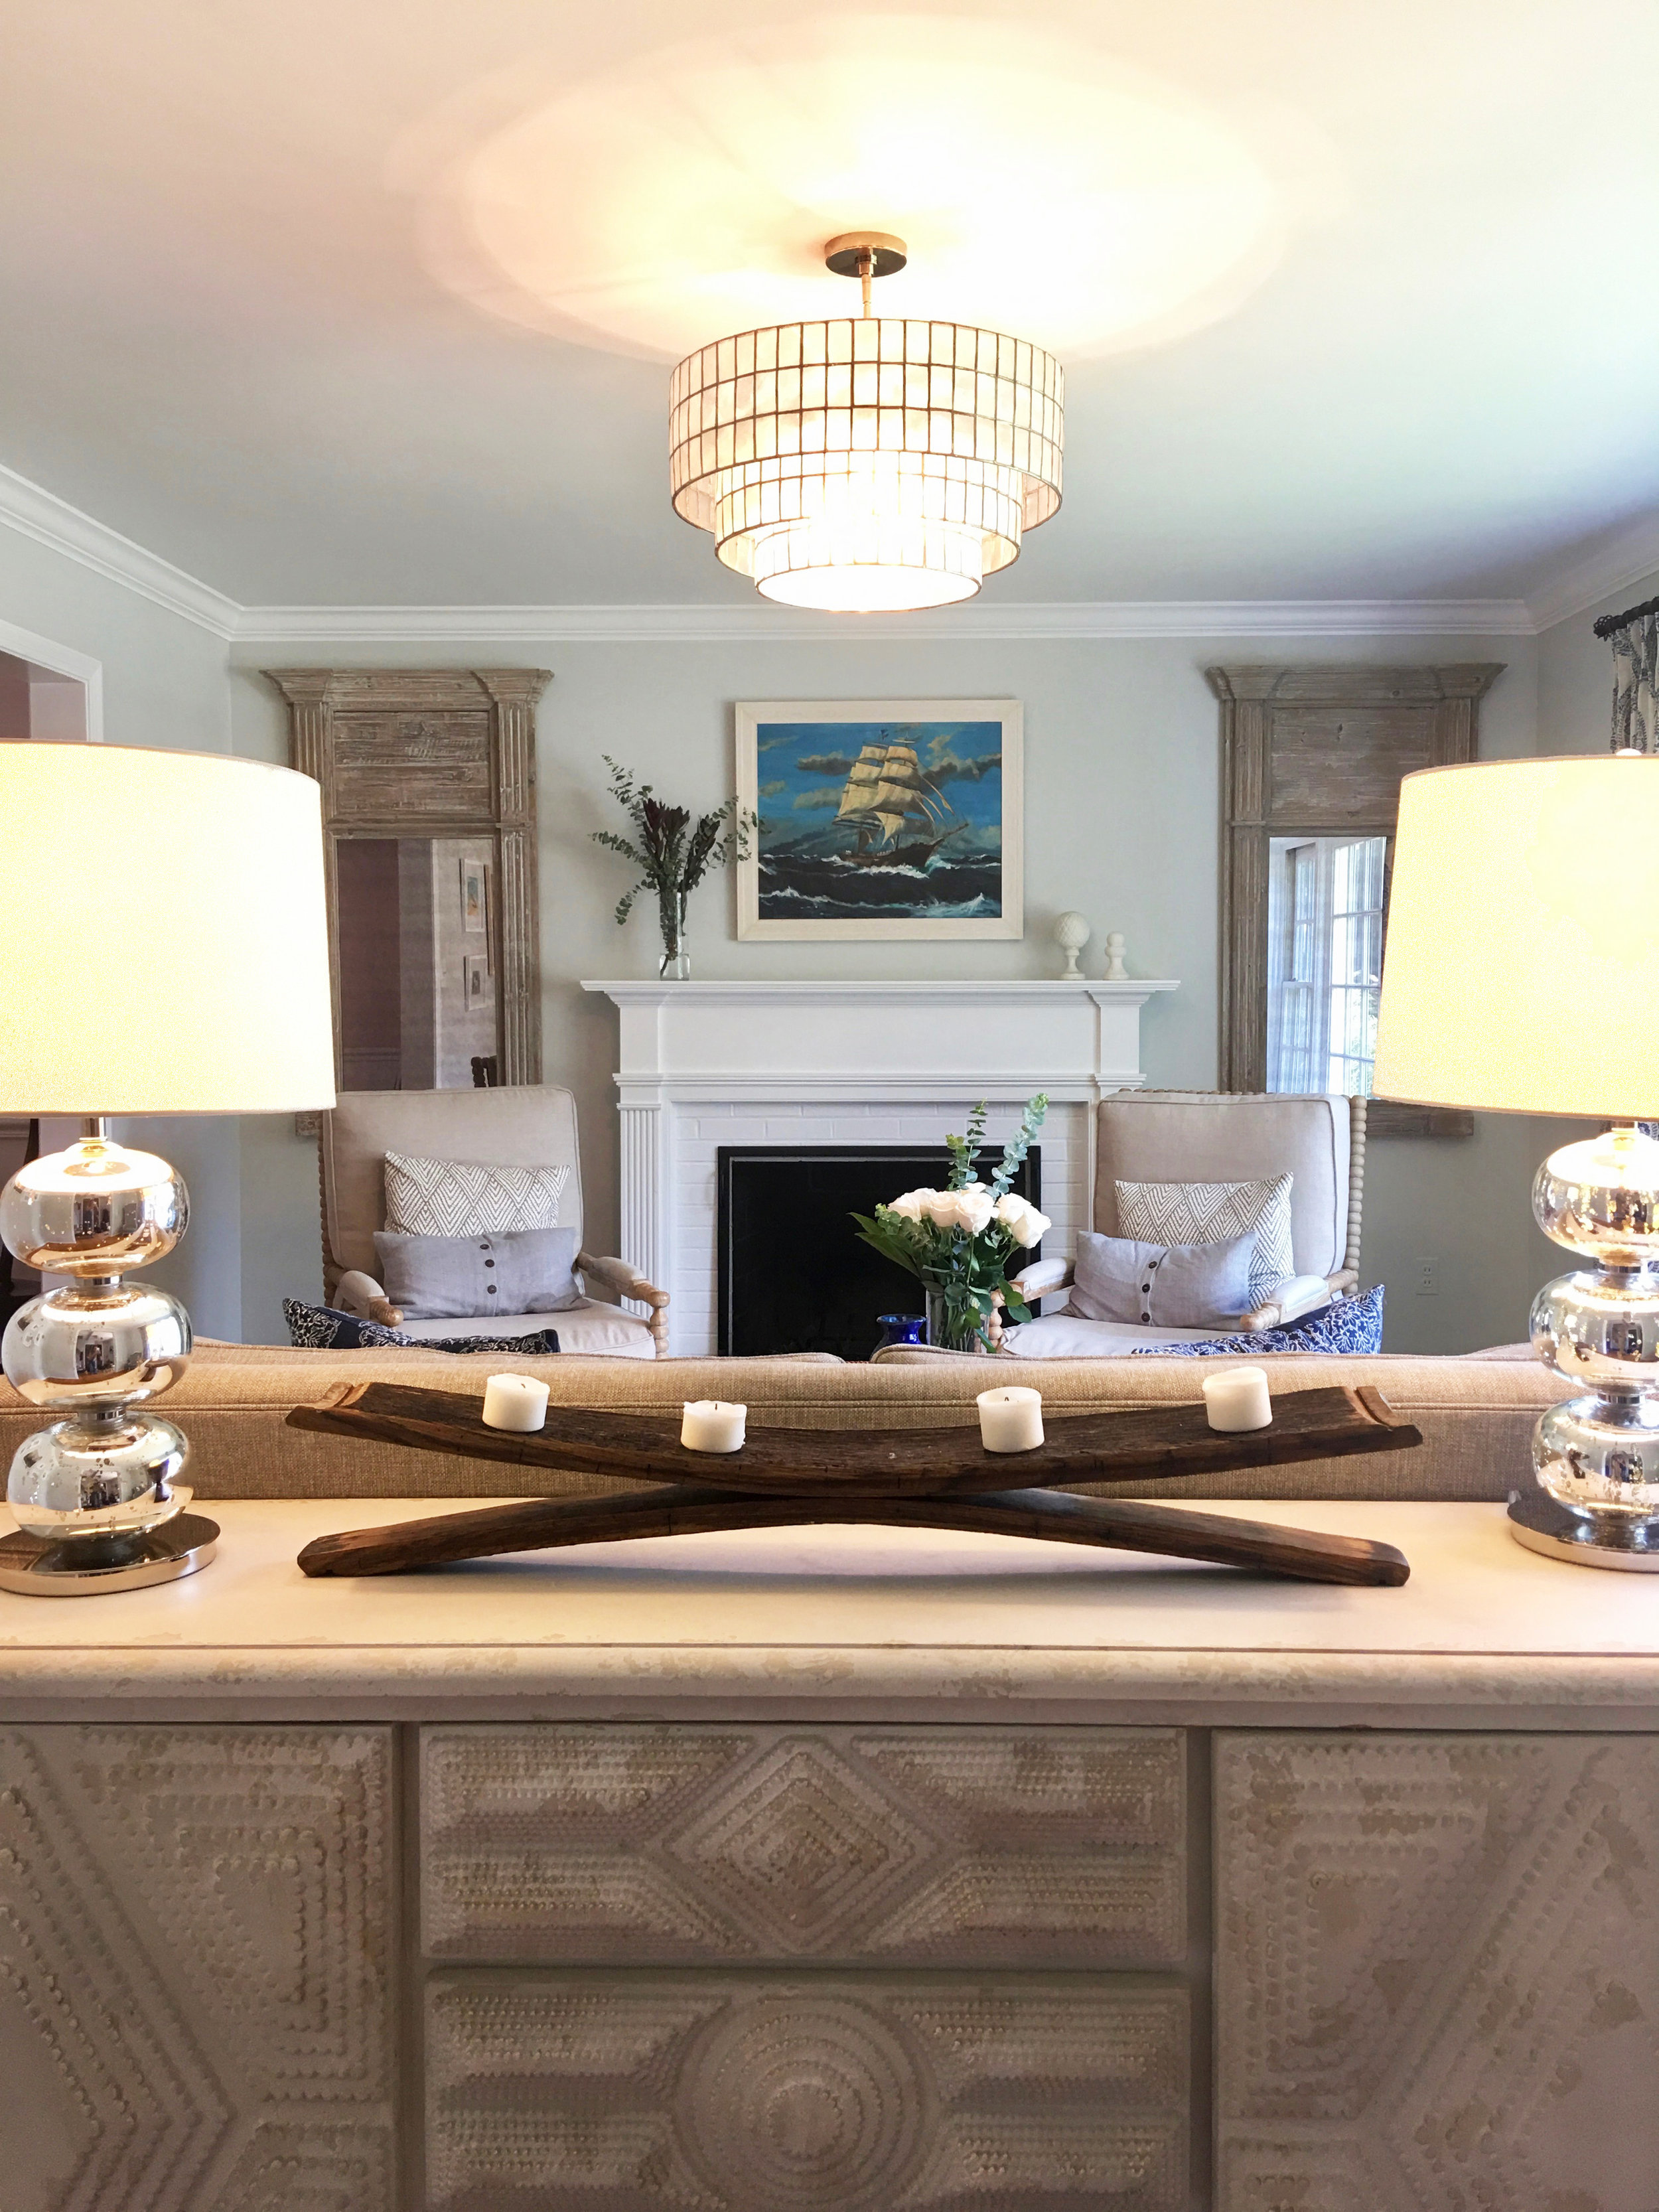
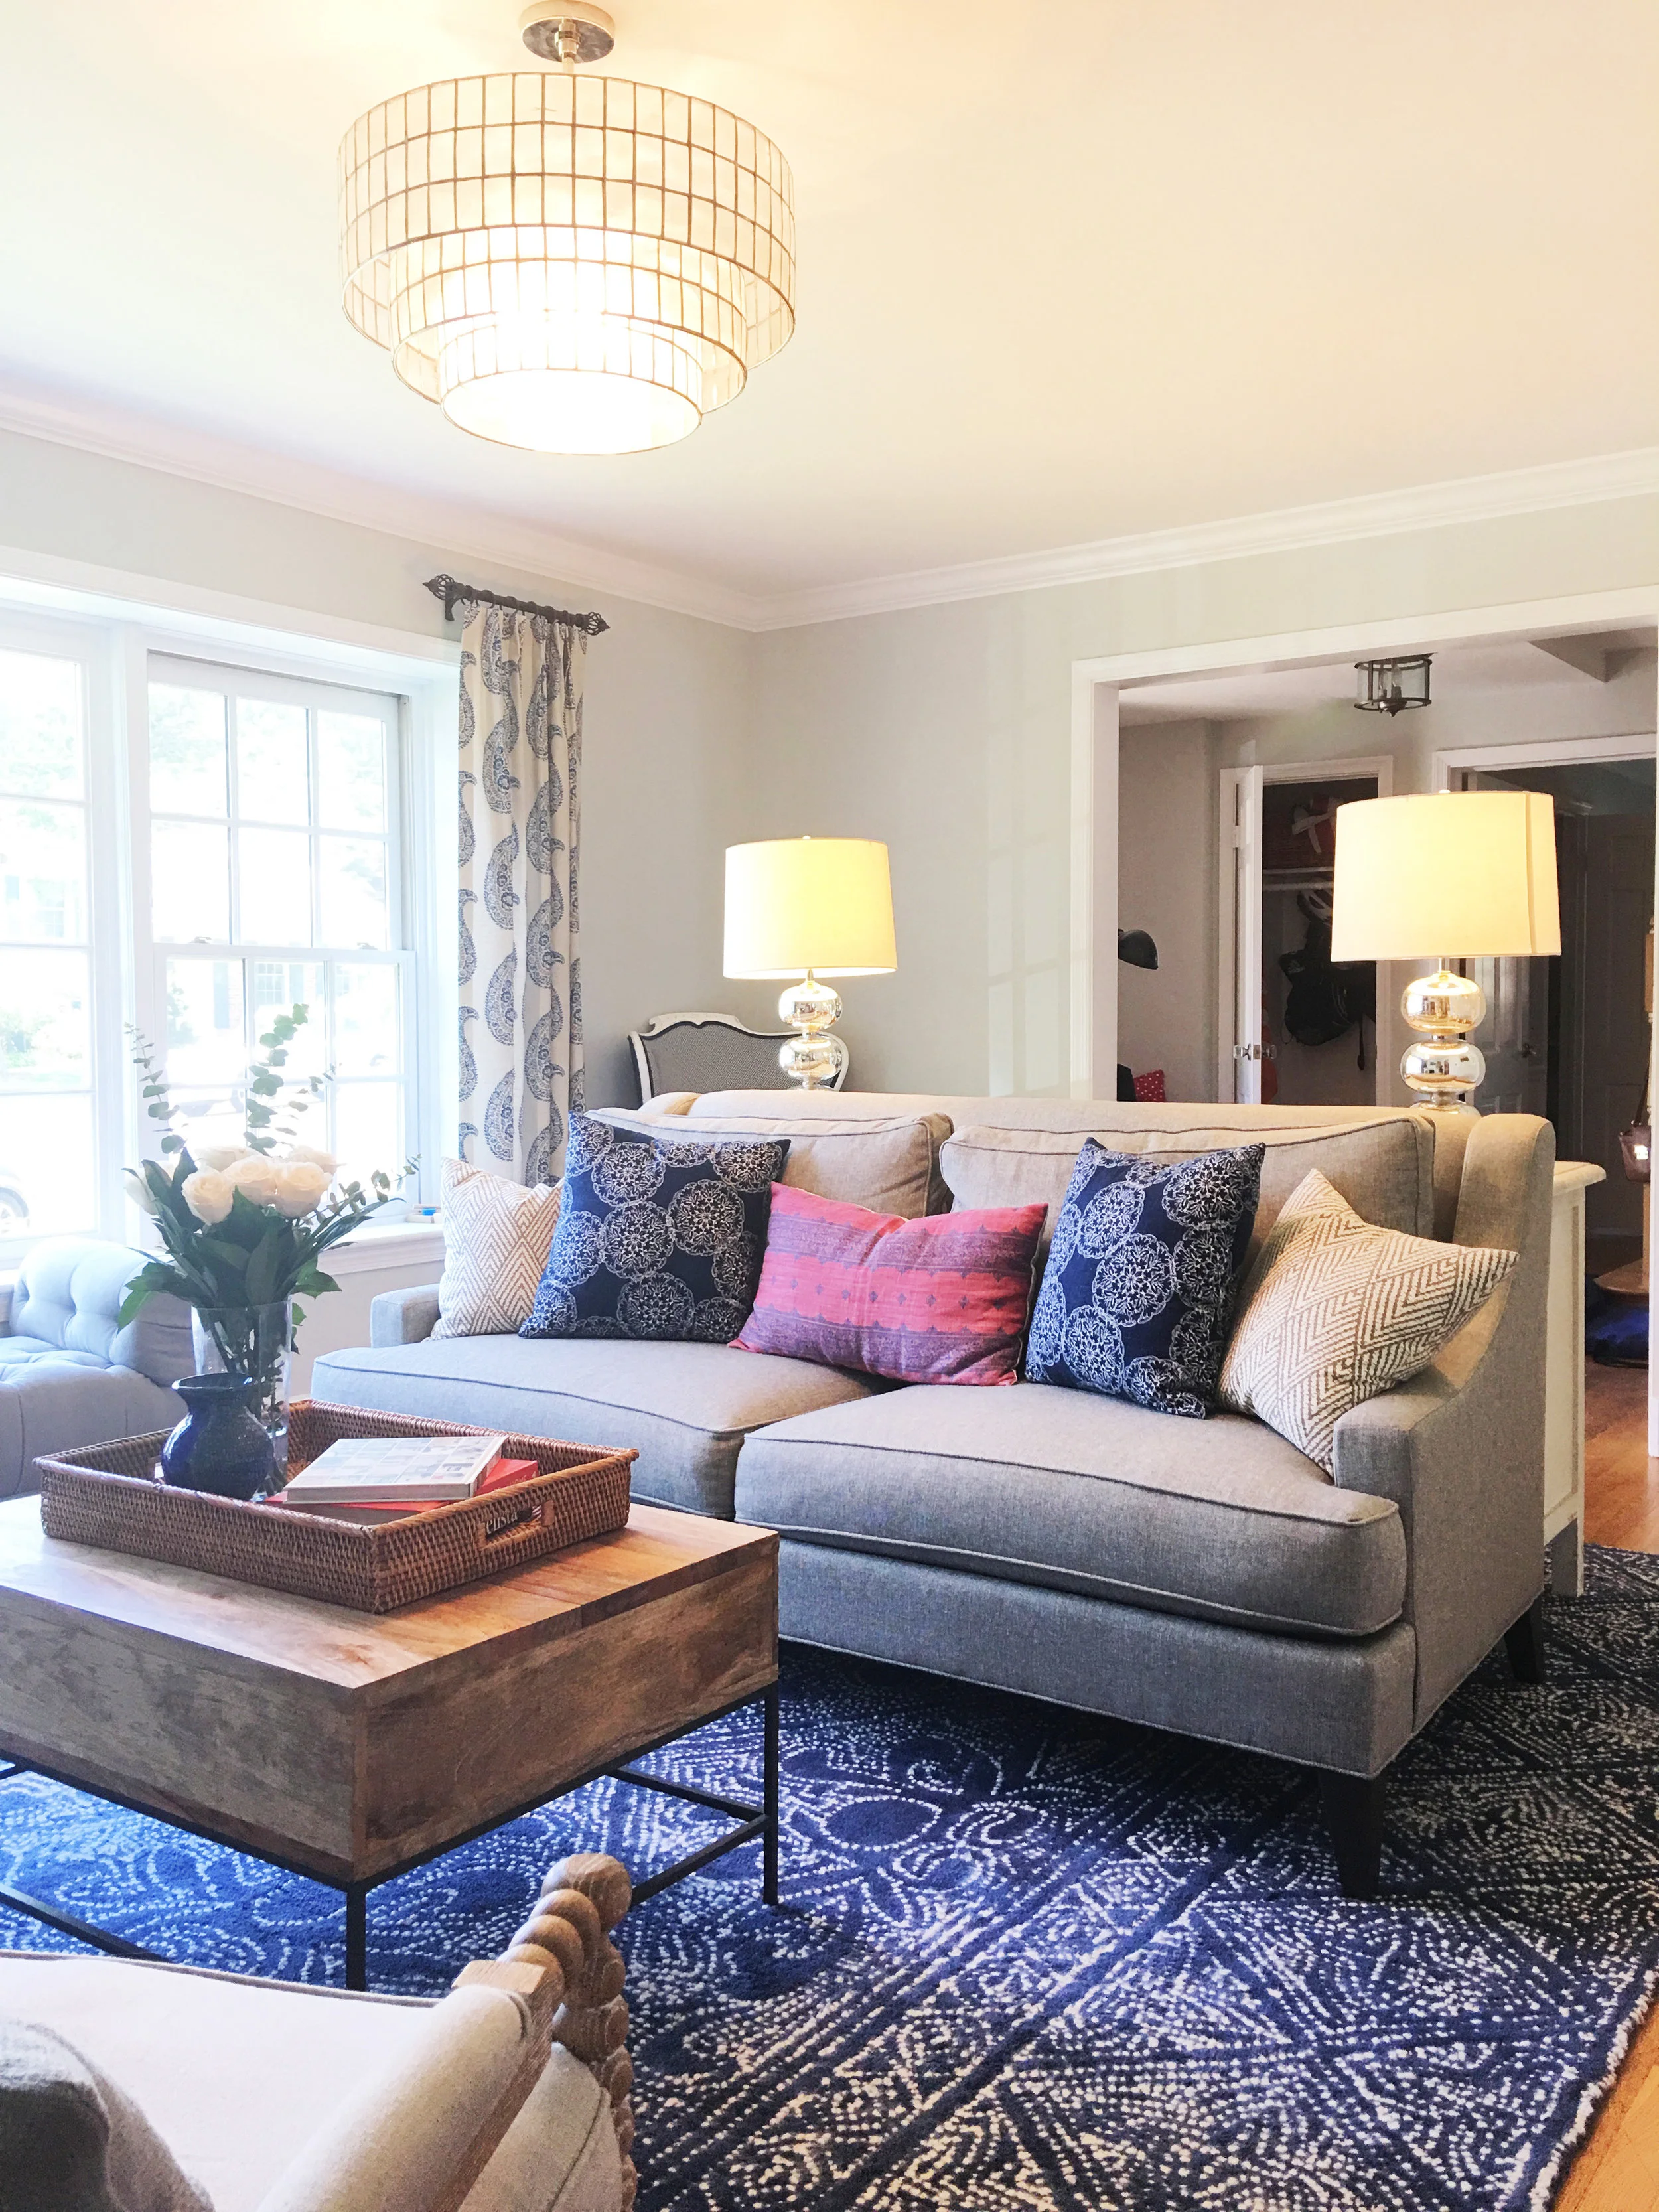
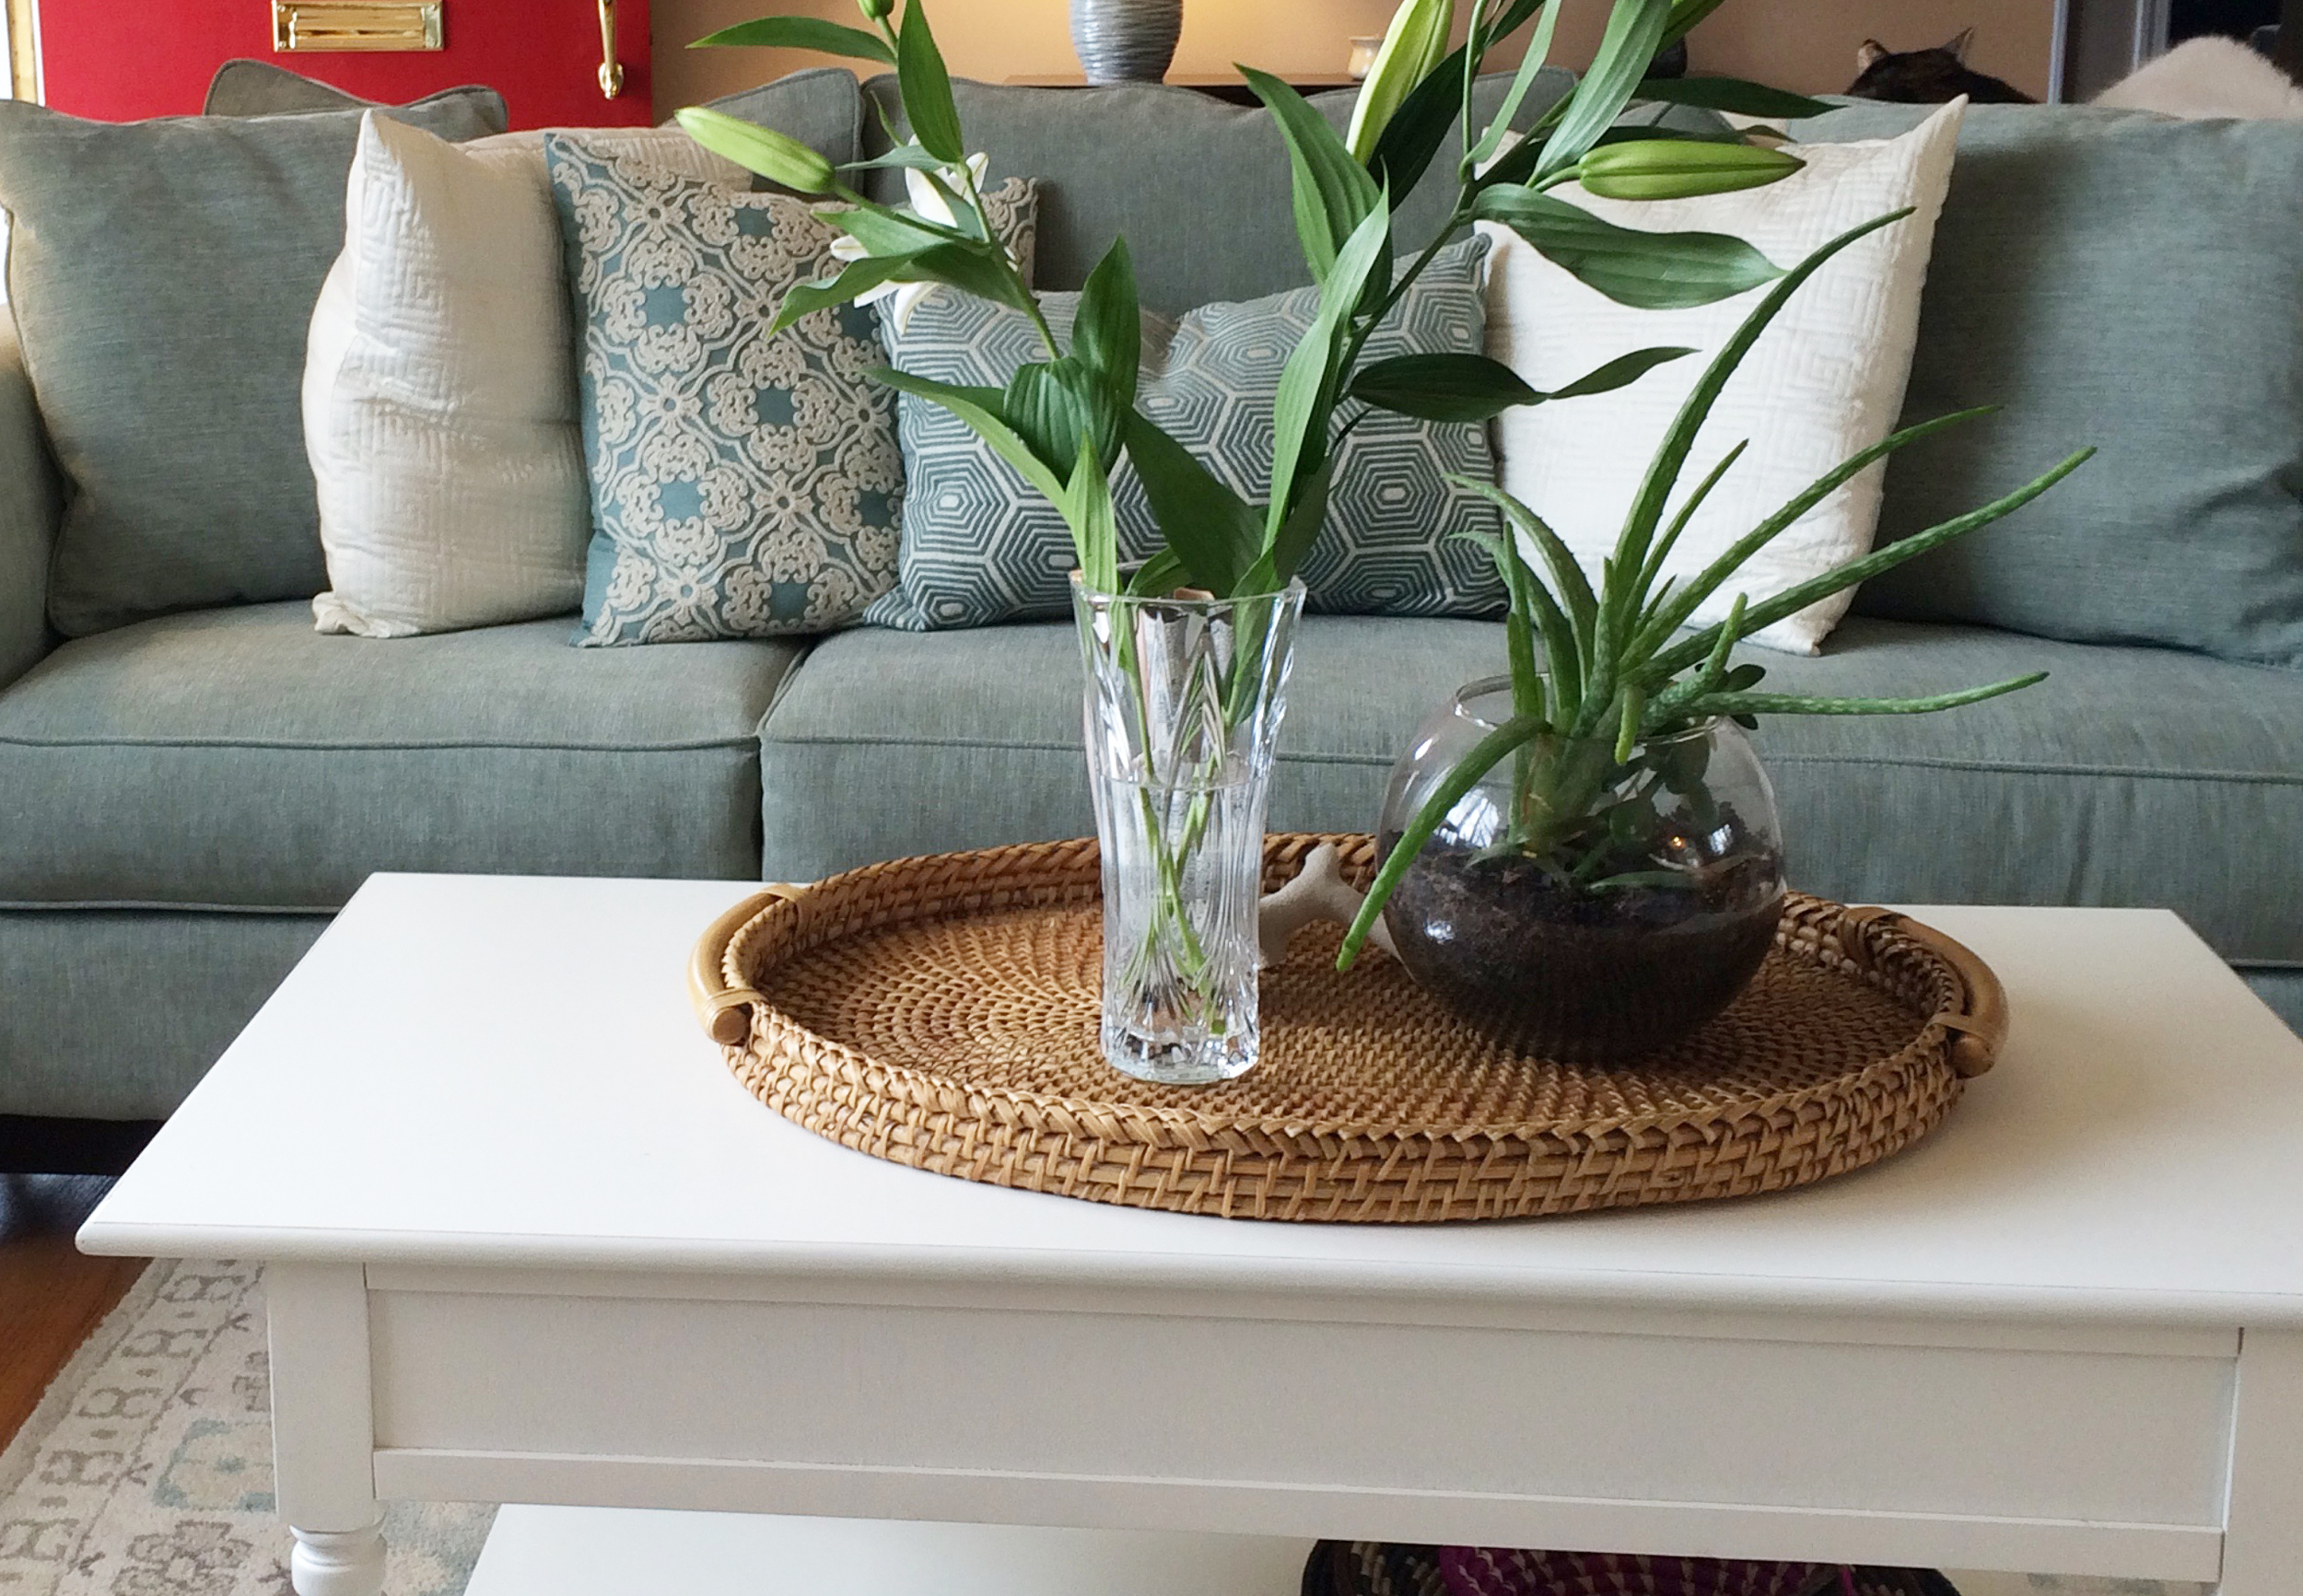
The room configuration has now changed. A large cabinet, with a stylish dash of Moroccan style, anchors the room and a mid-sized sofa backs up to the cabinet. Two linen covered spool chairs are placed on either side of the fireplace and a rustic coffee table between chairs and sofa. A lovely daybed runs along the long set of windows for additional seating.
BEFORE AND AFTER
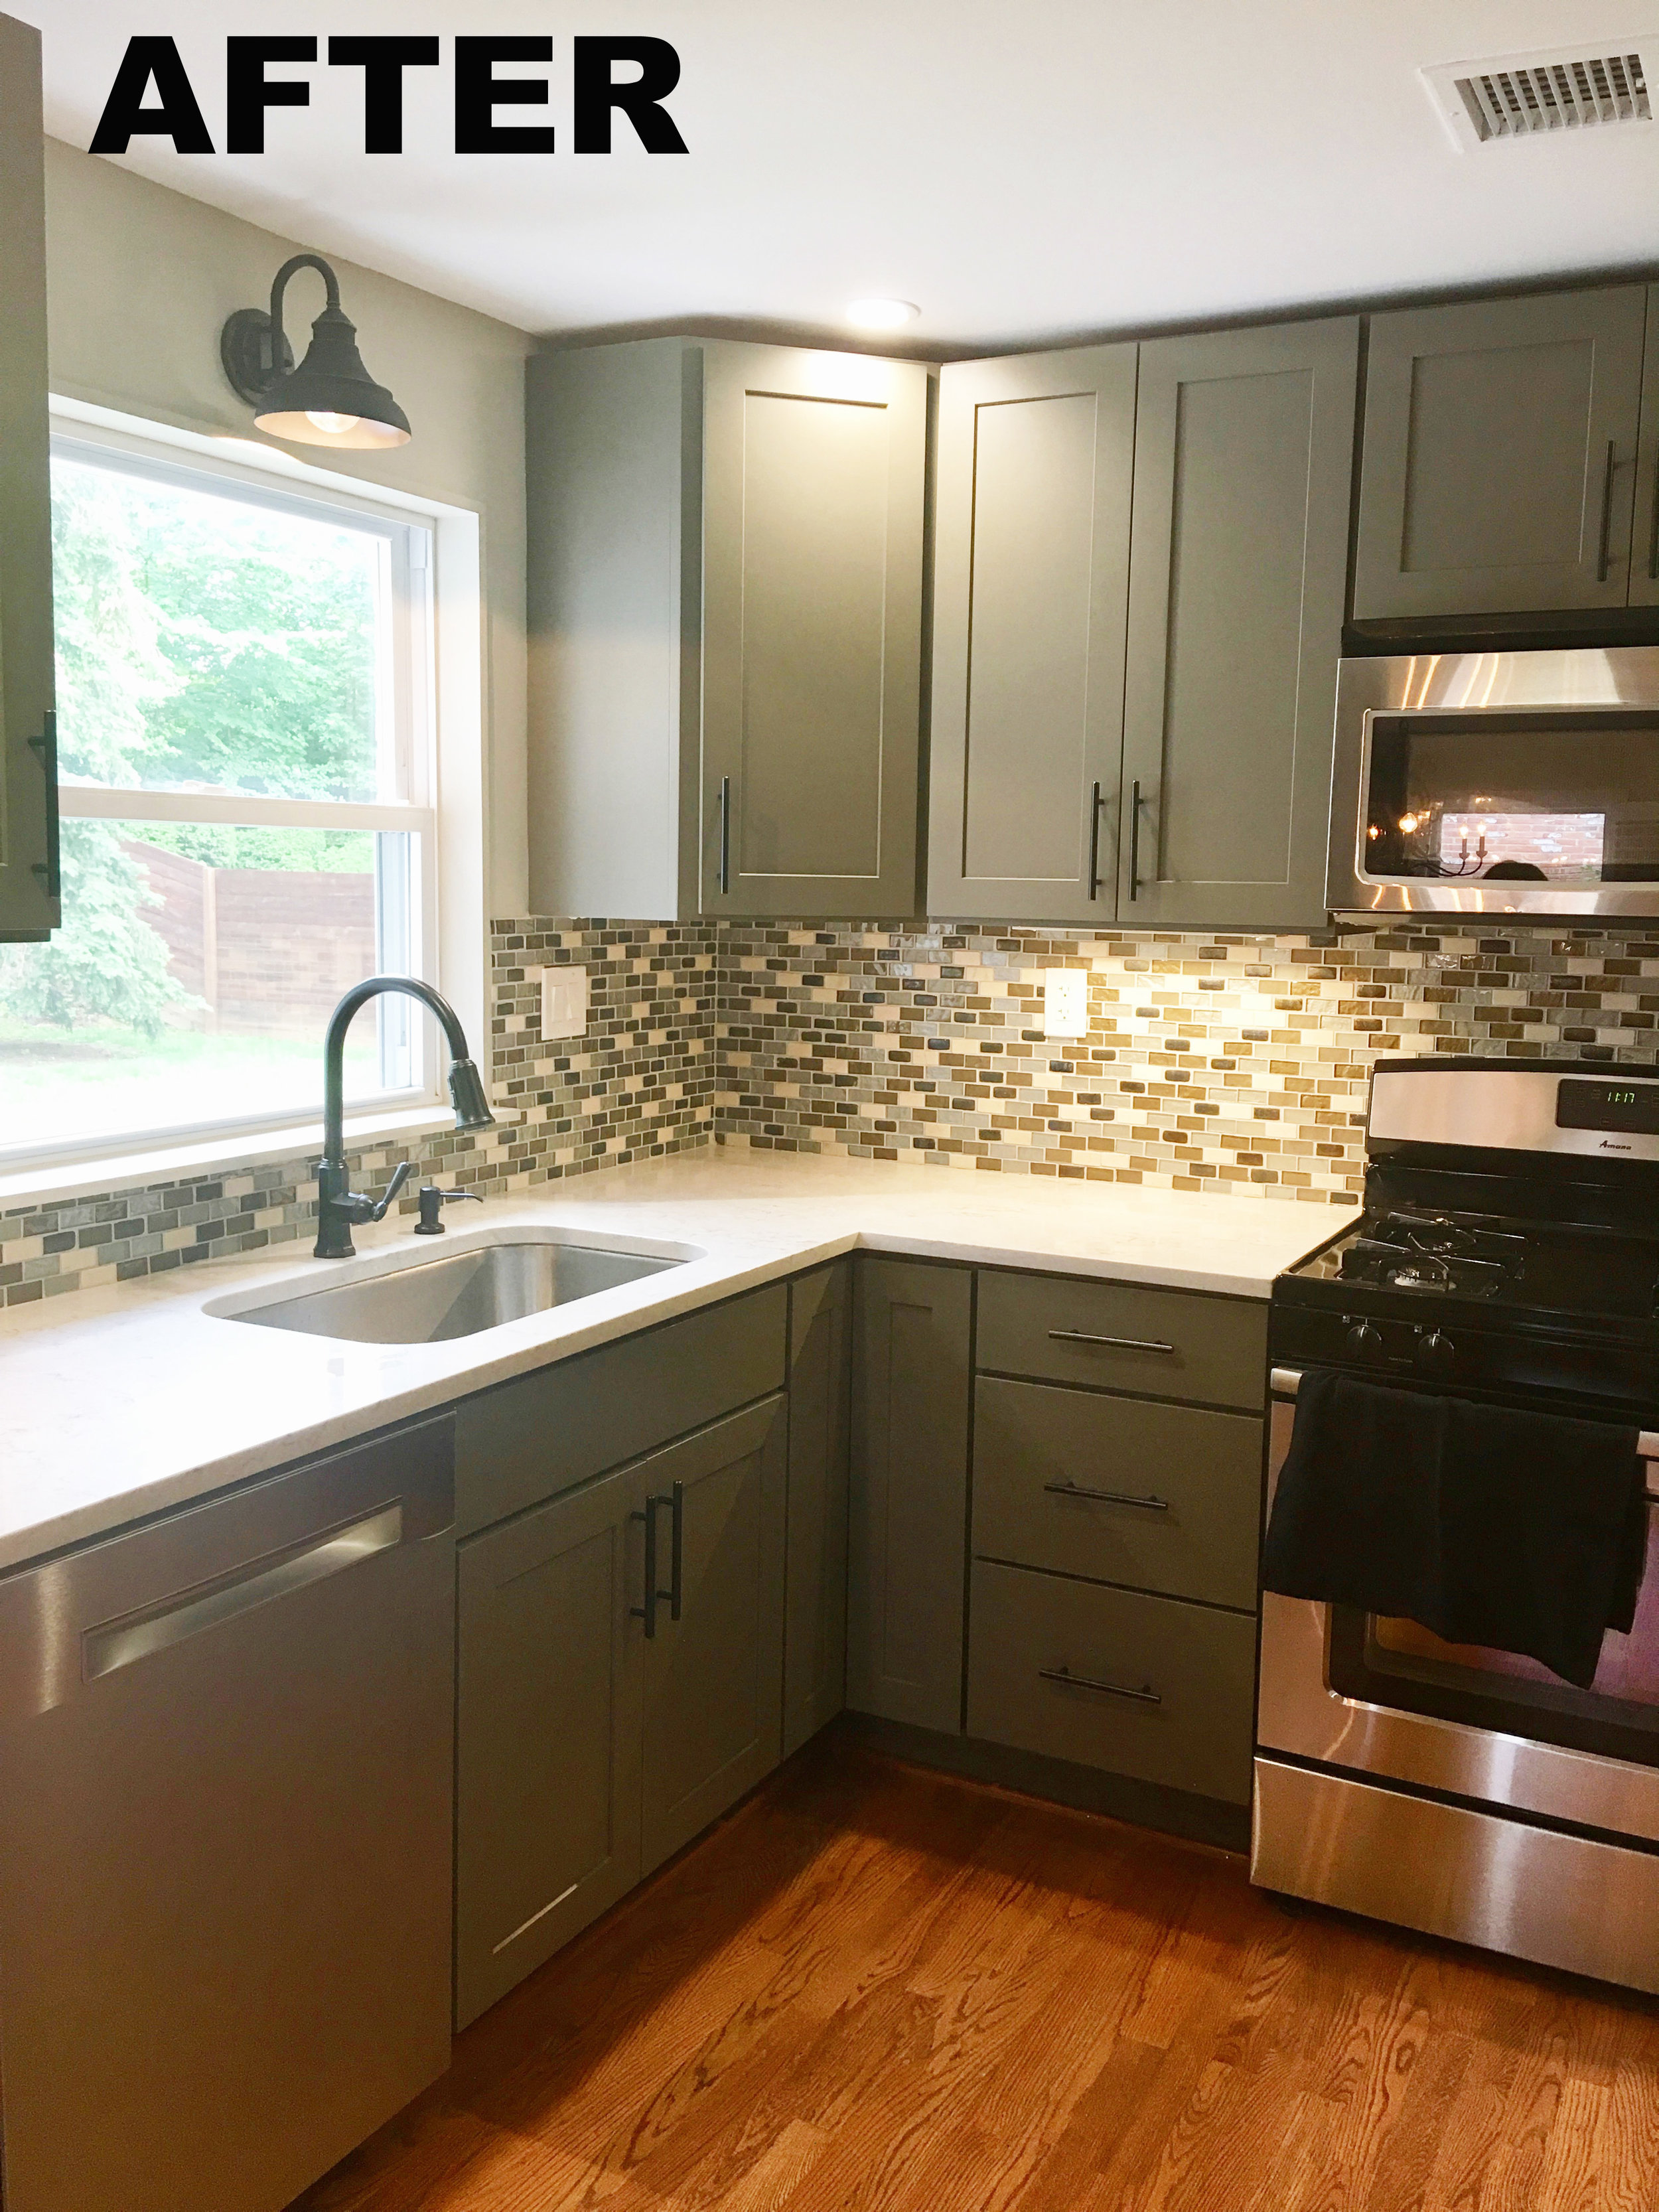
Kitchen Update
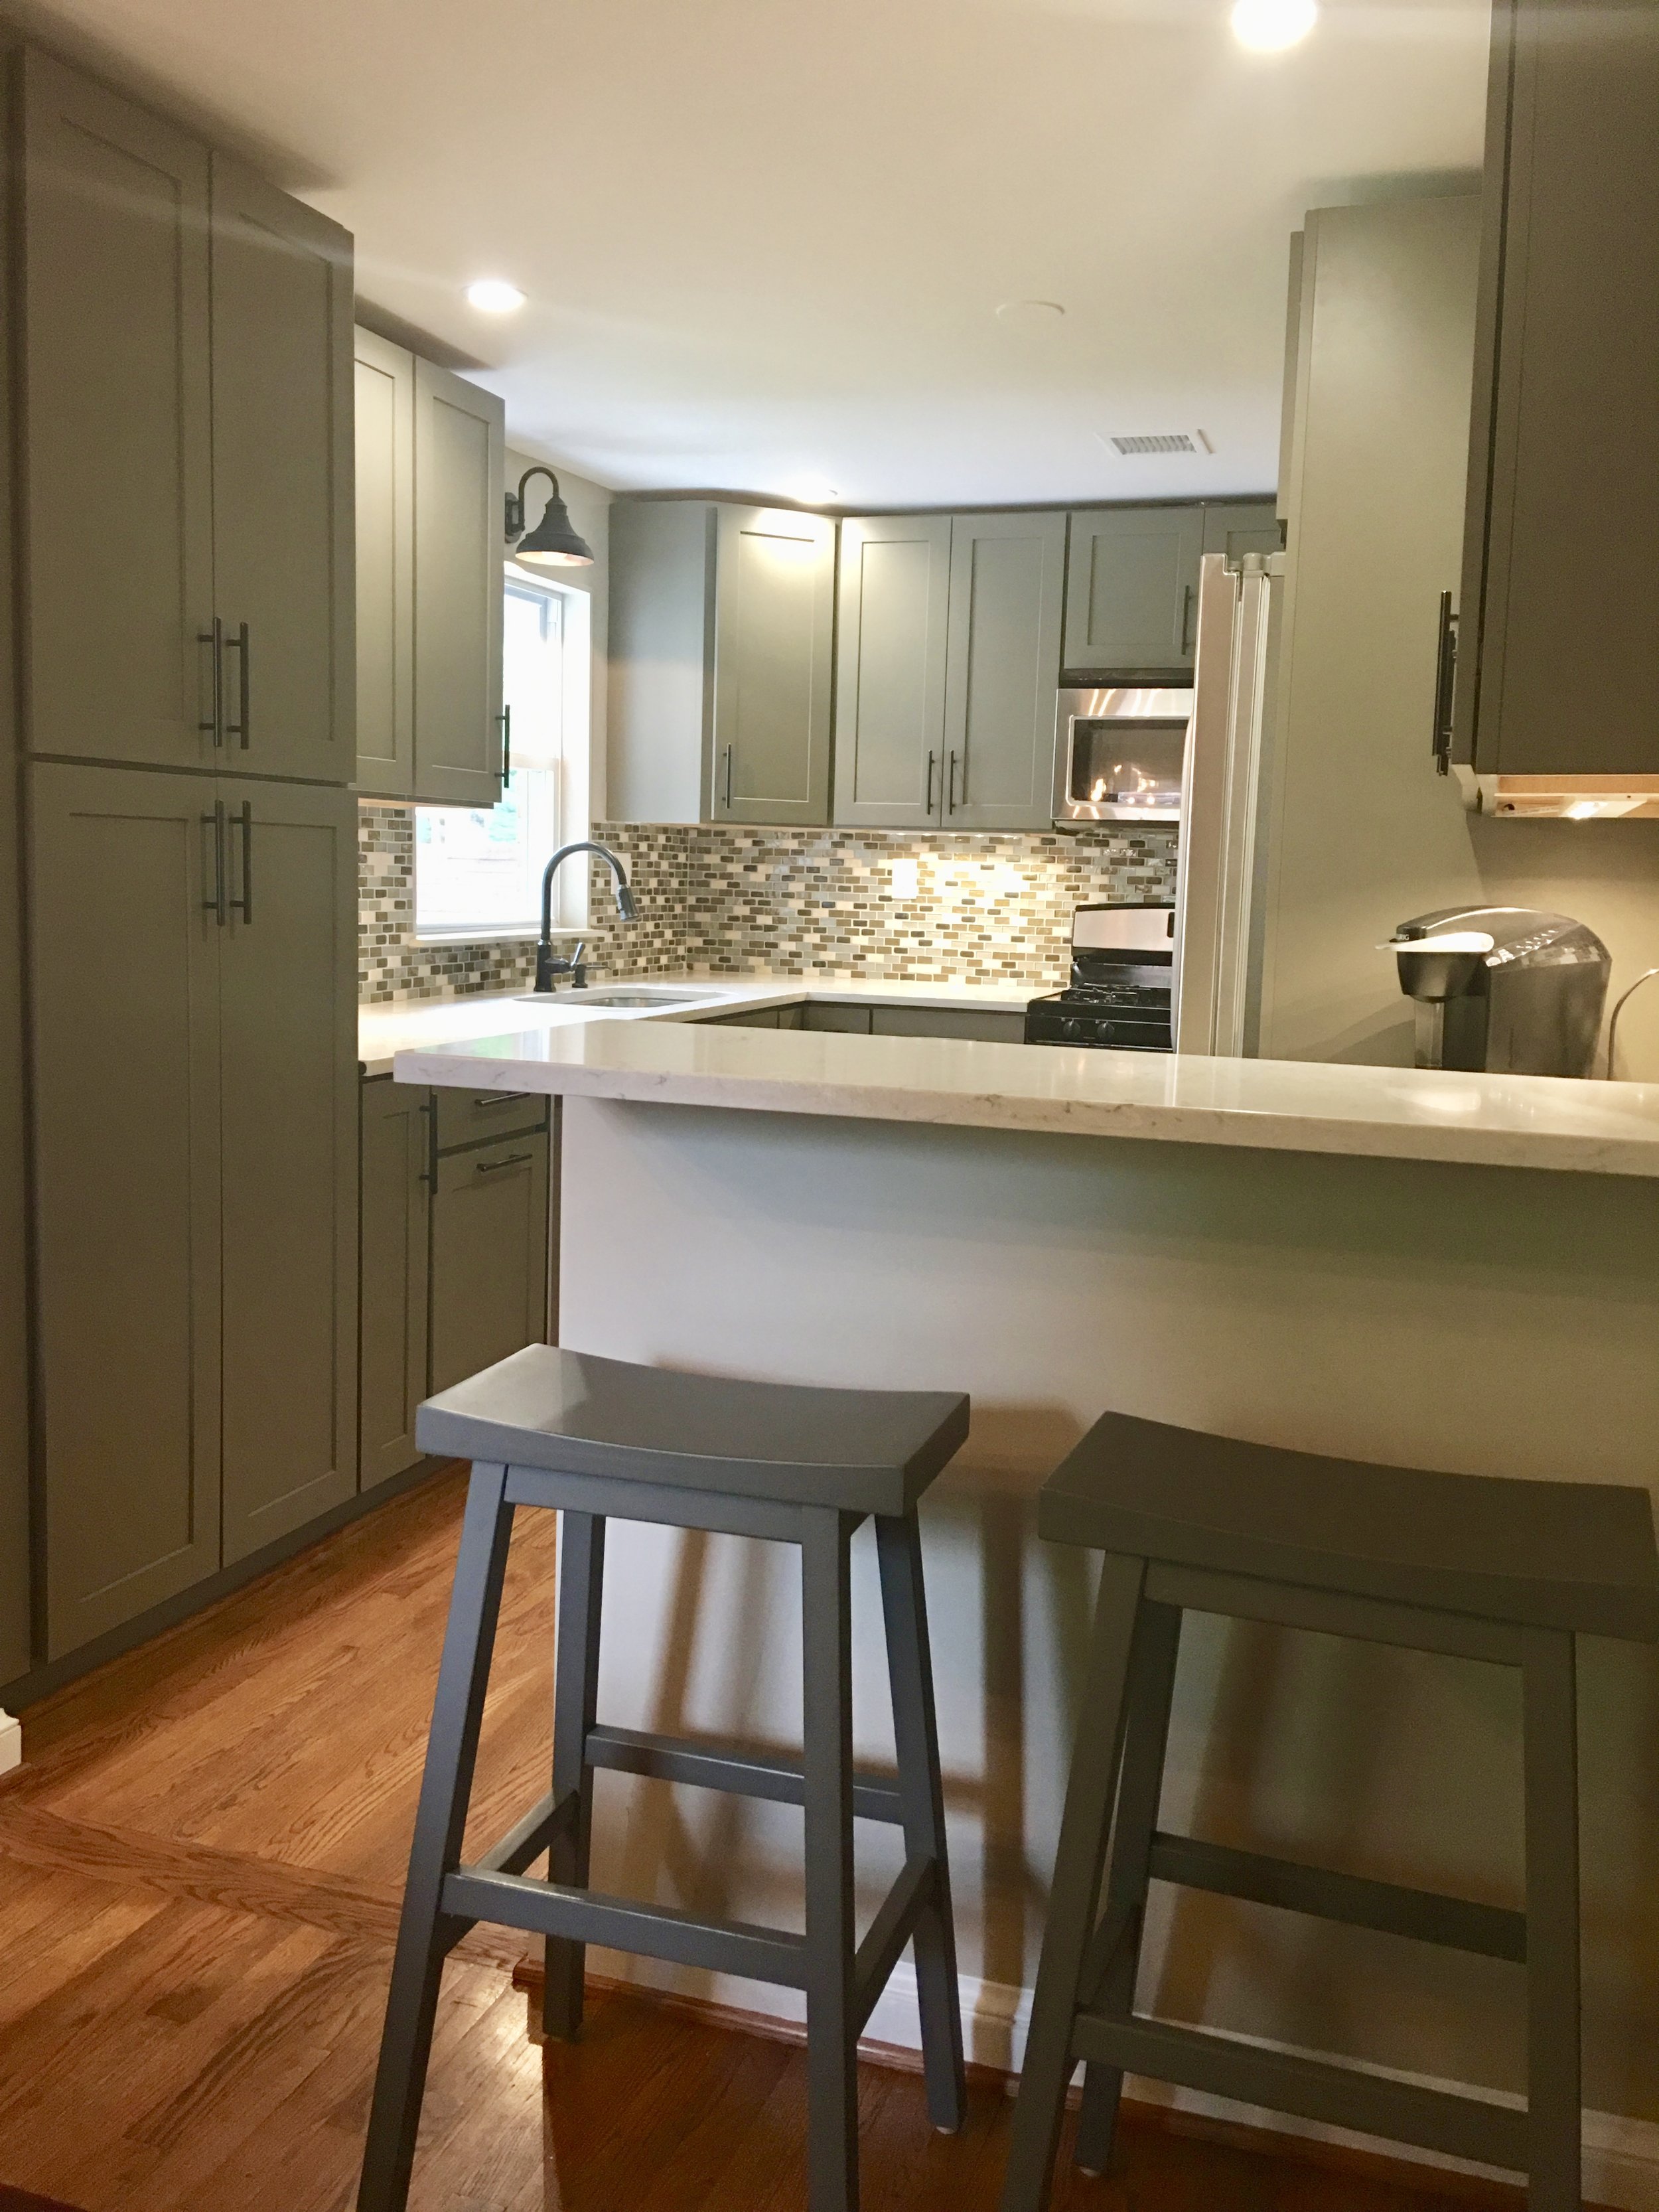
This kitchen renovation was fun to design. By opening both sides of the room, two new spaces were created. Read on and see what I mean.


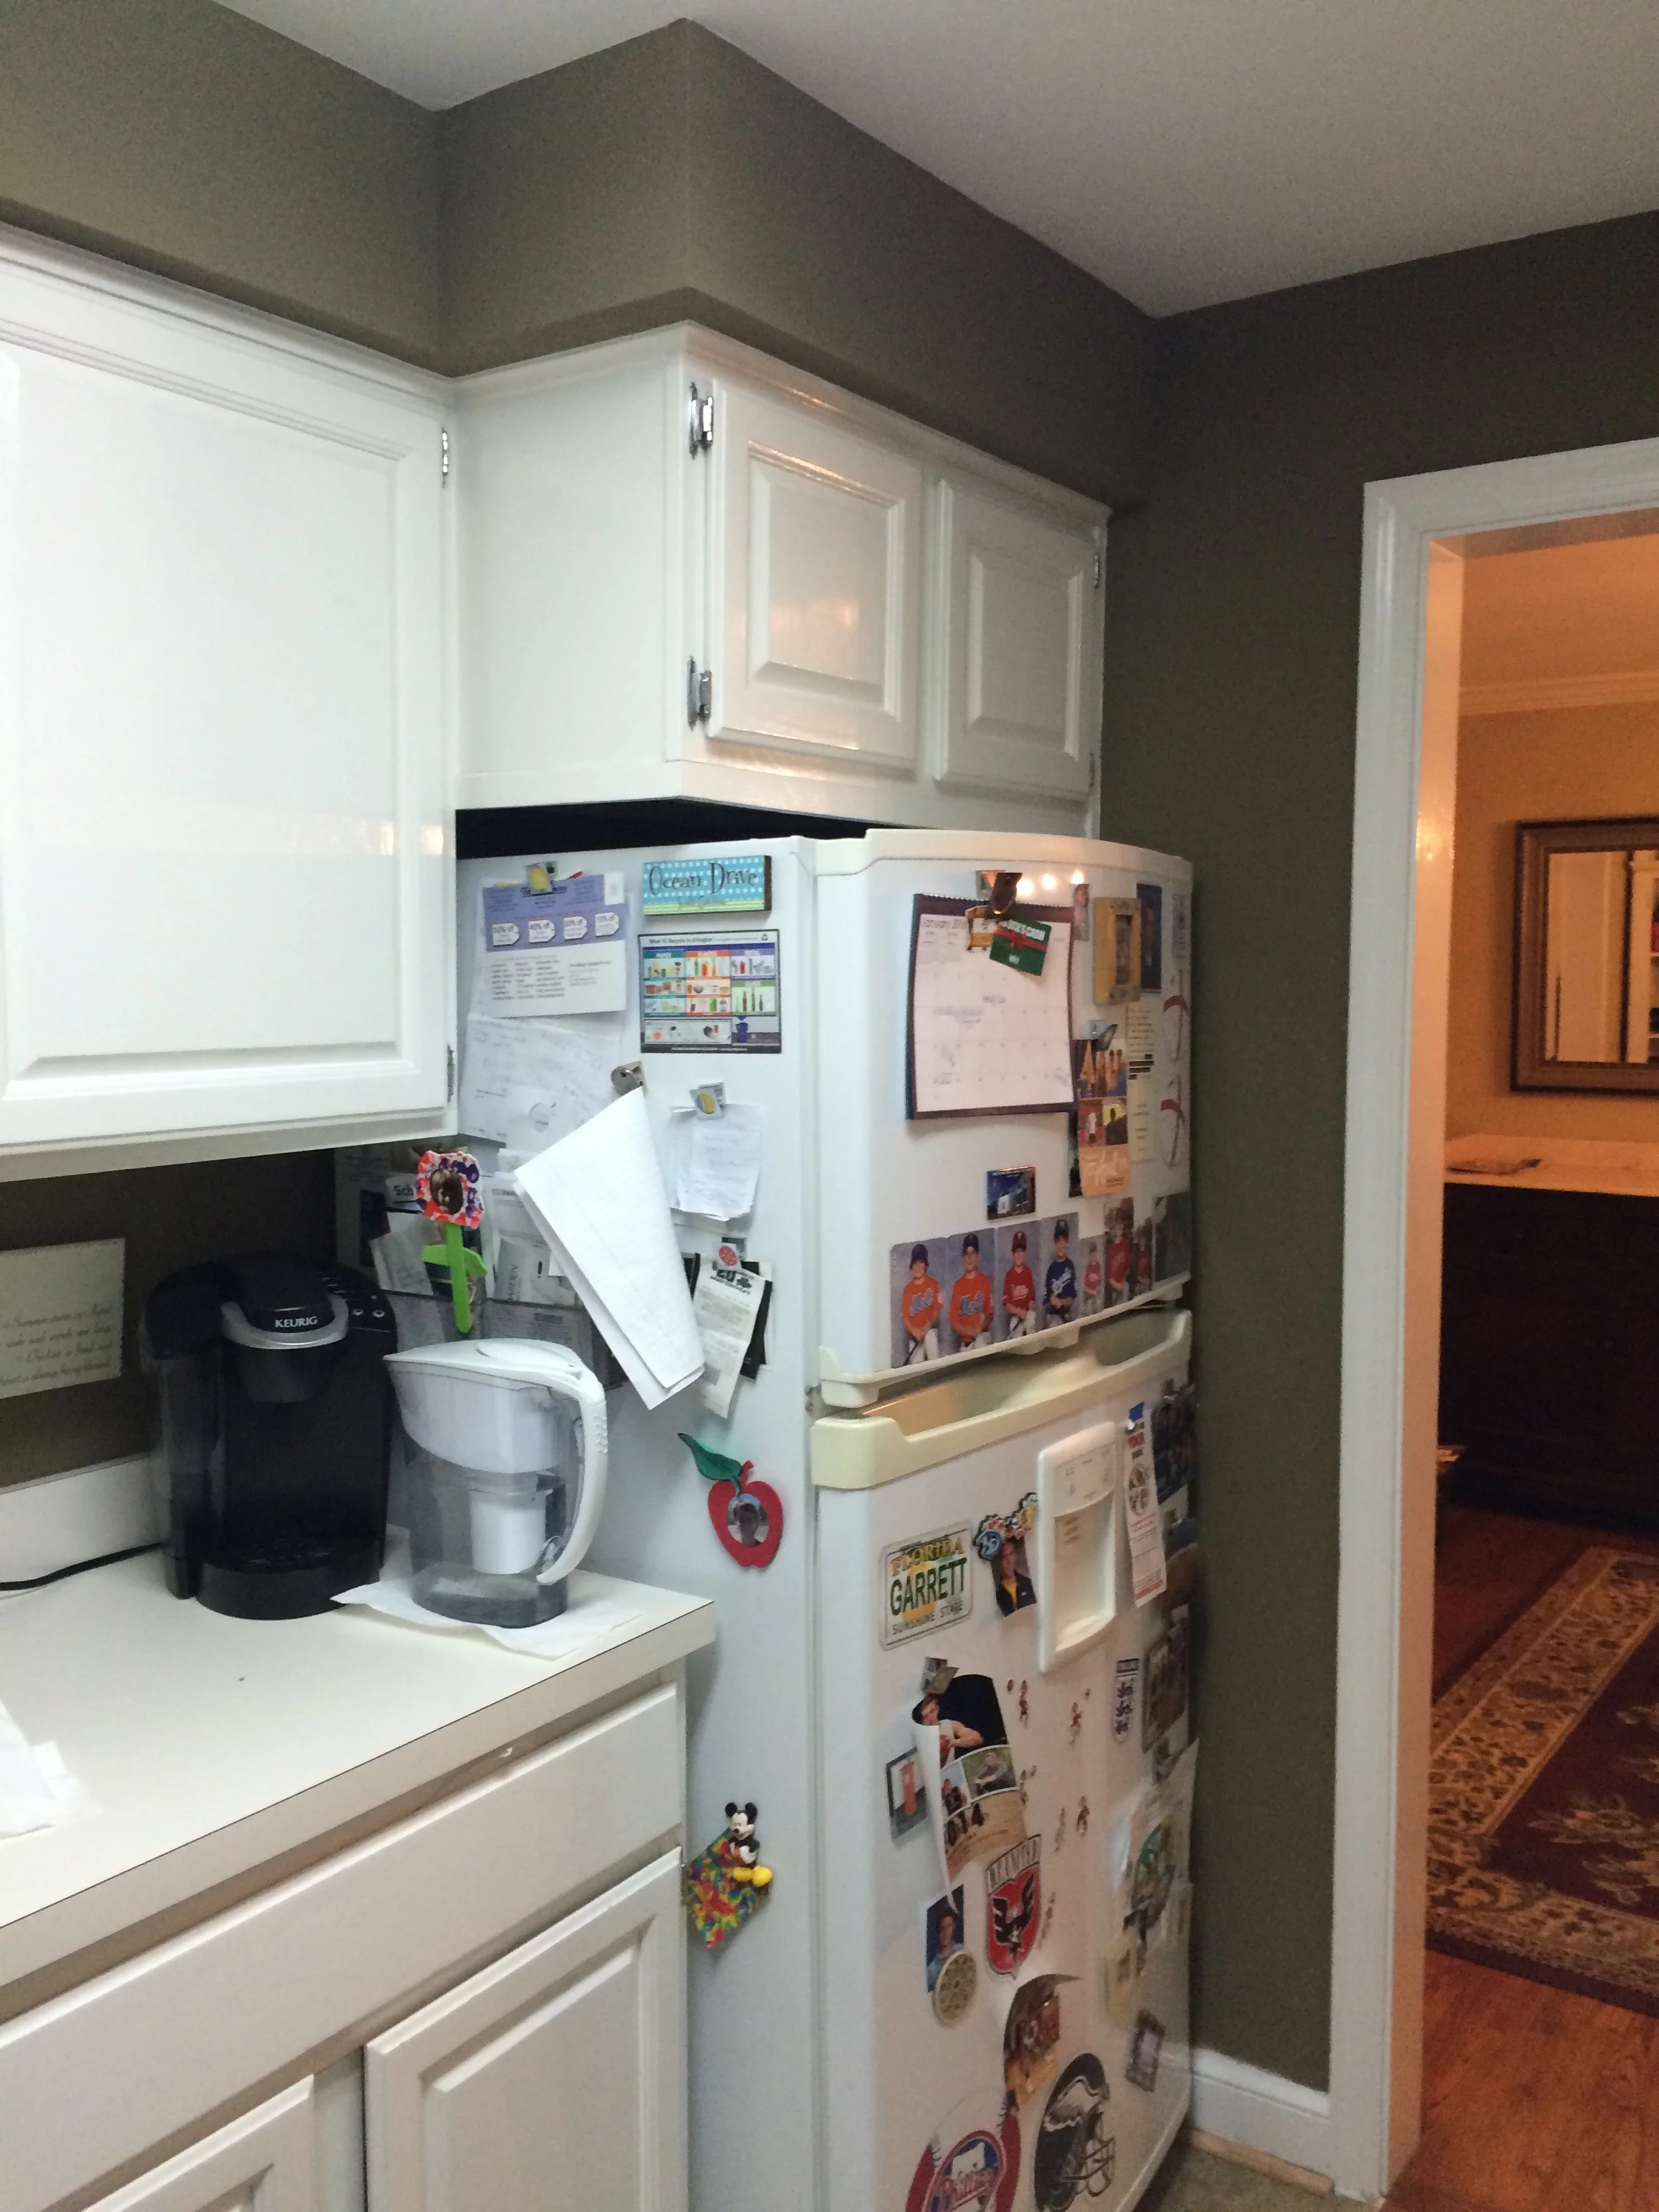
Before
The new pantry reaches the top of the ceiling with deep pull out shelves for plenty of storage. Before, my client had a trash can placed next to the dishwasher. A pull-out cabinet has been built in with a separate trash can and recycle can for convenience.

Before
A counter depth stainless steel refrigerator was placed on the opposite side of the counter and the room was opened up by taking down this wall and adding an eat in counter.

Vinyl flooring was removed and hardwood floors were installed to continue the open flow throughout the dining room and main entrance.
By creating an eat in counter, the kids can now have breakfast and do homework while hanging out with mom.
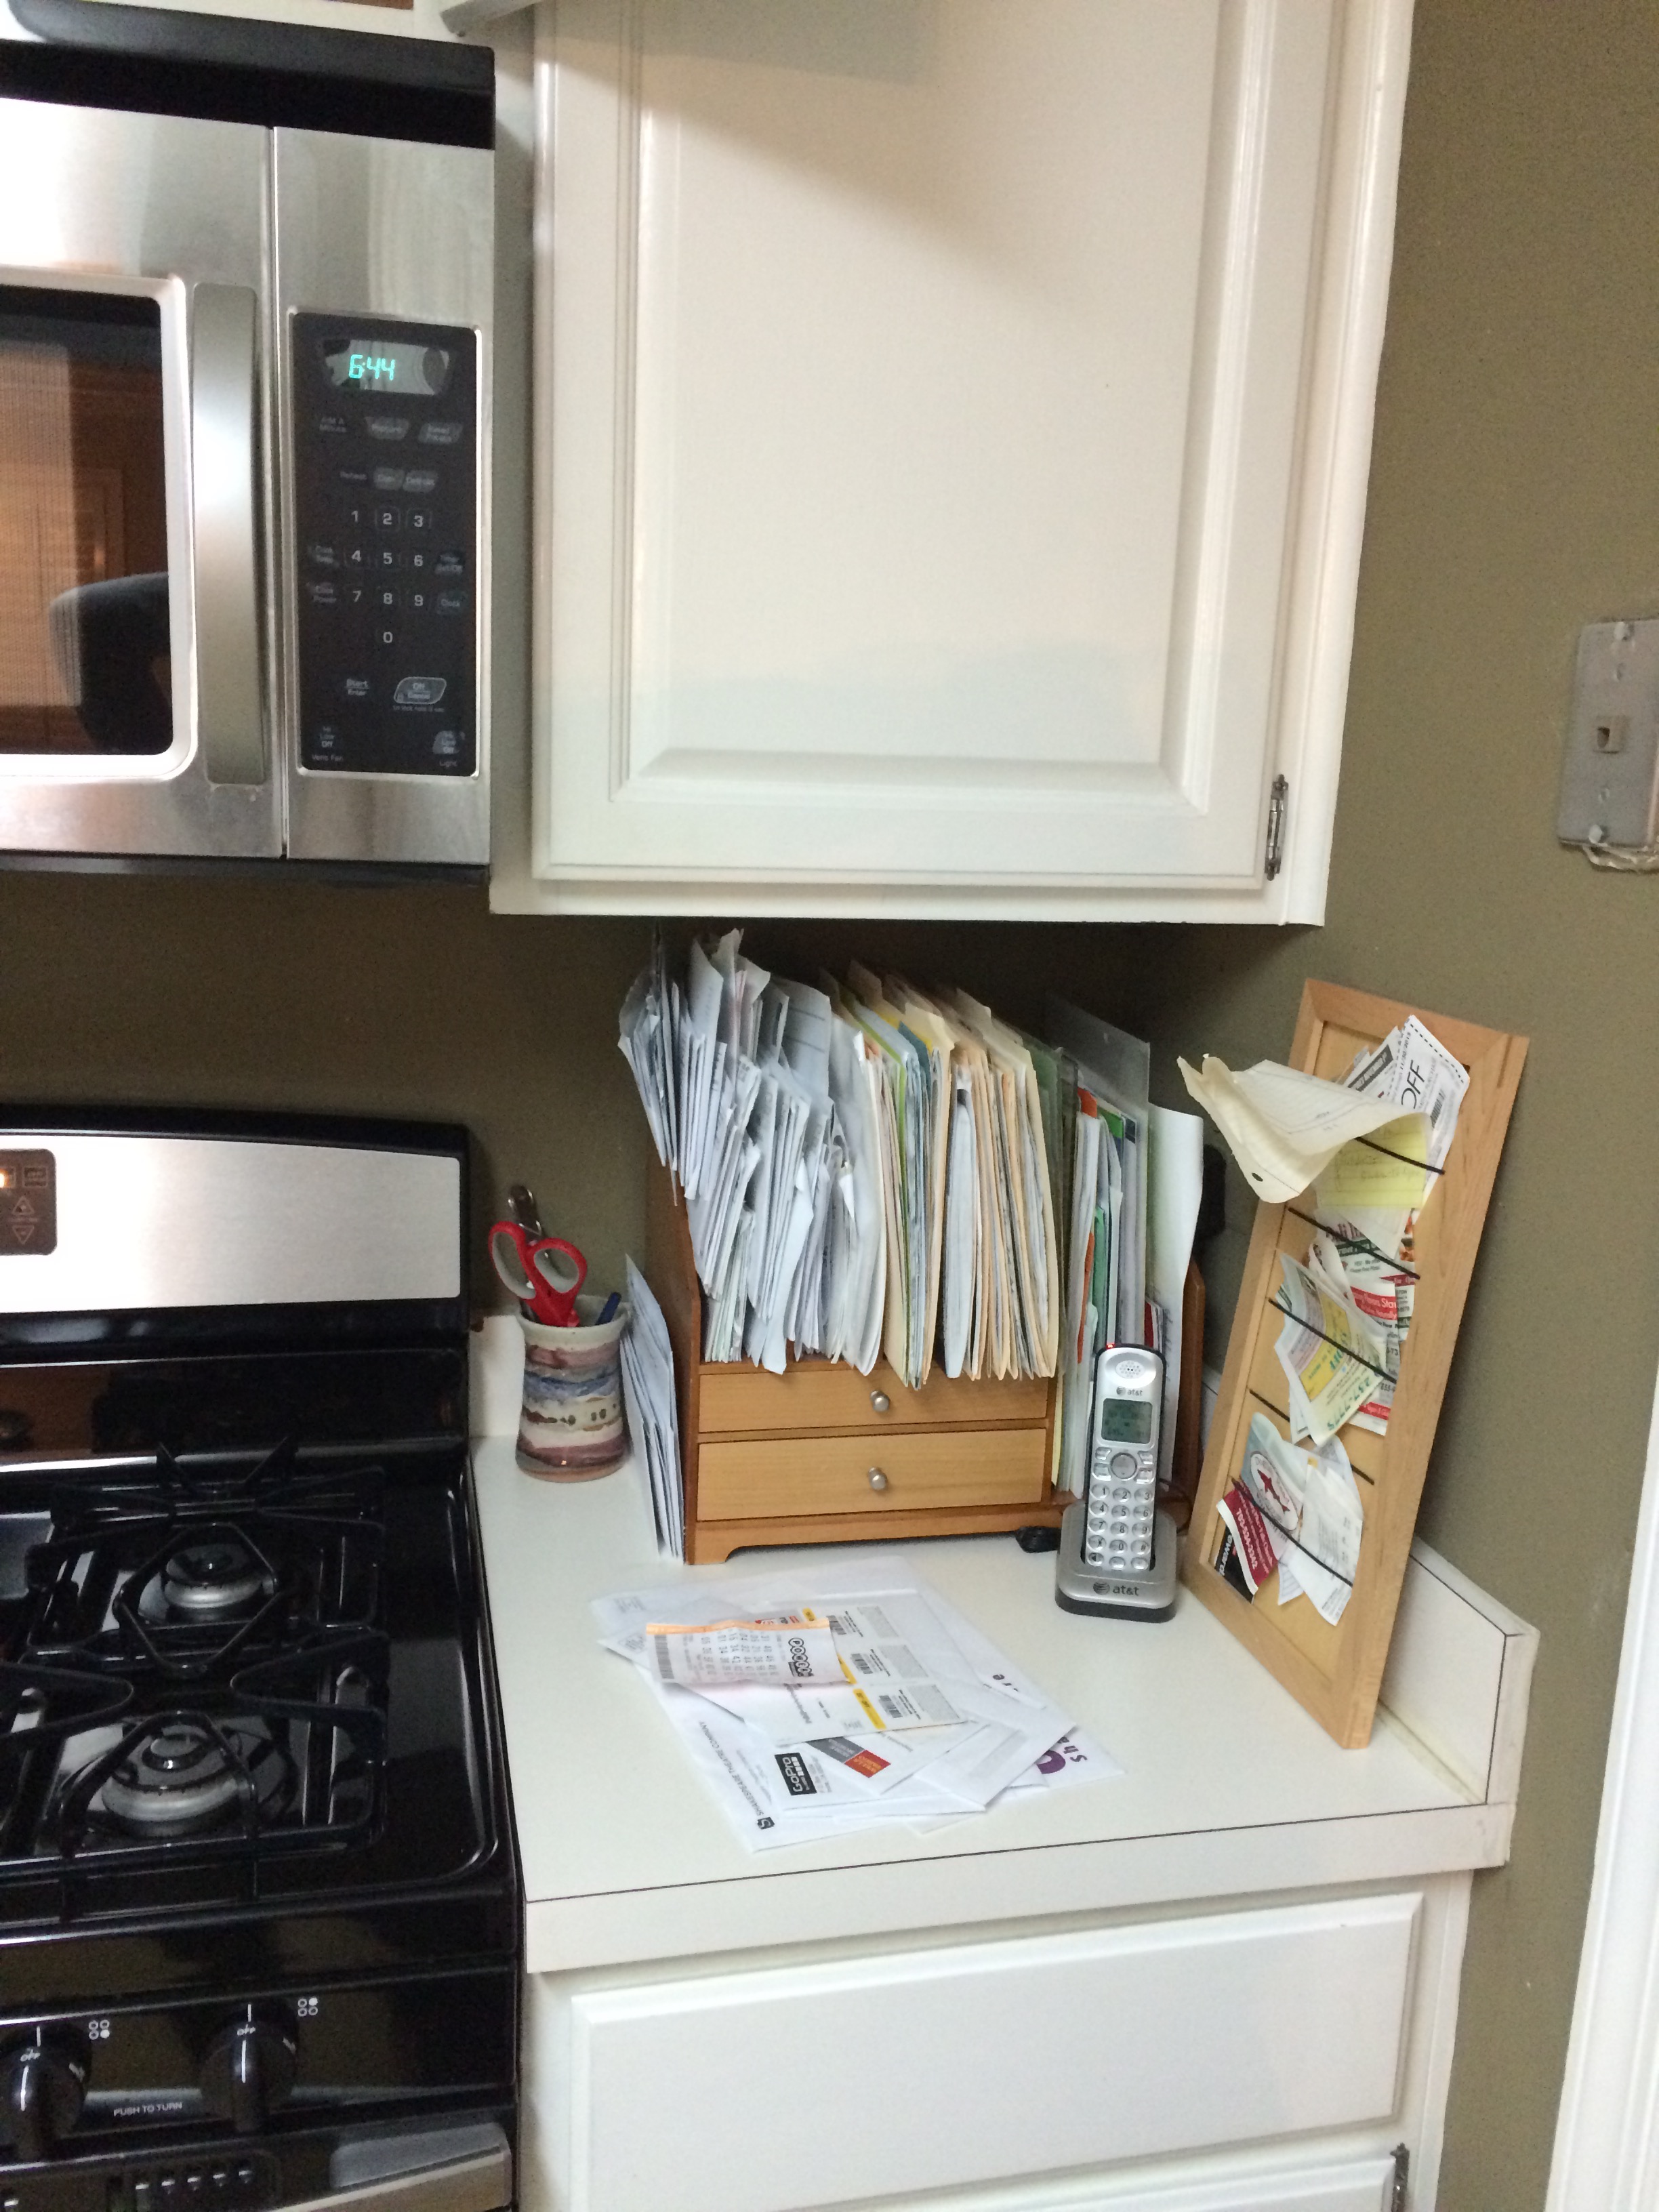
Before, this was the extent of workspace in the kitchen. By removing the wall to the right and extending the counter and cabinet storage, the kitchen is now open and airy.
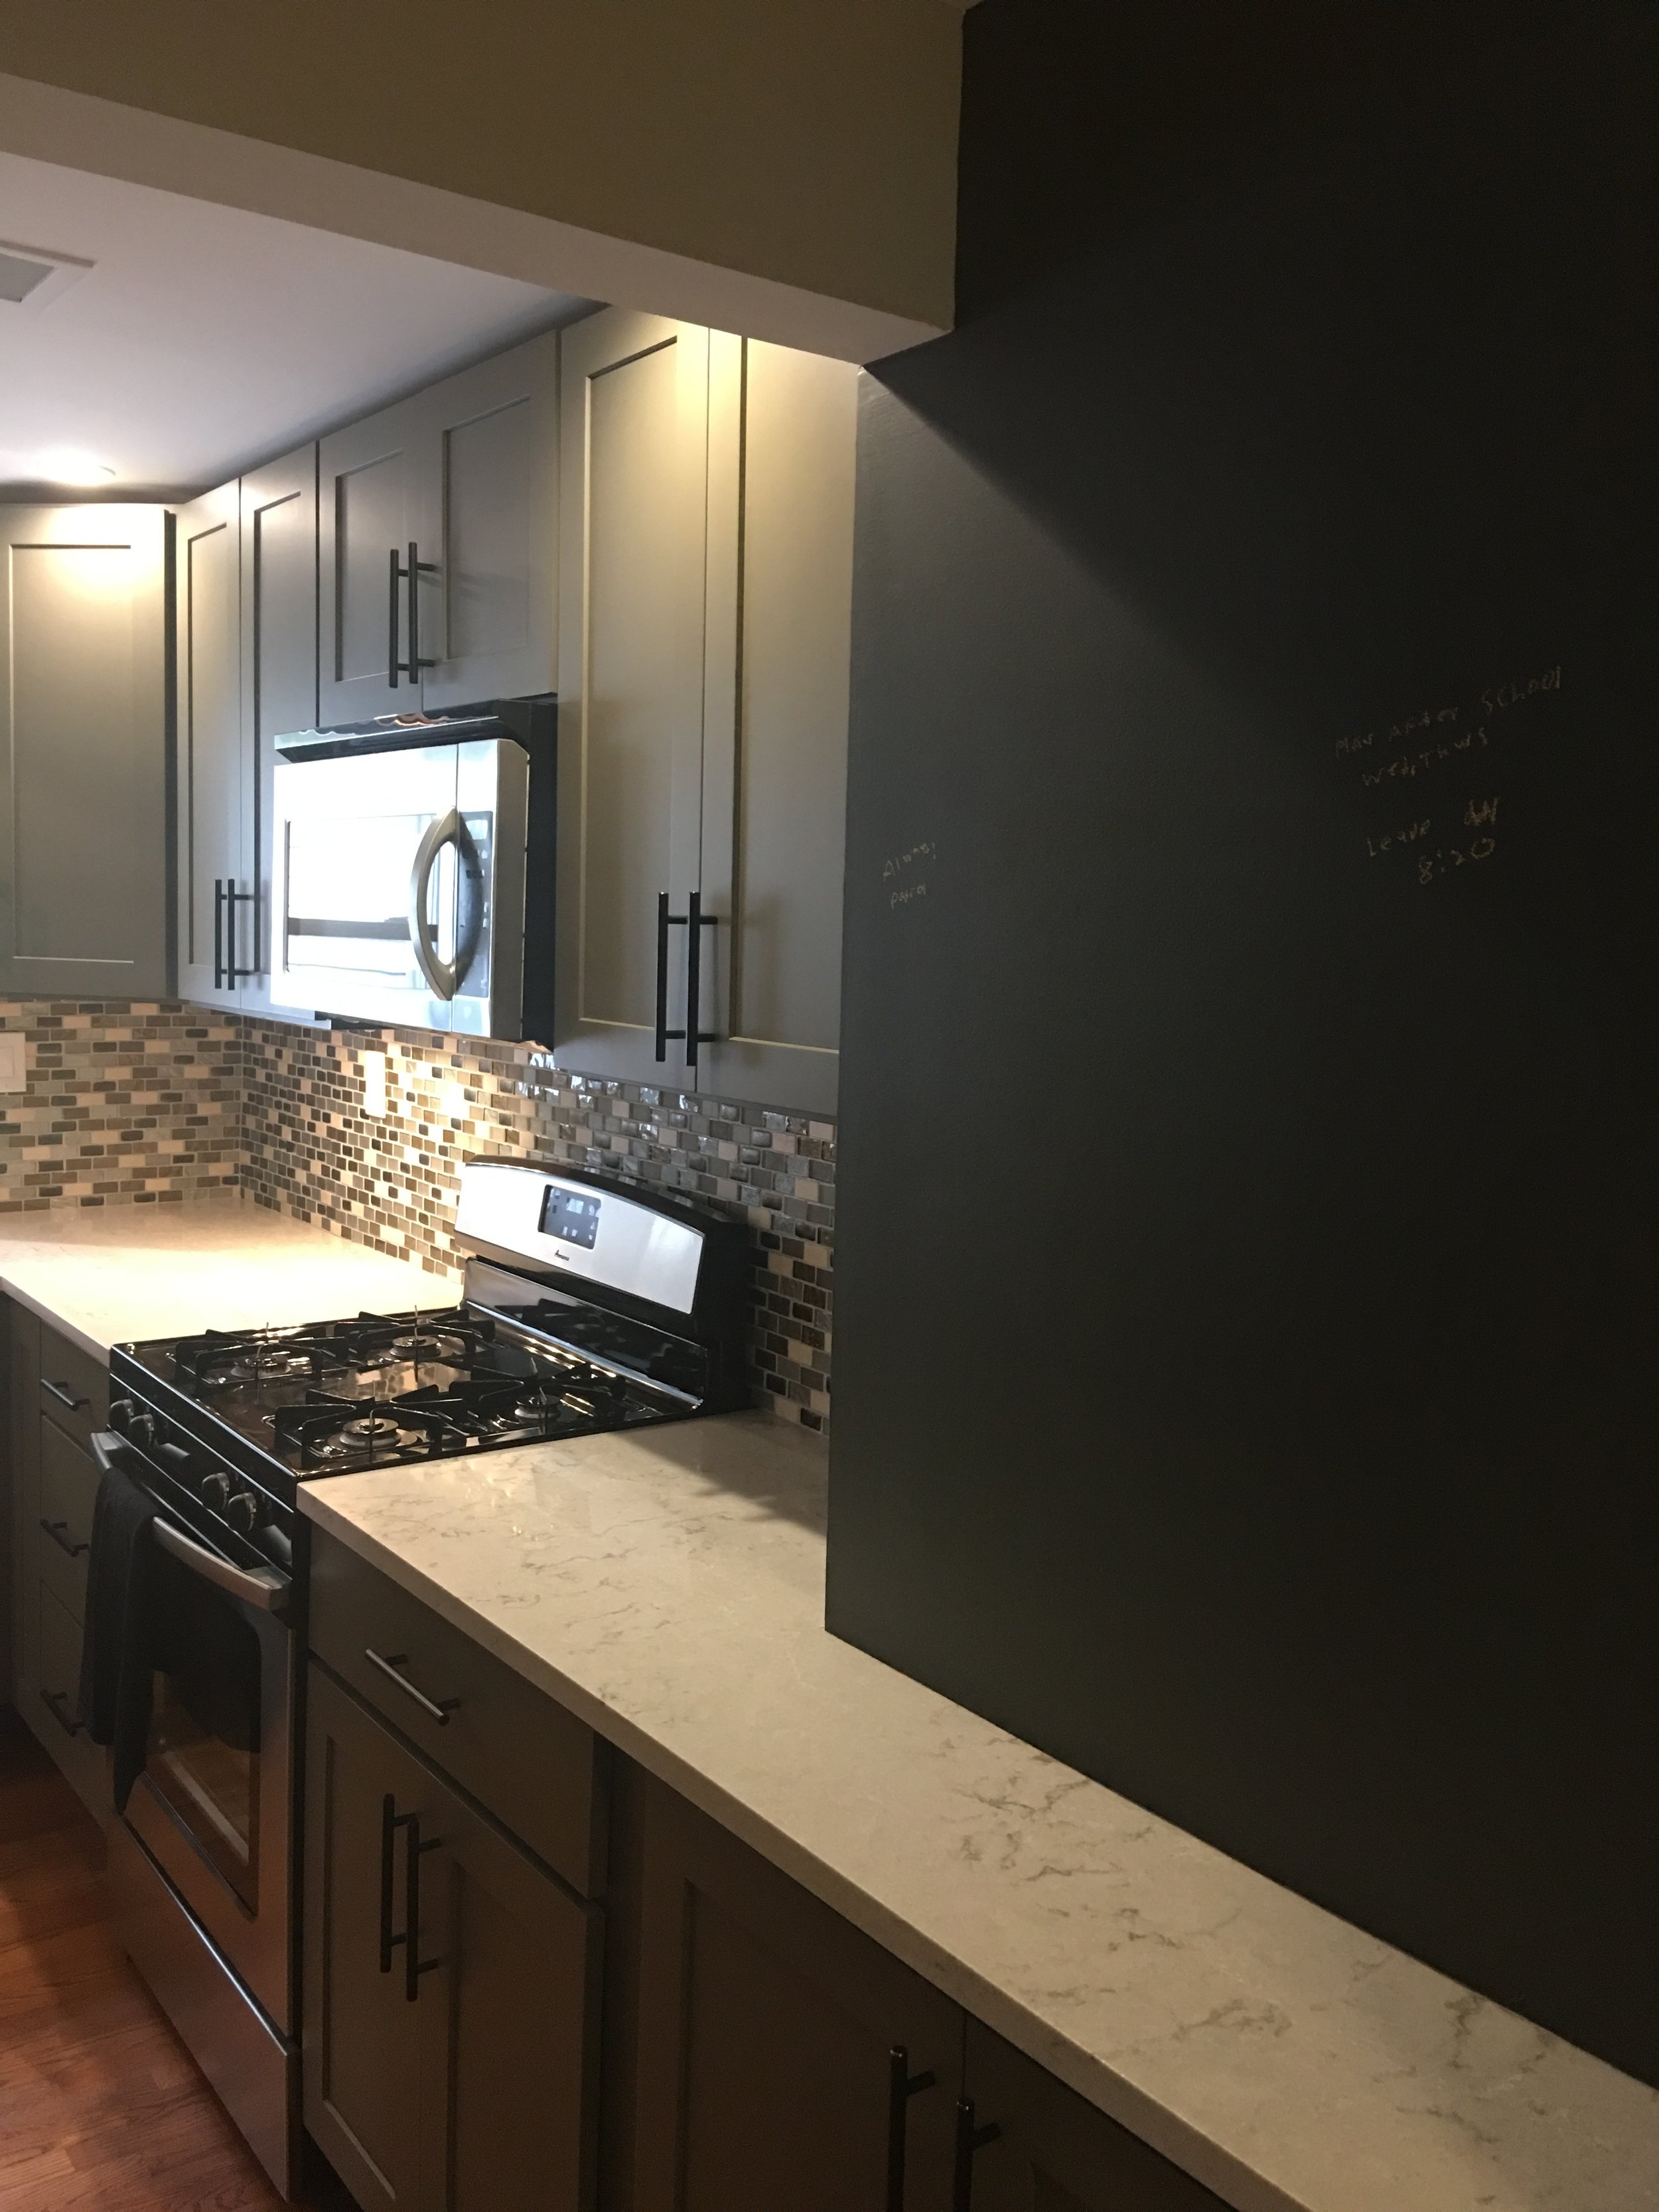
The entrance doorway was removed and the counter was extended into the hallway to create a small work area with cabinet storage below. The wall was painted with chalkboard/magnetic paint for a fun area to write down a quick grocery list or kid's activities.
BEFORE AND AFTER
Rockin Makeover
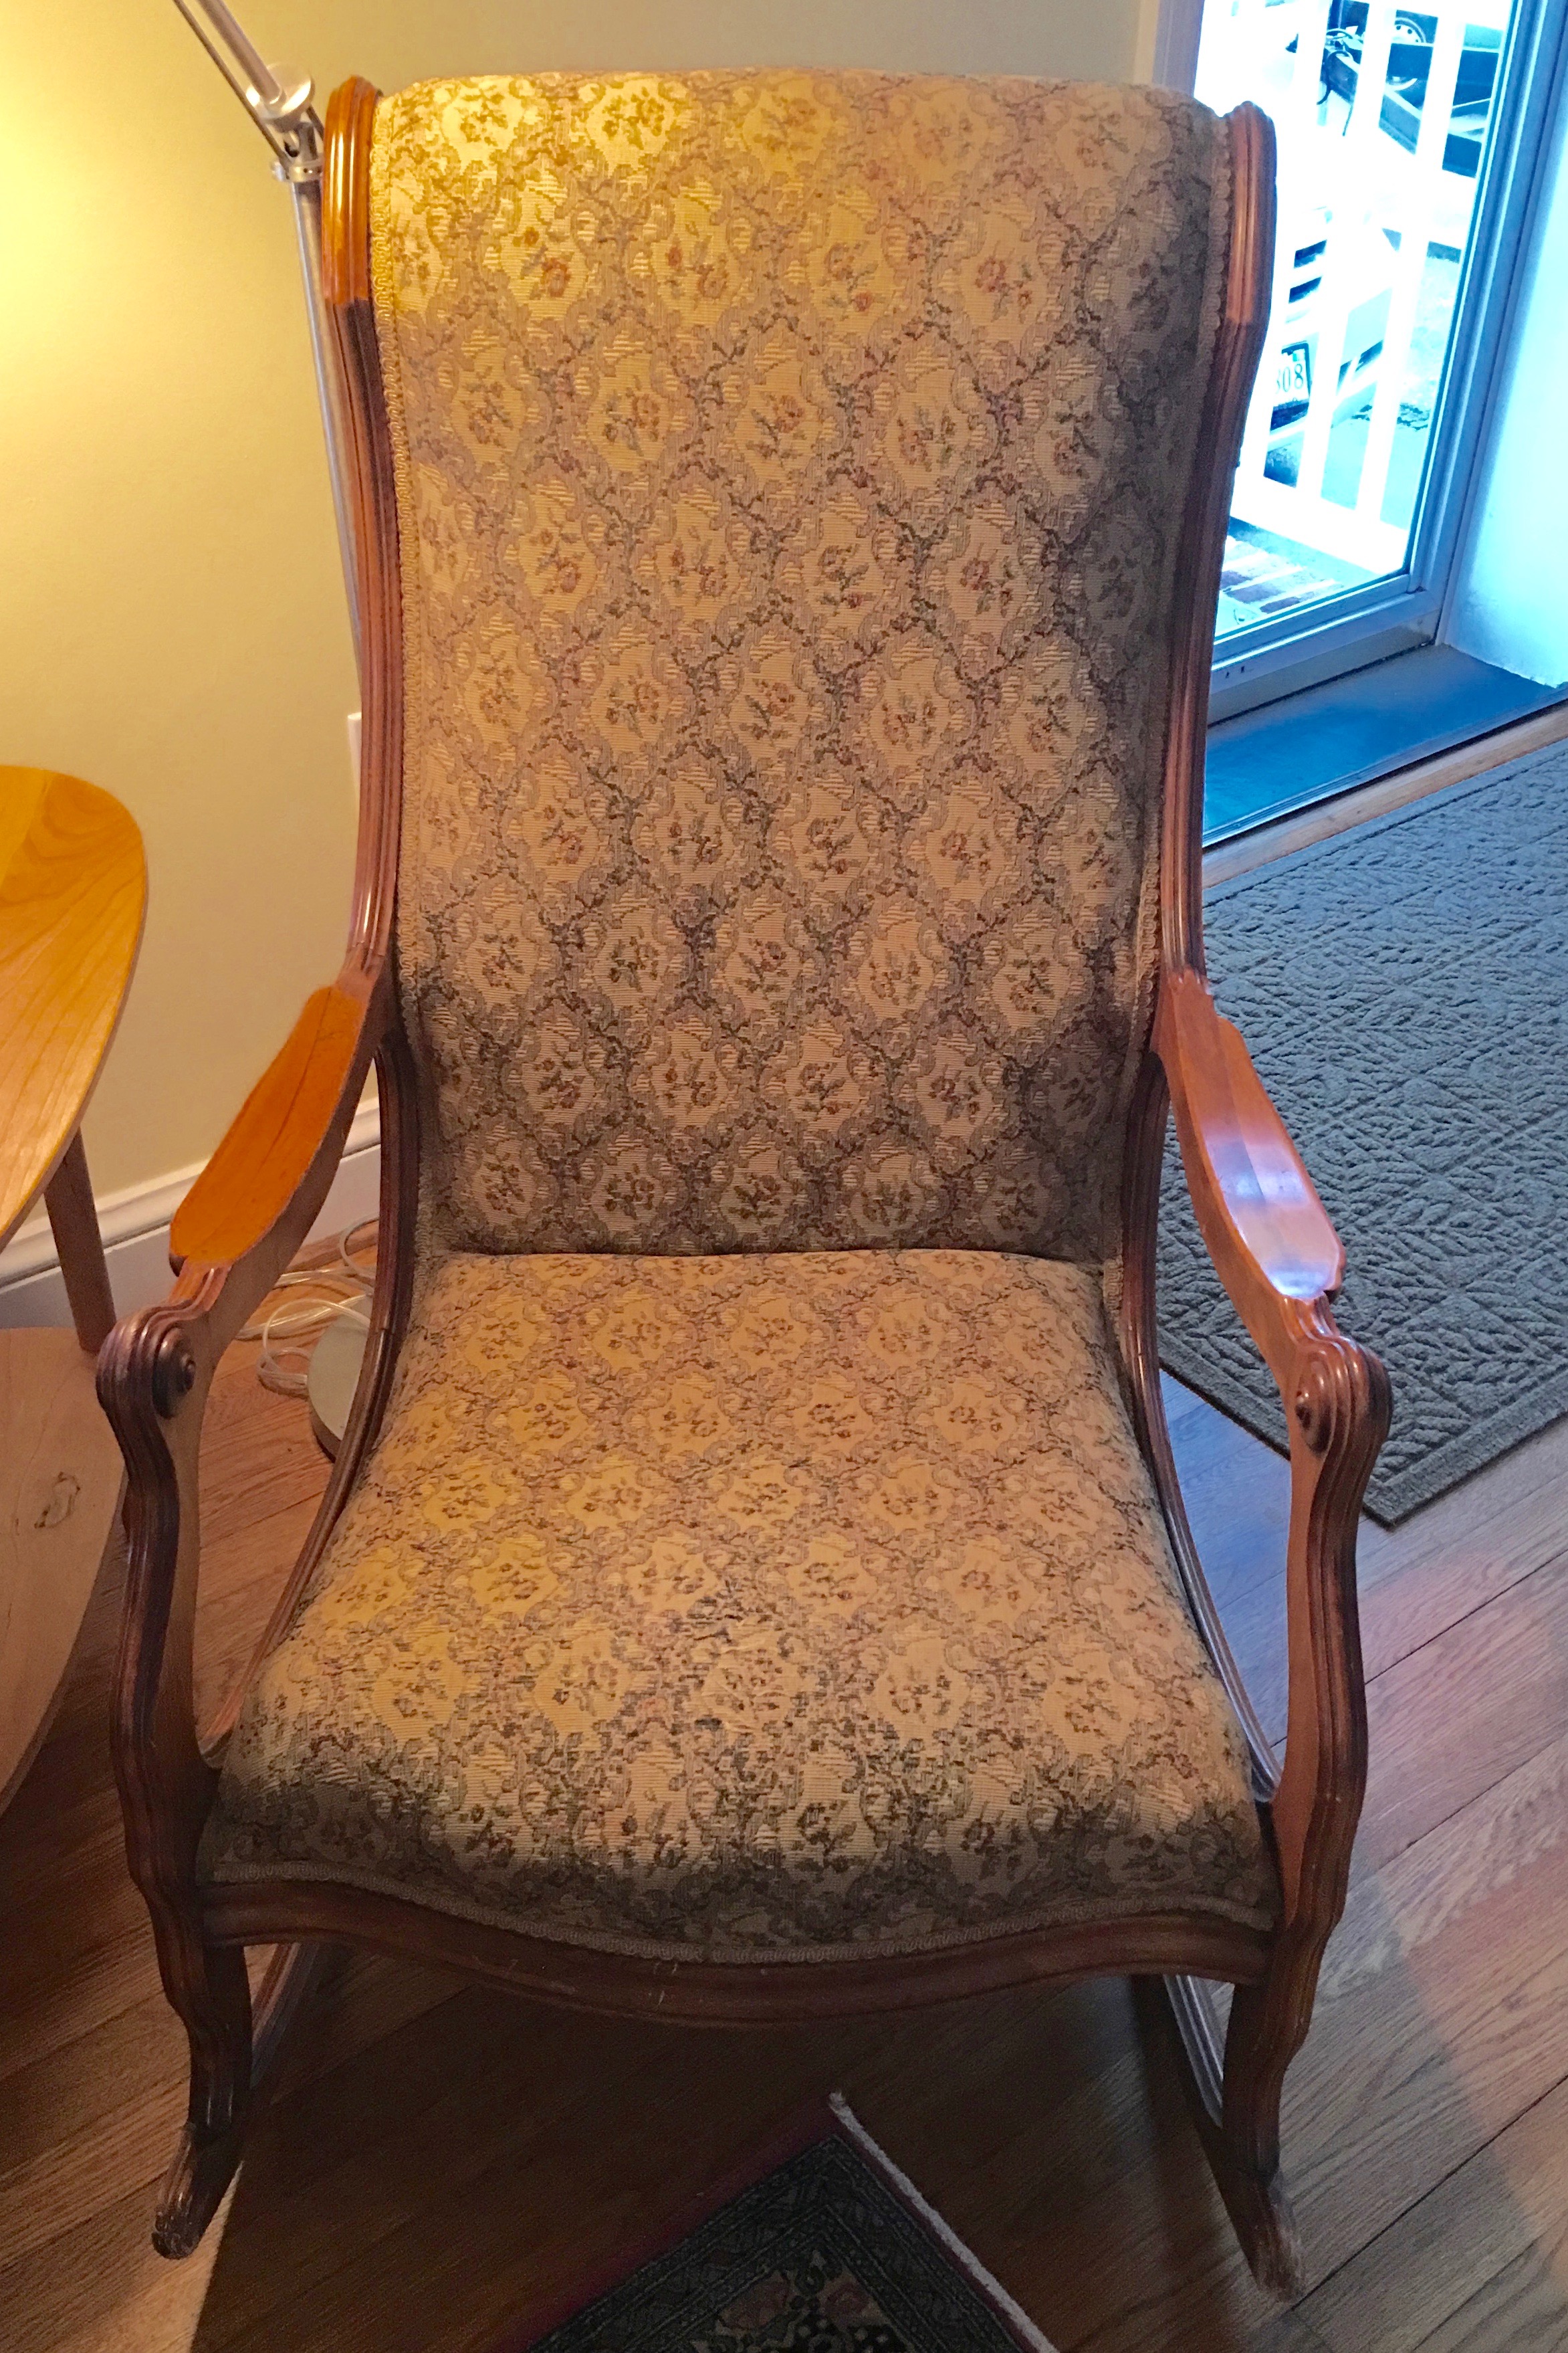
Once again, don't give up on a charming piece of furniture you've inherited......give it a new modern makeover. This lovely rocker has been reupholstered with a large ikat patterned fabric and a contrasting navy linen for piping detail and backing. My clients are thrilled with their newly revived heirloom.

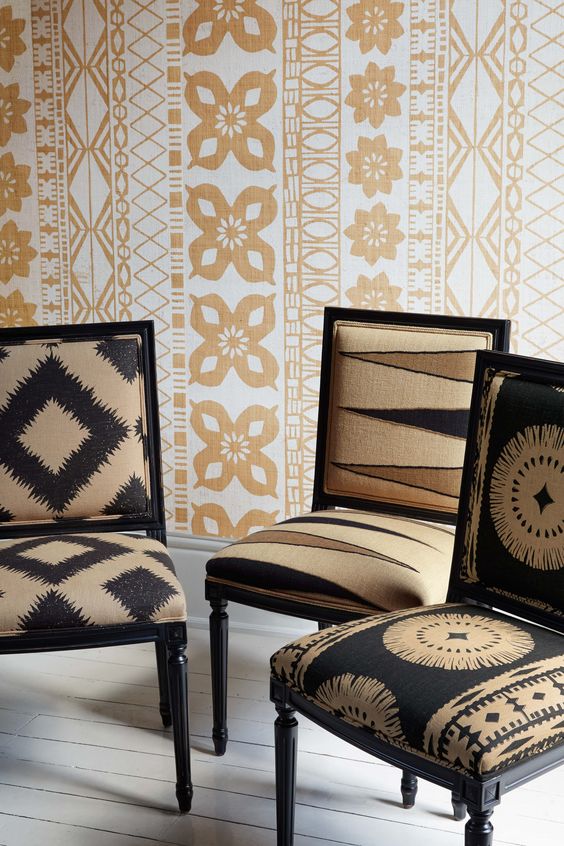
Here are a few rockers and chairs with big pattern bang!!!


0 LIKES
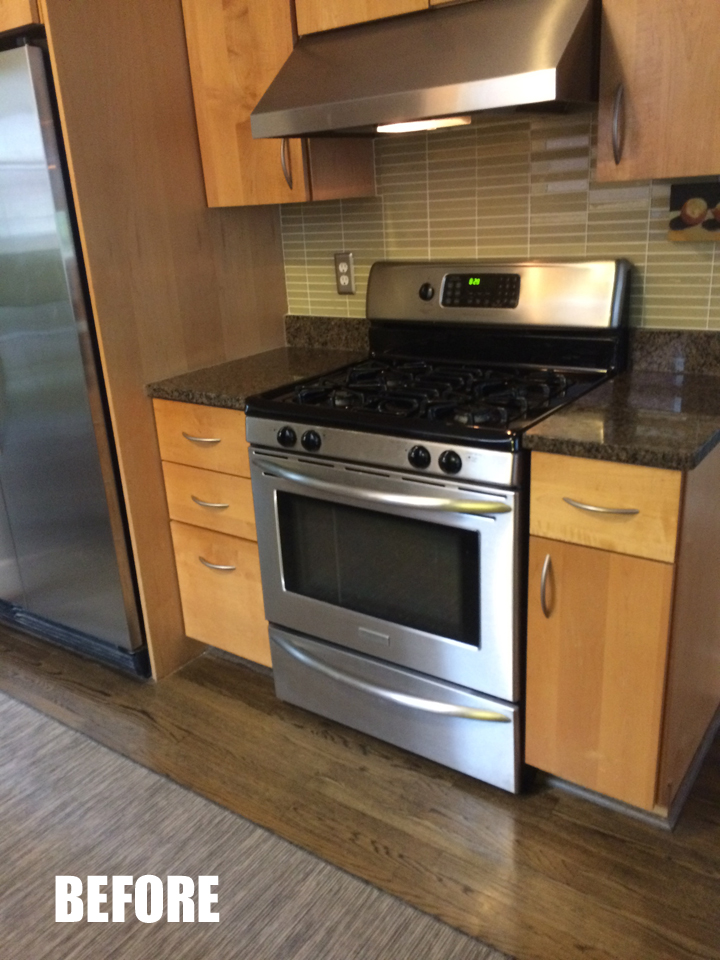
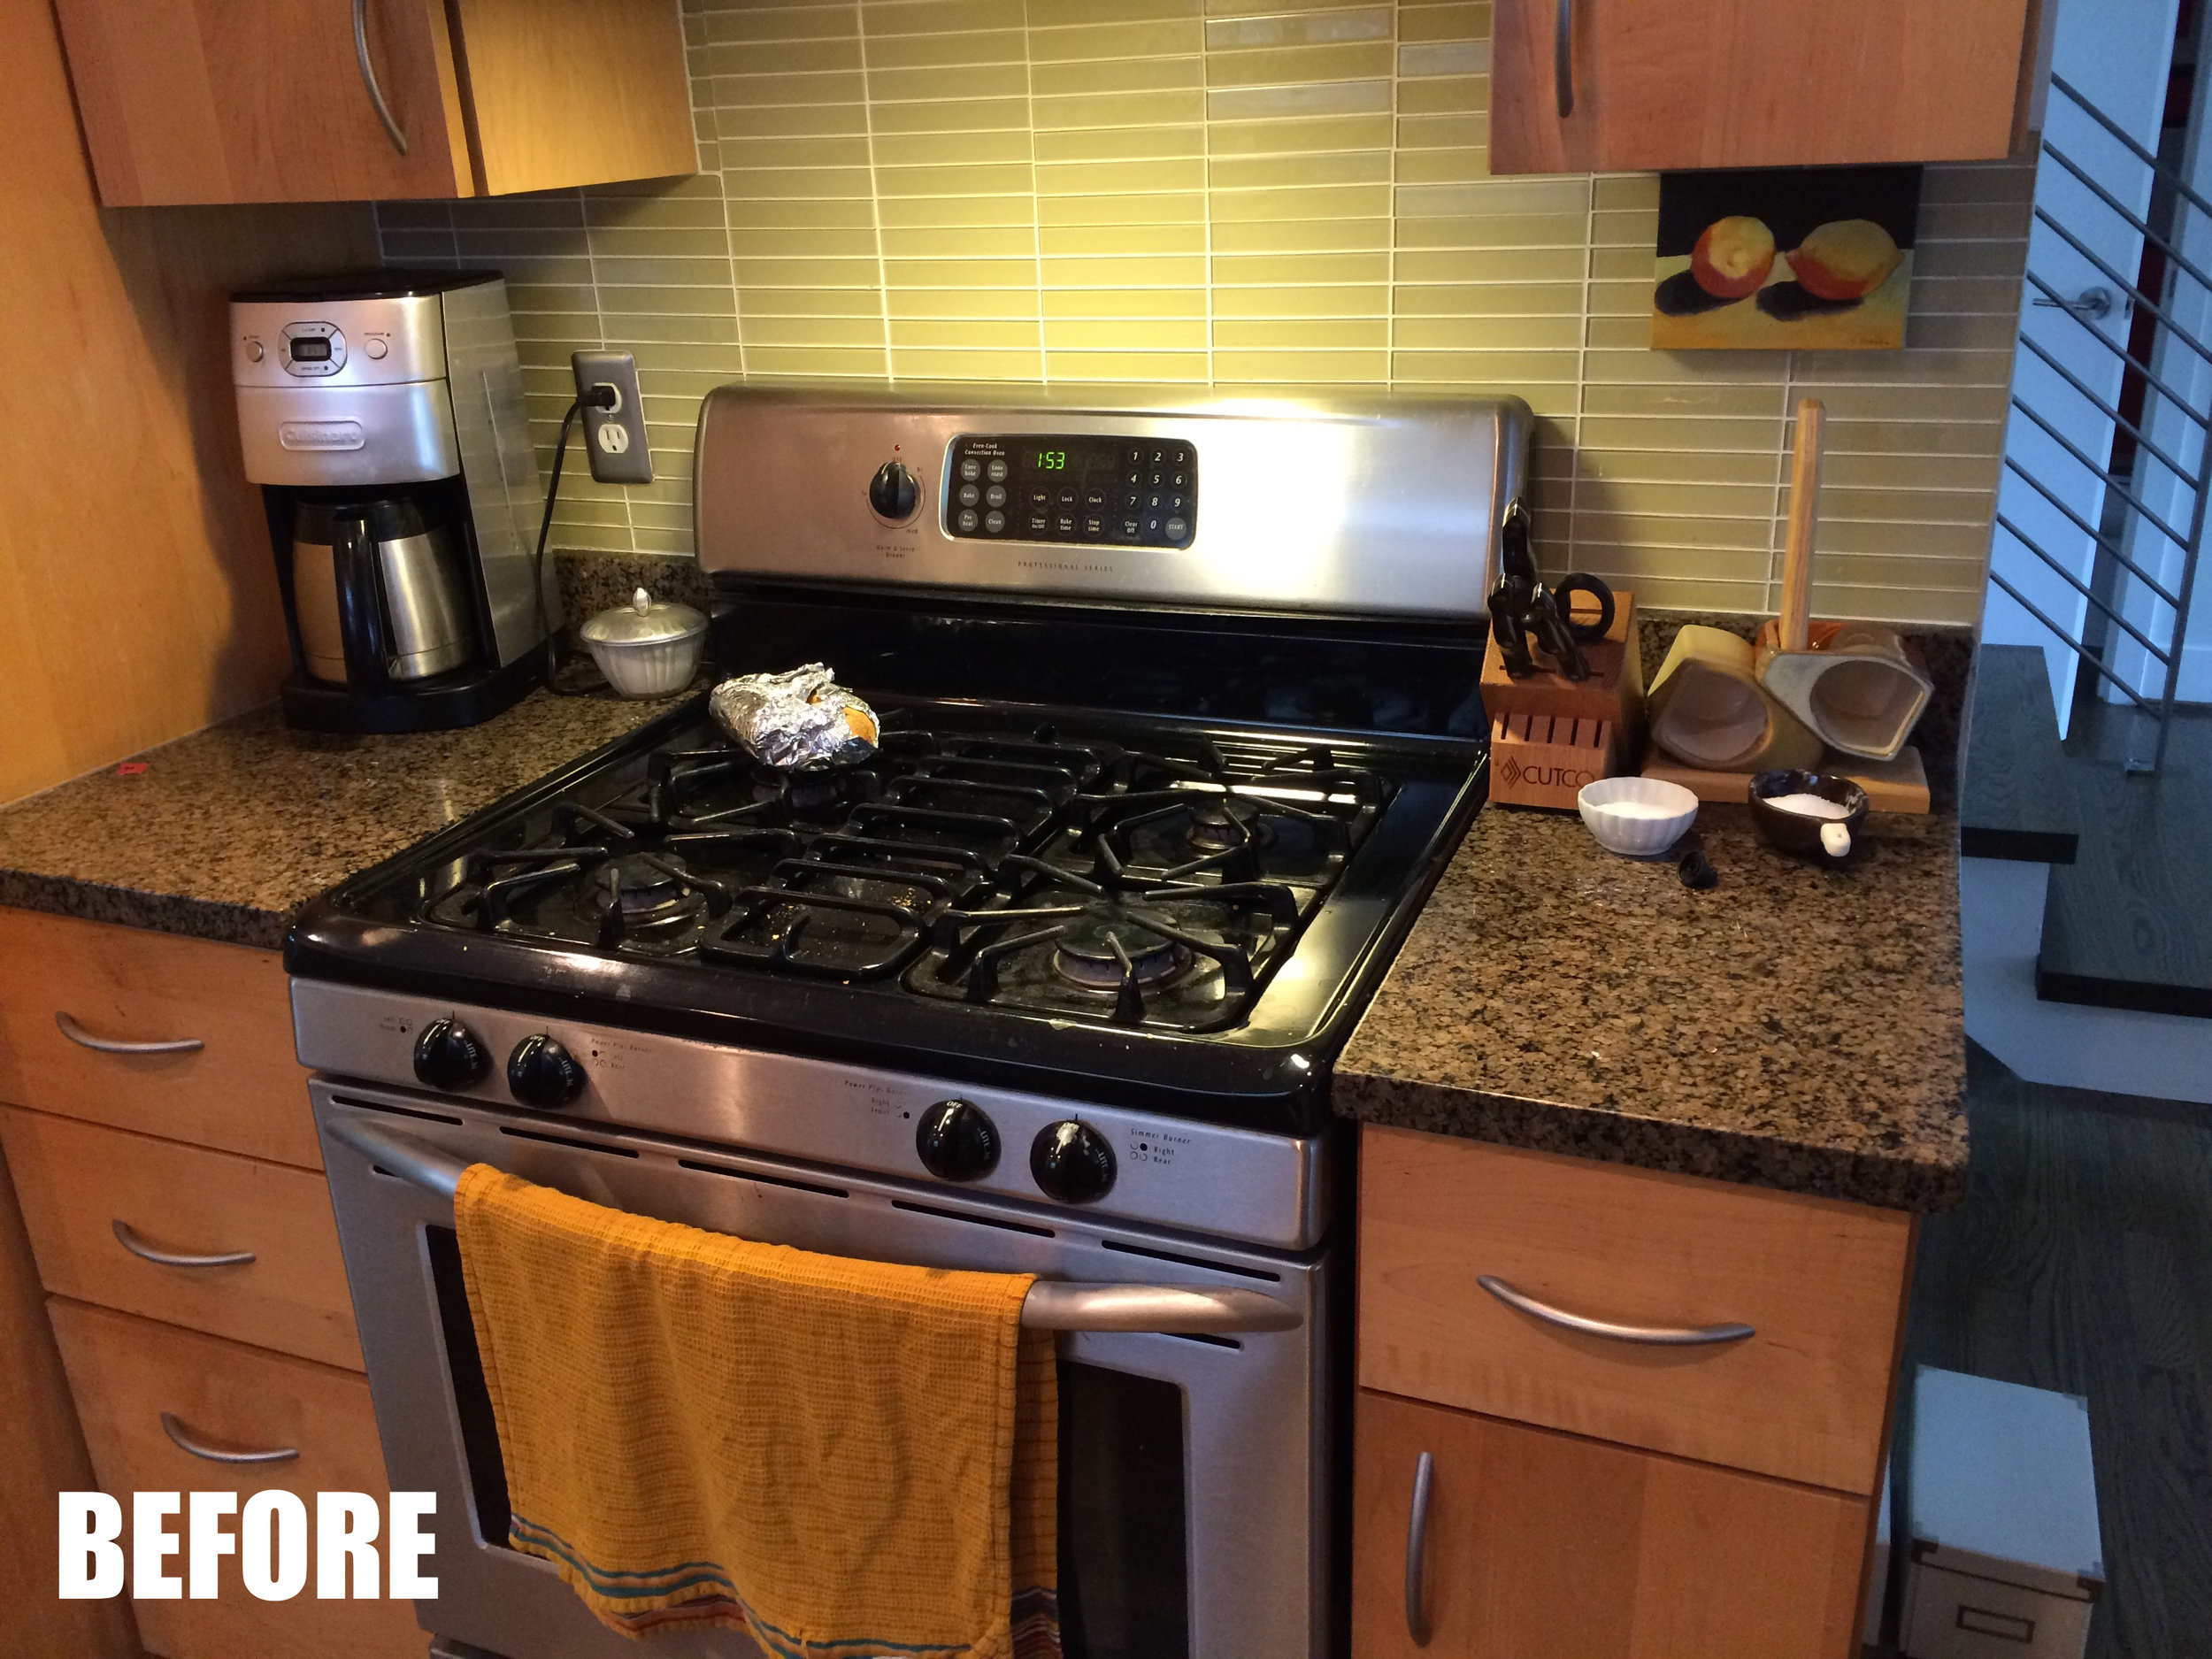
BEFORE AND AFTER
Kitchen Update
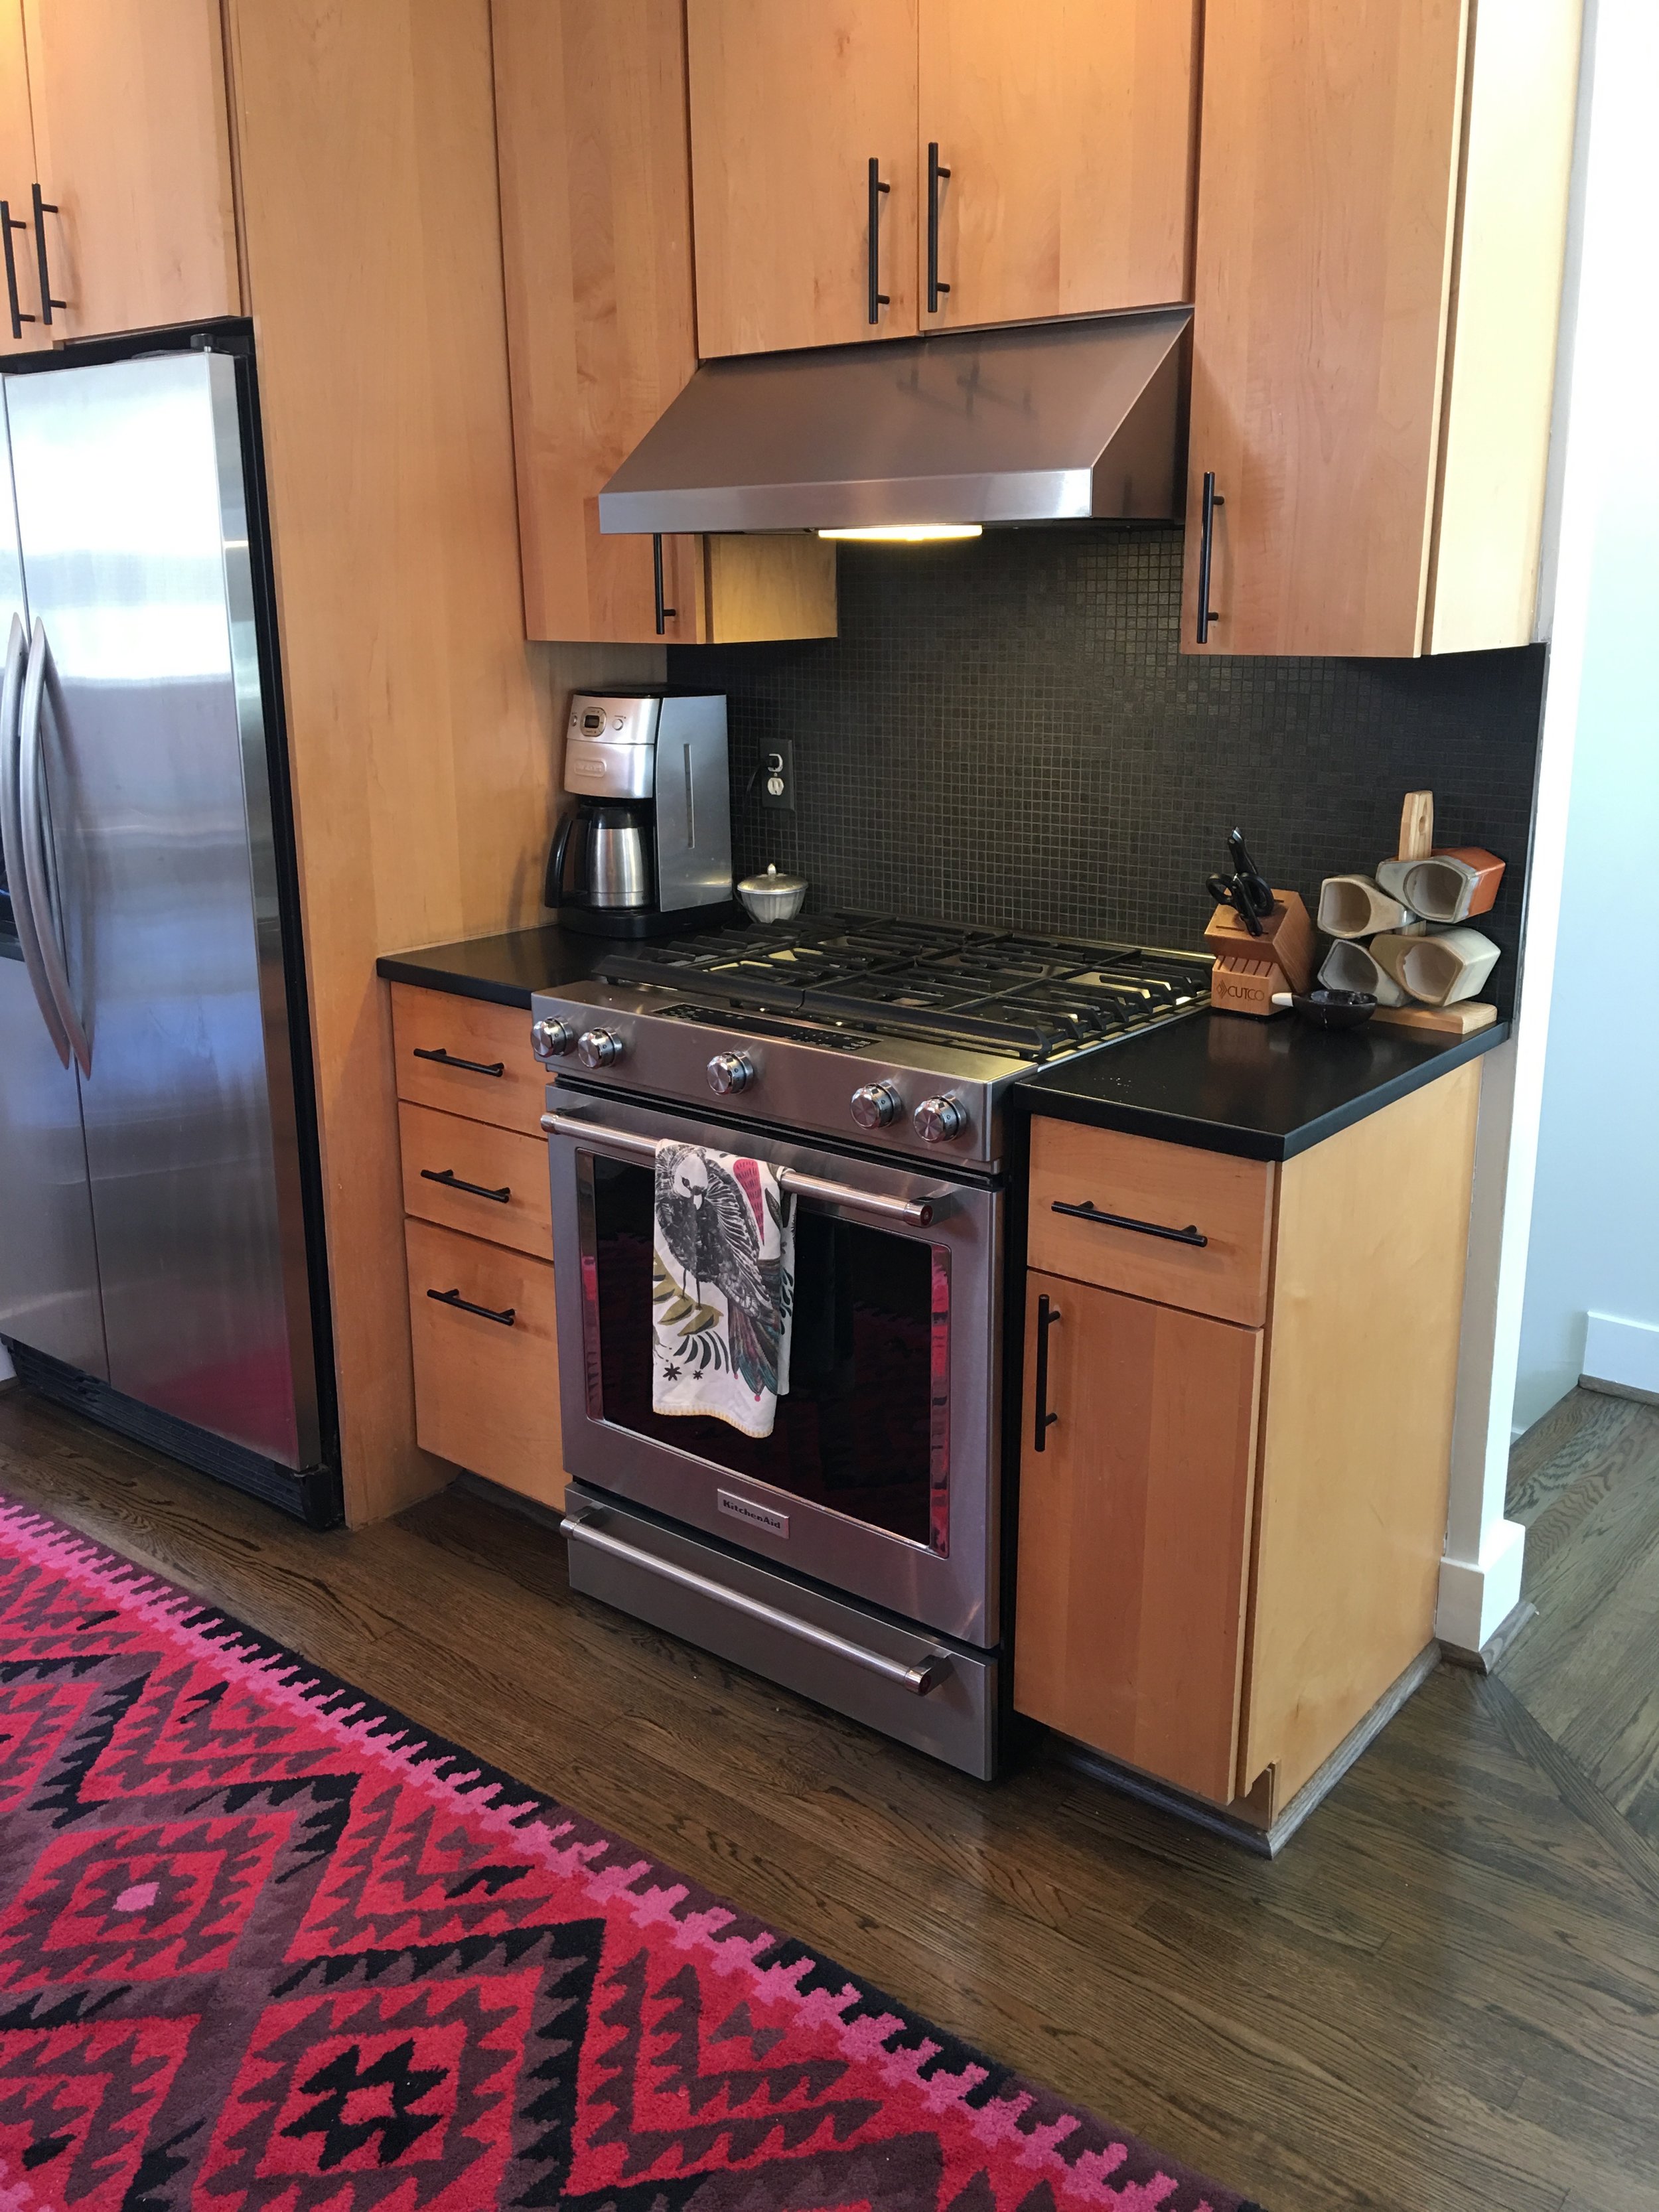
I was tired of my existing backsplash and countertops but when the range started to go bad I went ahead with other cosmetic updates. It is amazing how a few changes make all the difference. For this kitchen update, I changed the countertops, backsplash, hardware and installed a new range.
Honed absolute black countertops, textured black mosaic backsplash and oil rubbed hardware took my bland kitchen to a modern space.


BEFORE AND AFTER
Teen Bedroom Makeover
This teen client wanted a bedroom makeover. With a few inspiration photos from the latest RH Teen, this lovely space was created. I think it is feminine and sophisticated and a spaces she will love for years to come.


BEFORE
My client knew she wanted to use the pale gray RH bedding which helped select the colors for the room. I am crazy about a C2 paint I choose for my own daughter's room, Svelt C2-867. The pale blush was use as the overall wall color. Benjamin Moore's Intense White OC-51 was painted on the vaulted side walls and Love Always 876 for ceiling color.

This unique dresser is a family heirloom but the dark wood finish dated the room. I had the dresser painted a warm gray and added a lighter accent gray to coordinate with the marble top and make the handles pop. The paint really brightened and updated this lovey cherished piece. It turned out great.


BEFORE AND AFTER
BATHROOM MAKEOVER
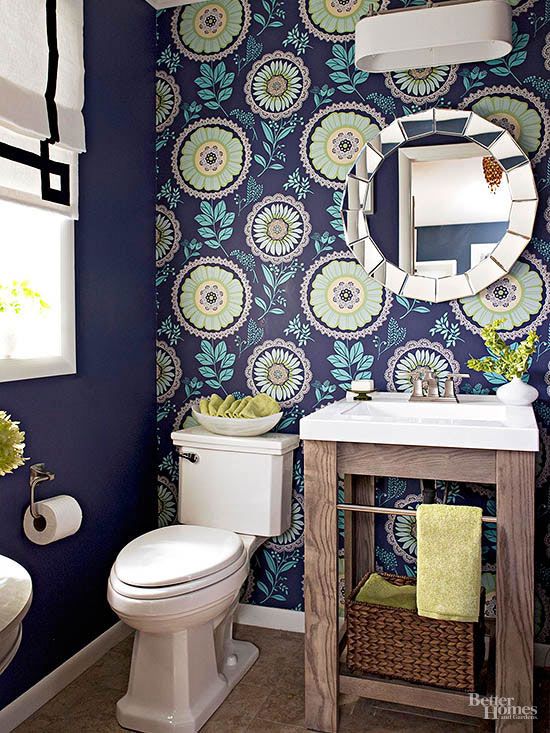
A small basement bathroom gets a playful makeover. The homeowner wanted to keep tiled walls and floor and most of the larger elements of the bathroom. A new white vanity, modern faucet, seeded glass vanity lighting and round minimal mirror give the room a fresh look. The interesting Thibaut wallpaper becomes the focal point of the bathroom.
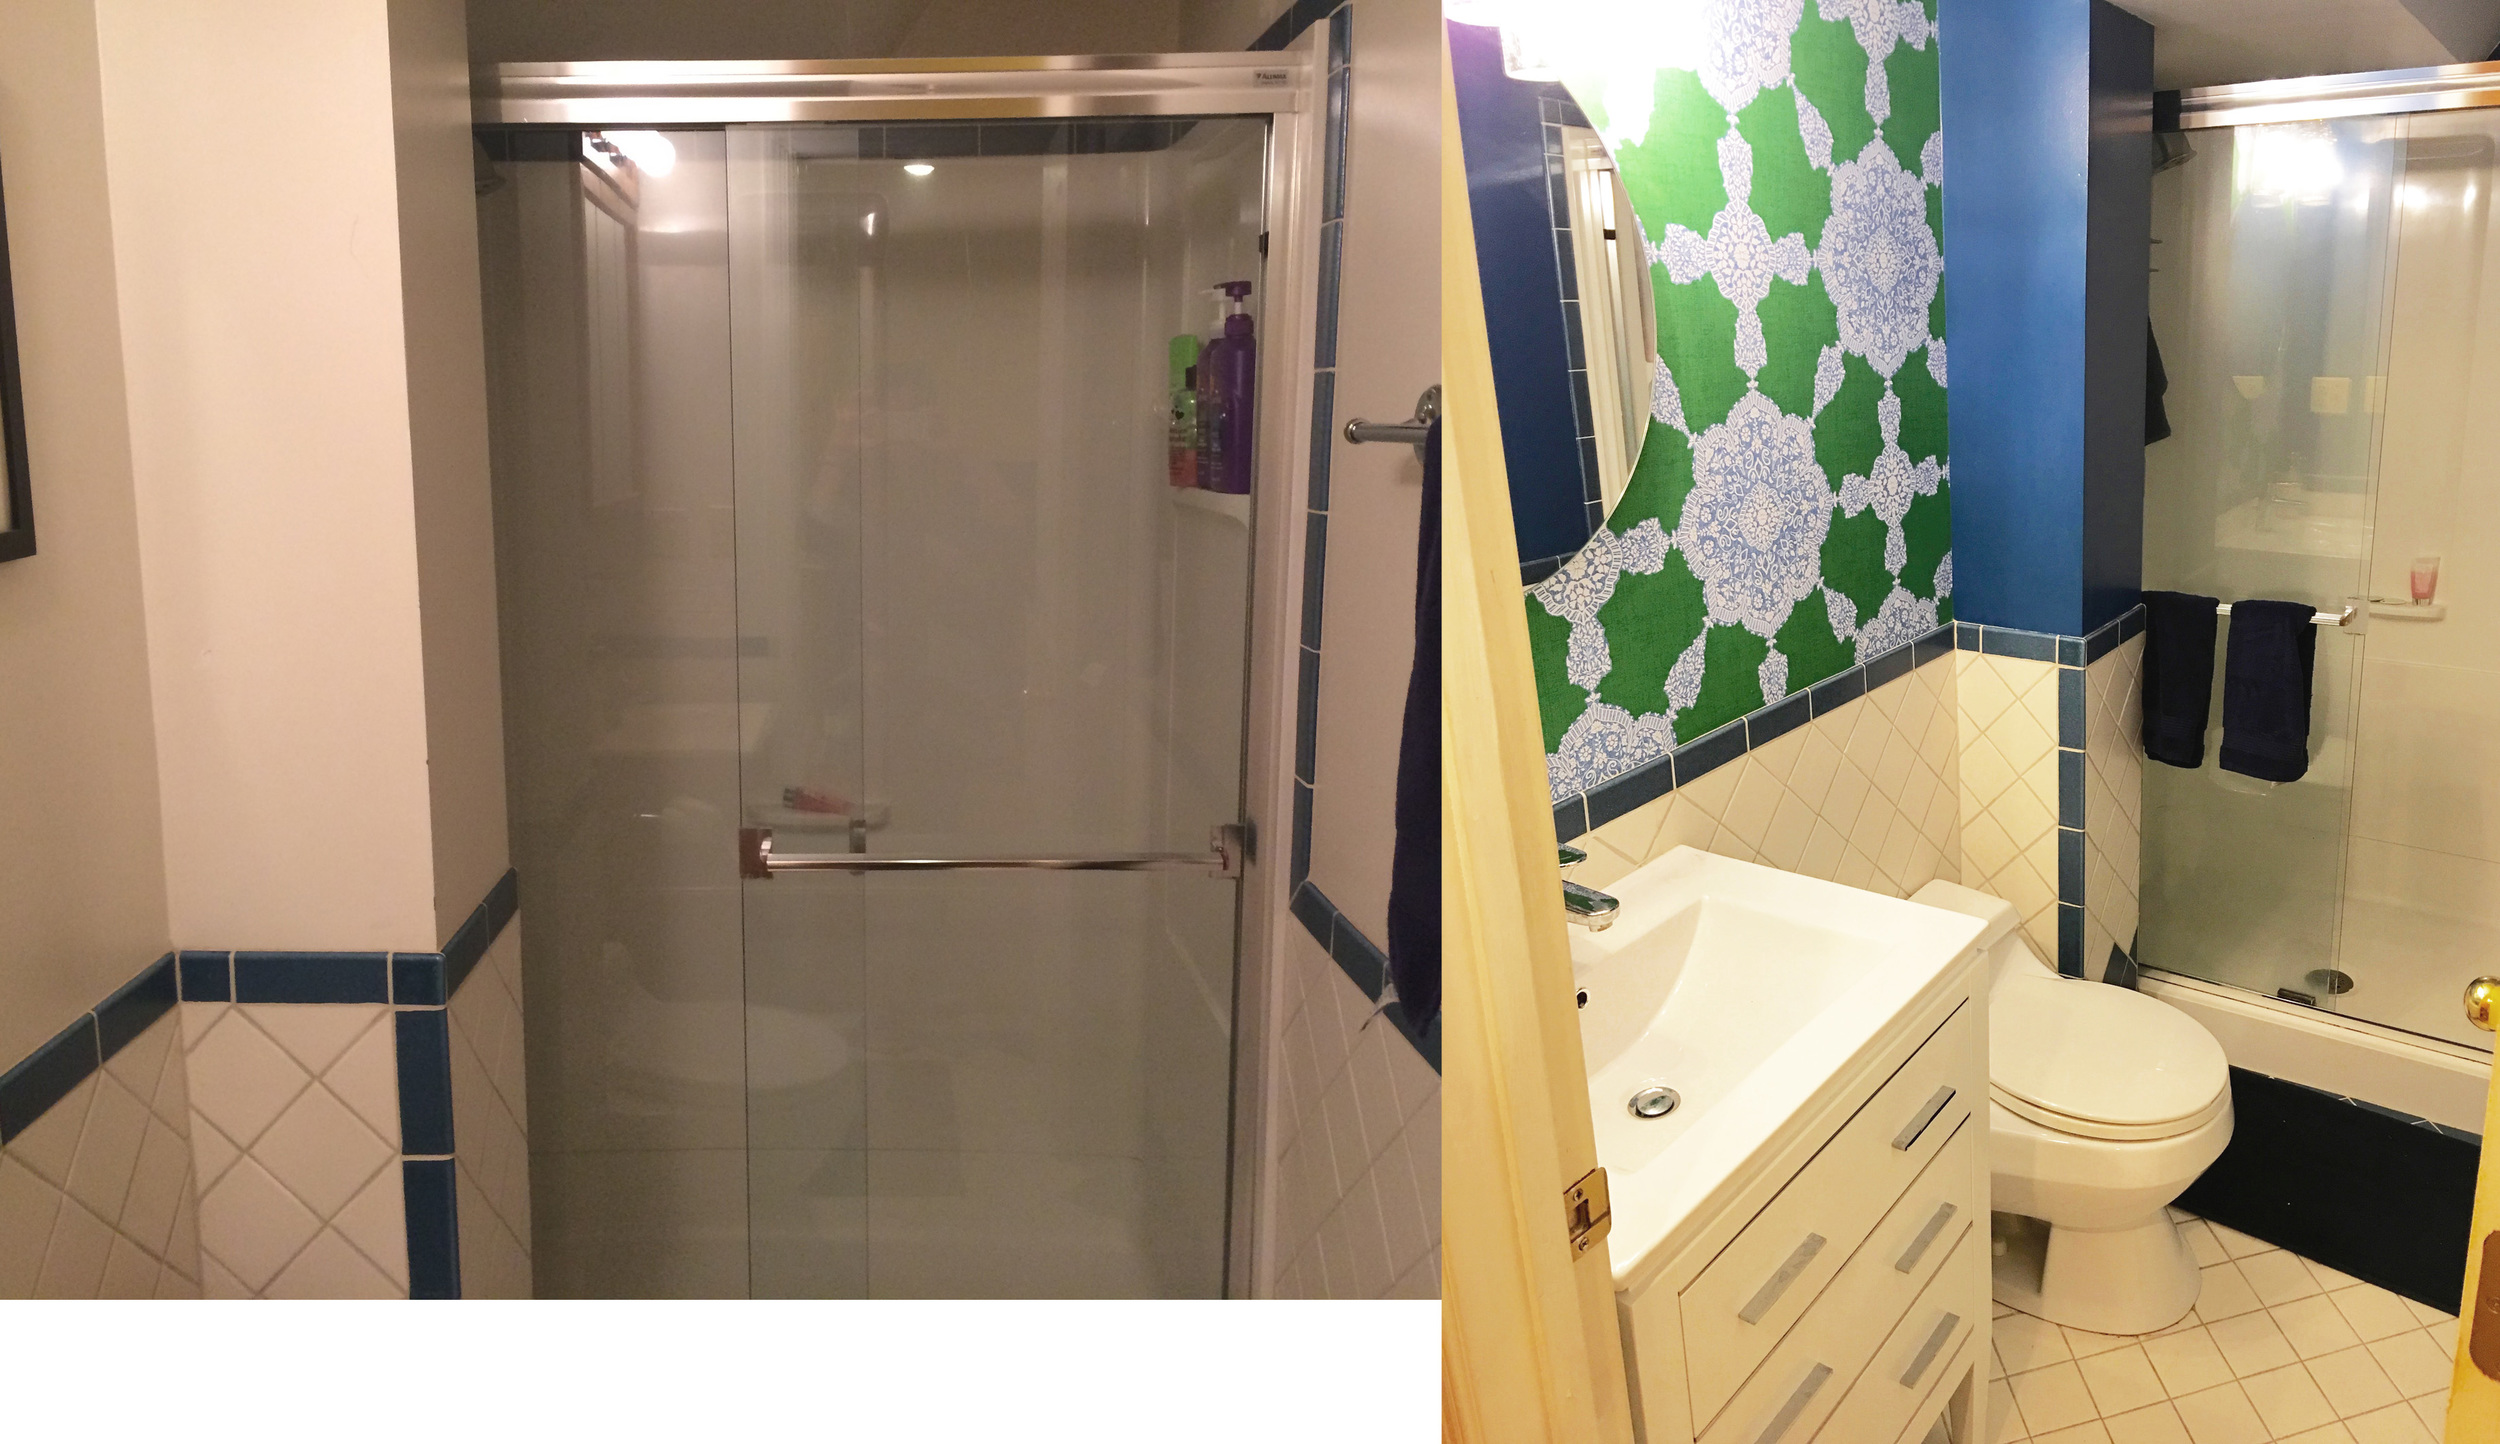
I started by creating a few designs. The first concept is classic with a gorgeous Thibaut wallpaper, wood vanity, coordinating mirror, and great lighting. Second concept, and winner, I call the preppy look. Again, pretty Thibautwallpaper, white wood vanity and minimal mirror. The third concept is modern and minimal. Blue paint, dark wood vanity and a strip light. Lastly, the boho look. Cool wallpaper, vanity, mirror and lighting.
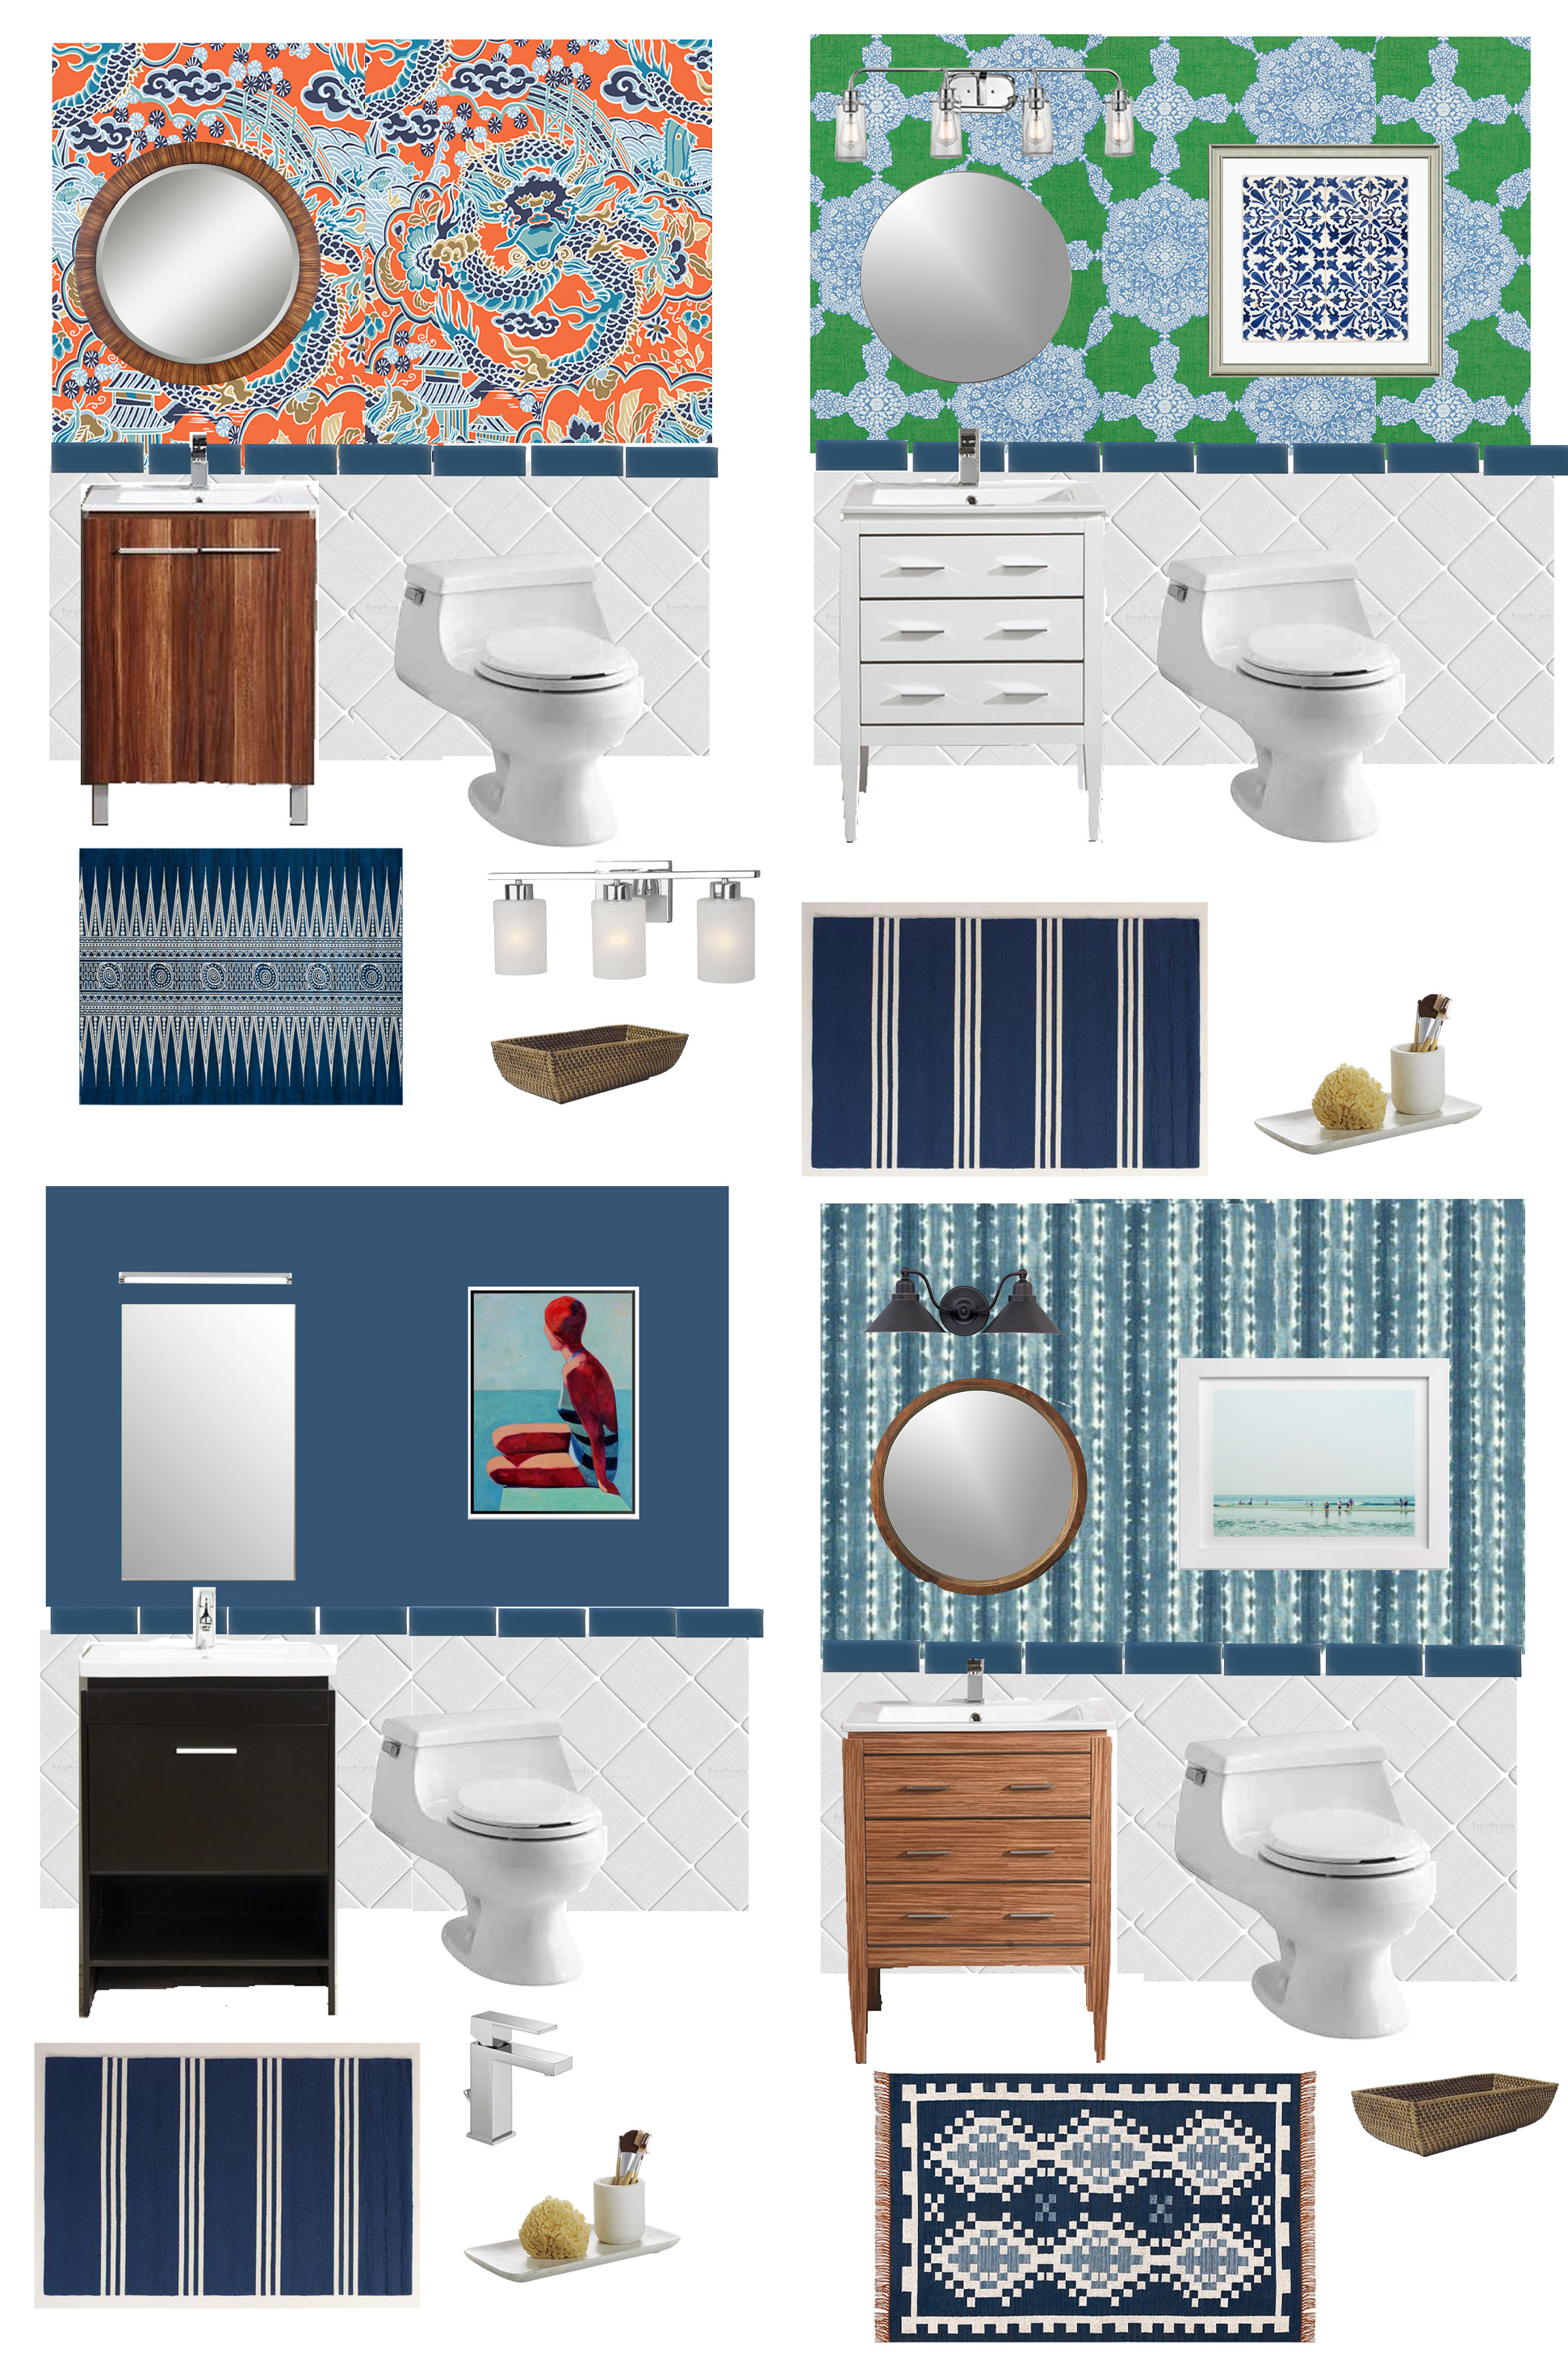
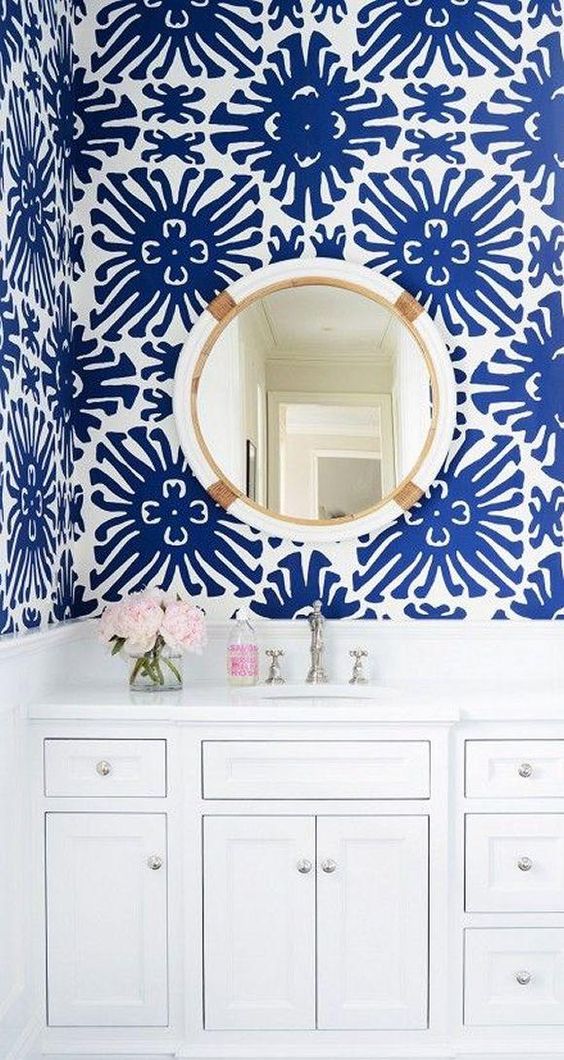
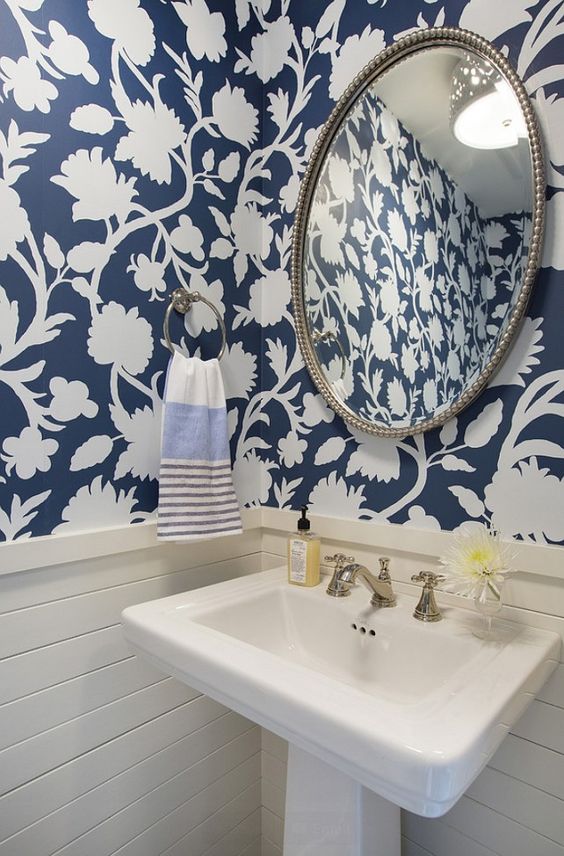
INSPIRATION
BEFORE AND AFTER
WINGBACK CHAIR MAKEOVER
Don't get rid of an antique wingback chair before you consider reupholstering it! Give new life to your old family heirlooms and make them fabulous. Check out this transformation.
This update is fresh and light. Originally, the idea was to whitewash the wood frame but the wood was too red. The frame would have looked pink so we painted the chair instead.
A Robert Allen fabric was selected for the front of the chair and a coordinating velvet was perfect for the piping and back.

Painted wood frame with shabby chic affect. Now all this chair needs is a lovely lumbar pillow, preferably a Peter Dunham pillow.
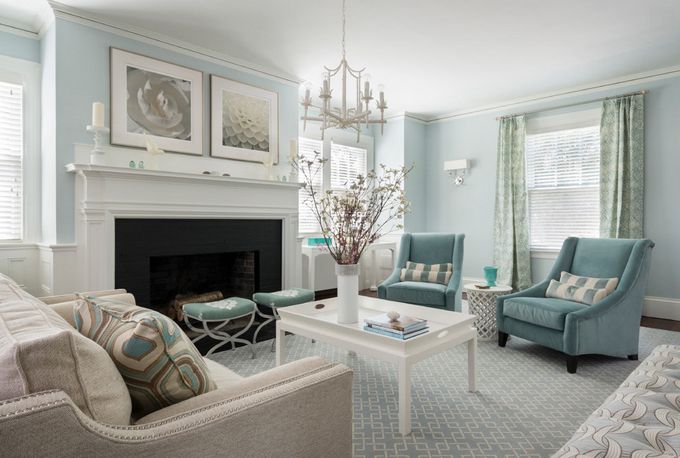
Which is your favorite?
BEFORE AND AFTER
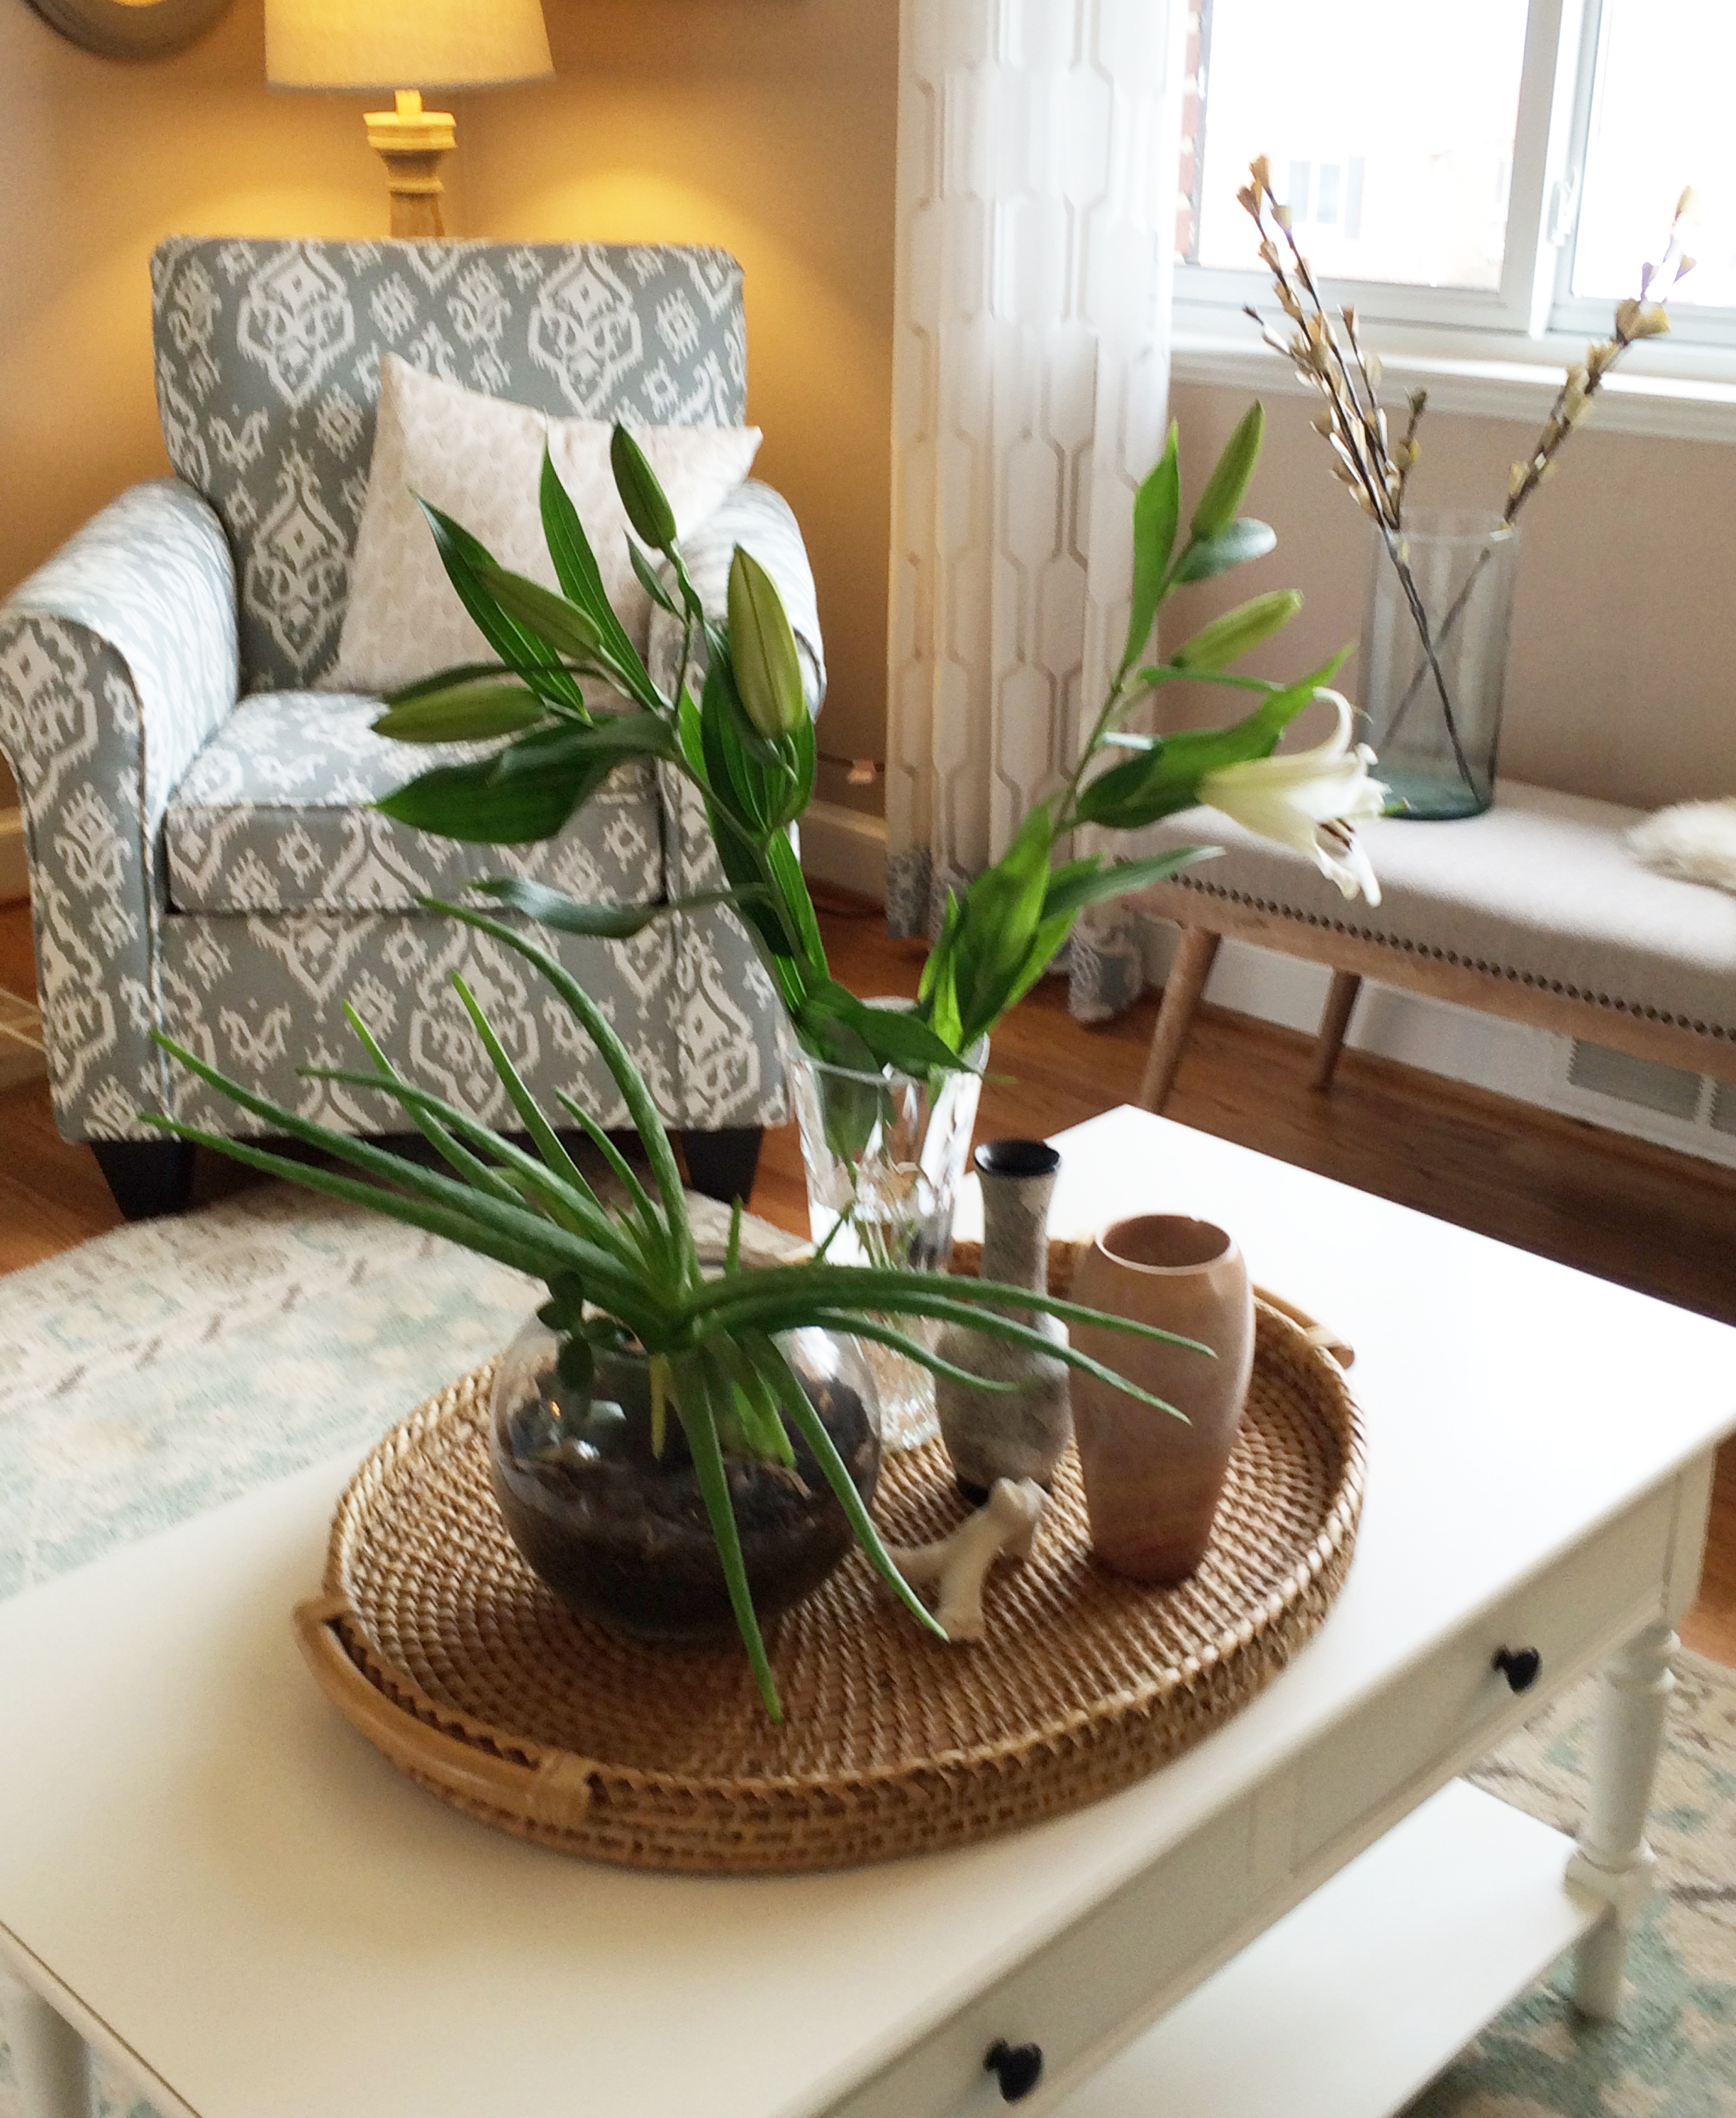
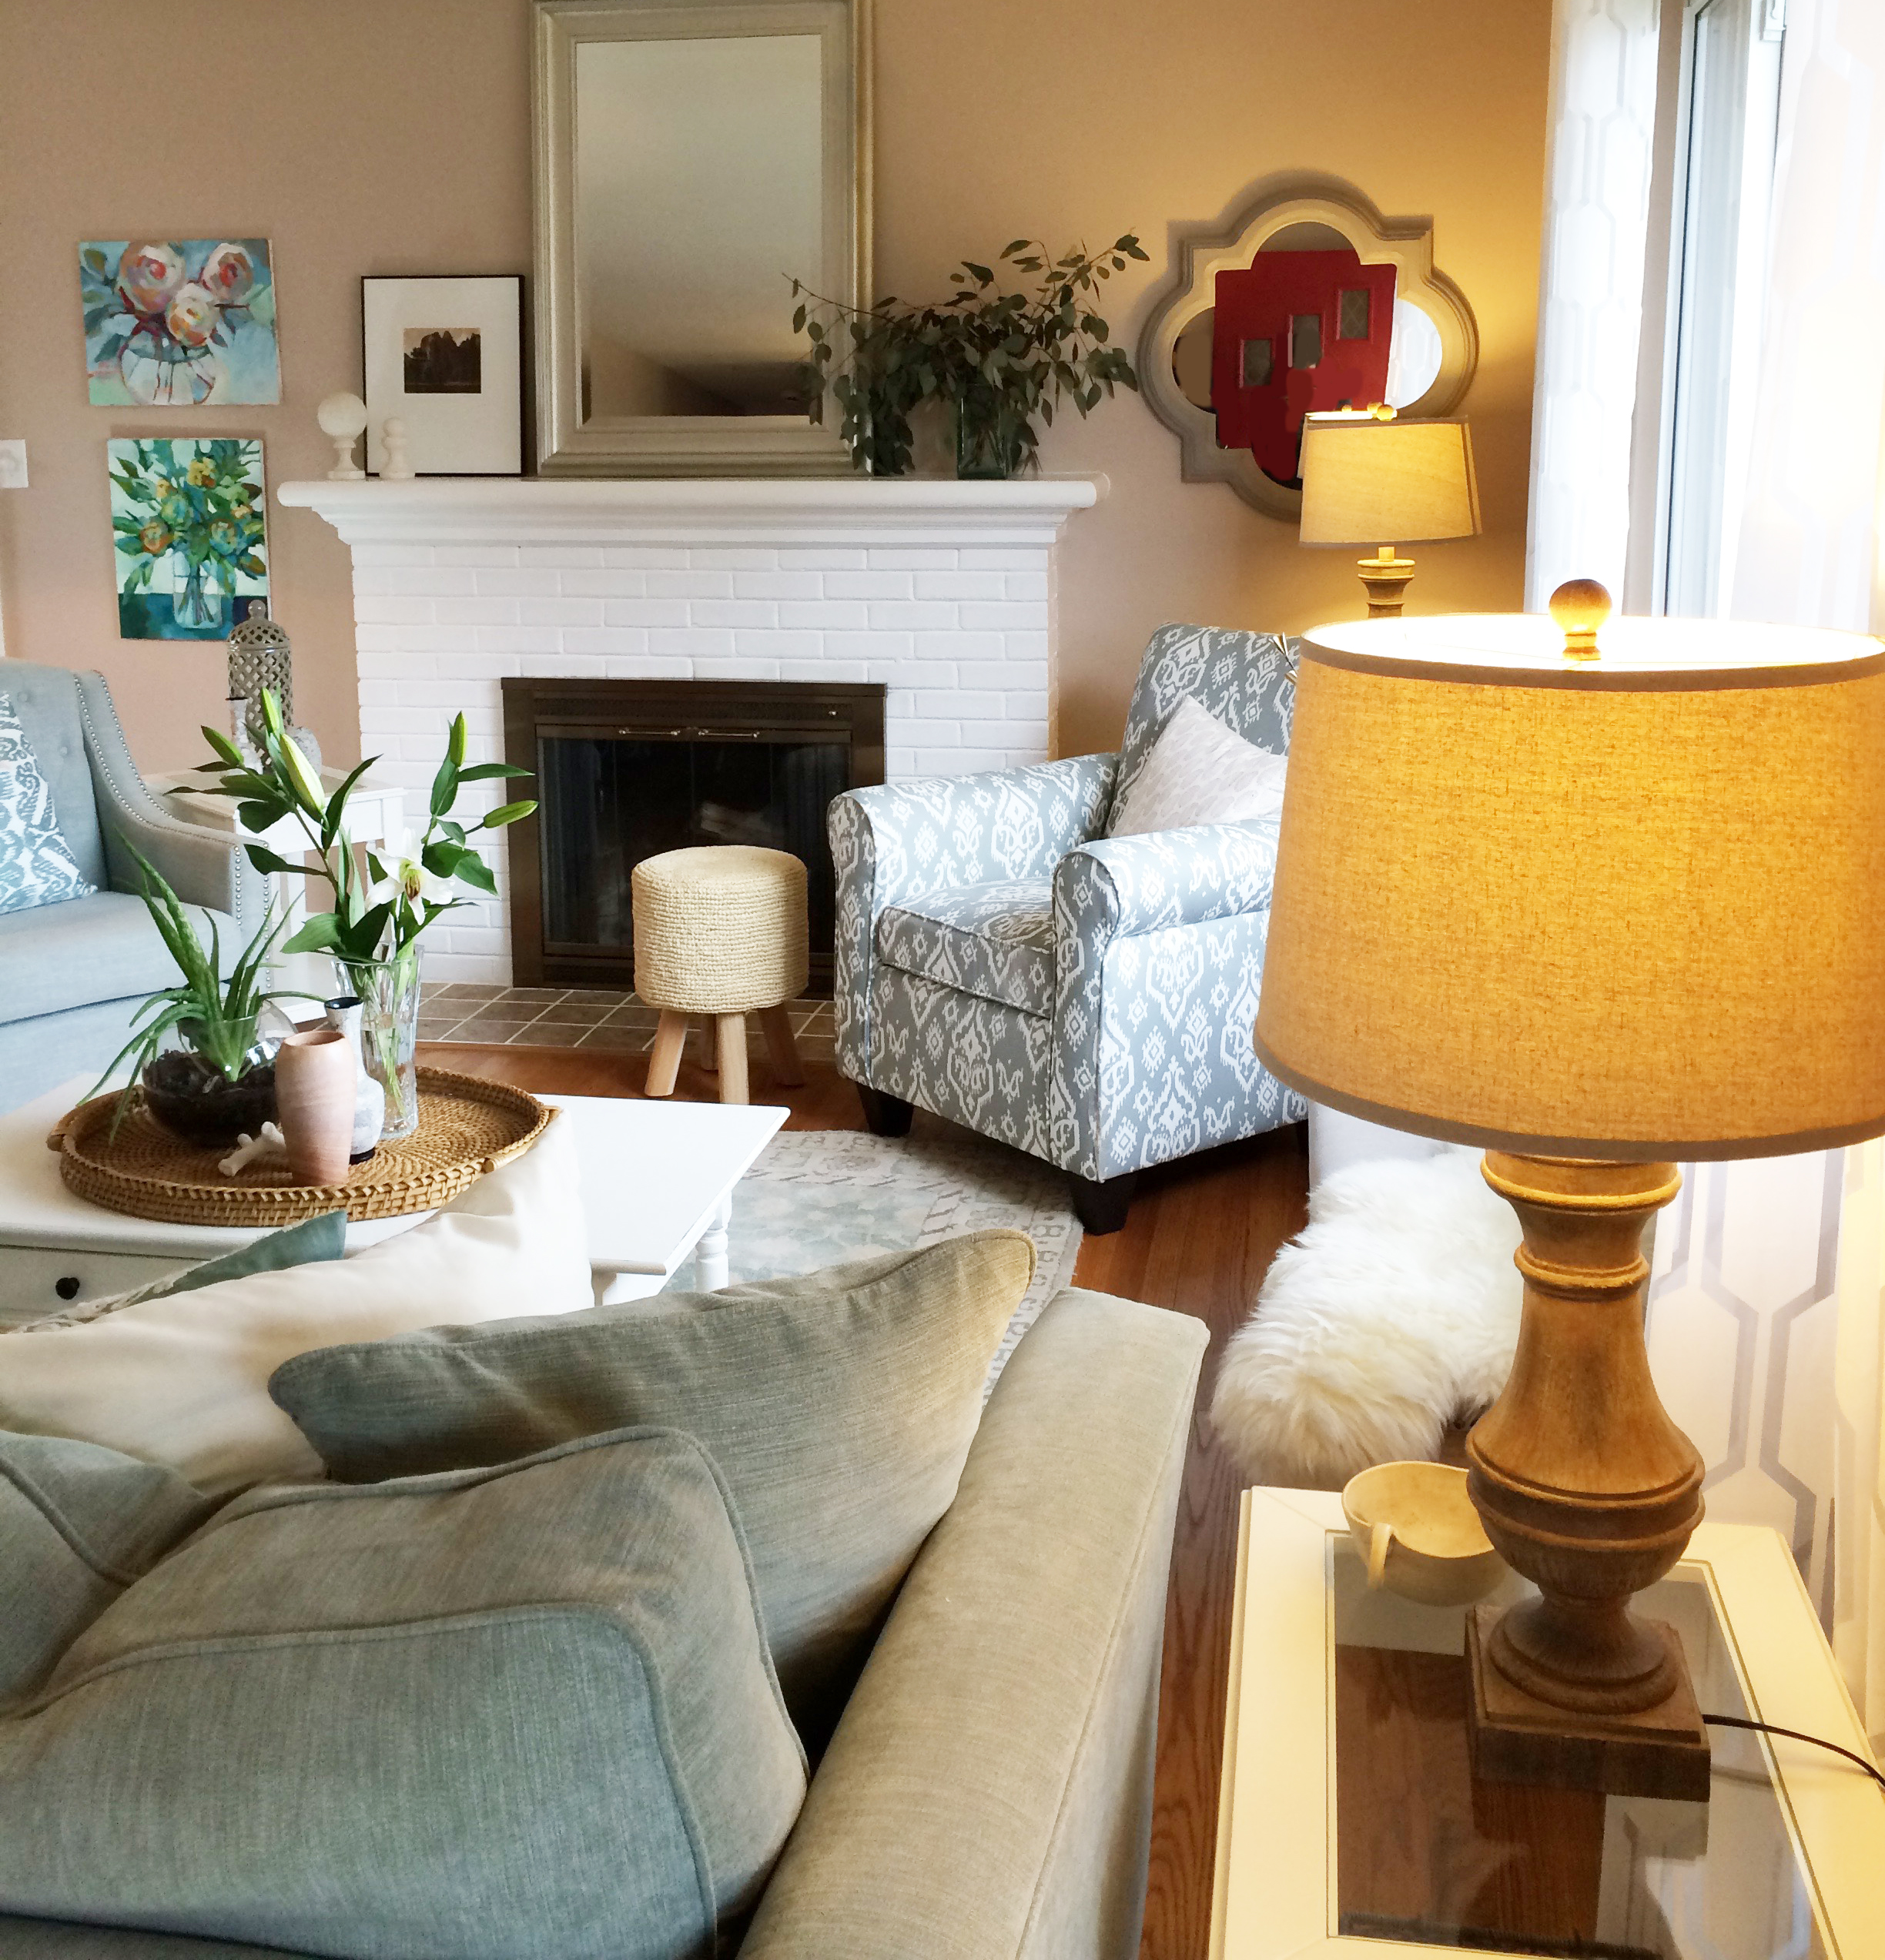
I was asked to update a living room with a limited budget. My friend/client and I discussed color, style and budget. We kept original paint color and went a neutral colors palette. Sea salt, light creamy whites, soft grays—you will never grow tired of them. Neutrals will always be a classic. If the mood strikes and you decide you need some vibrant hues in your life, then you simply add a few inexpensive pillows in a vibrant color, or buy a beautiful bouquet of bright flowers. This living room is one of my first "before and after" projects. Budget was $5000. Check out what you can do with that! BOOM!


The project began with a few inspirational images.....
Here is the living room now!!! Cozy and inviting,

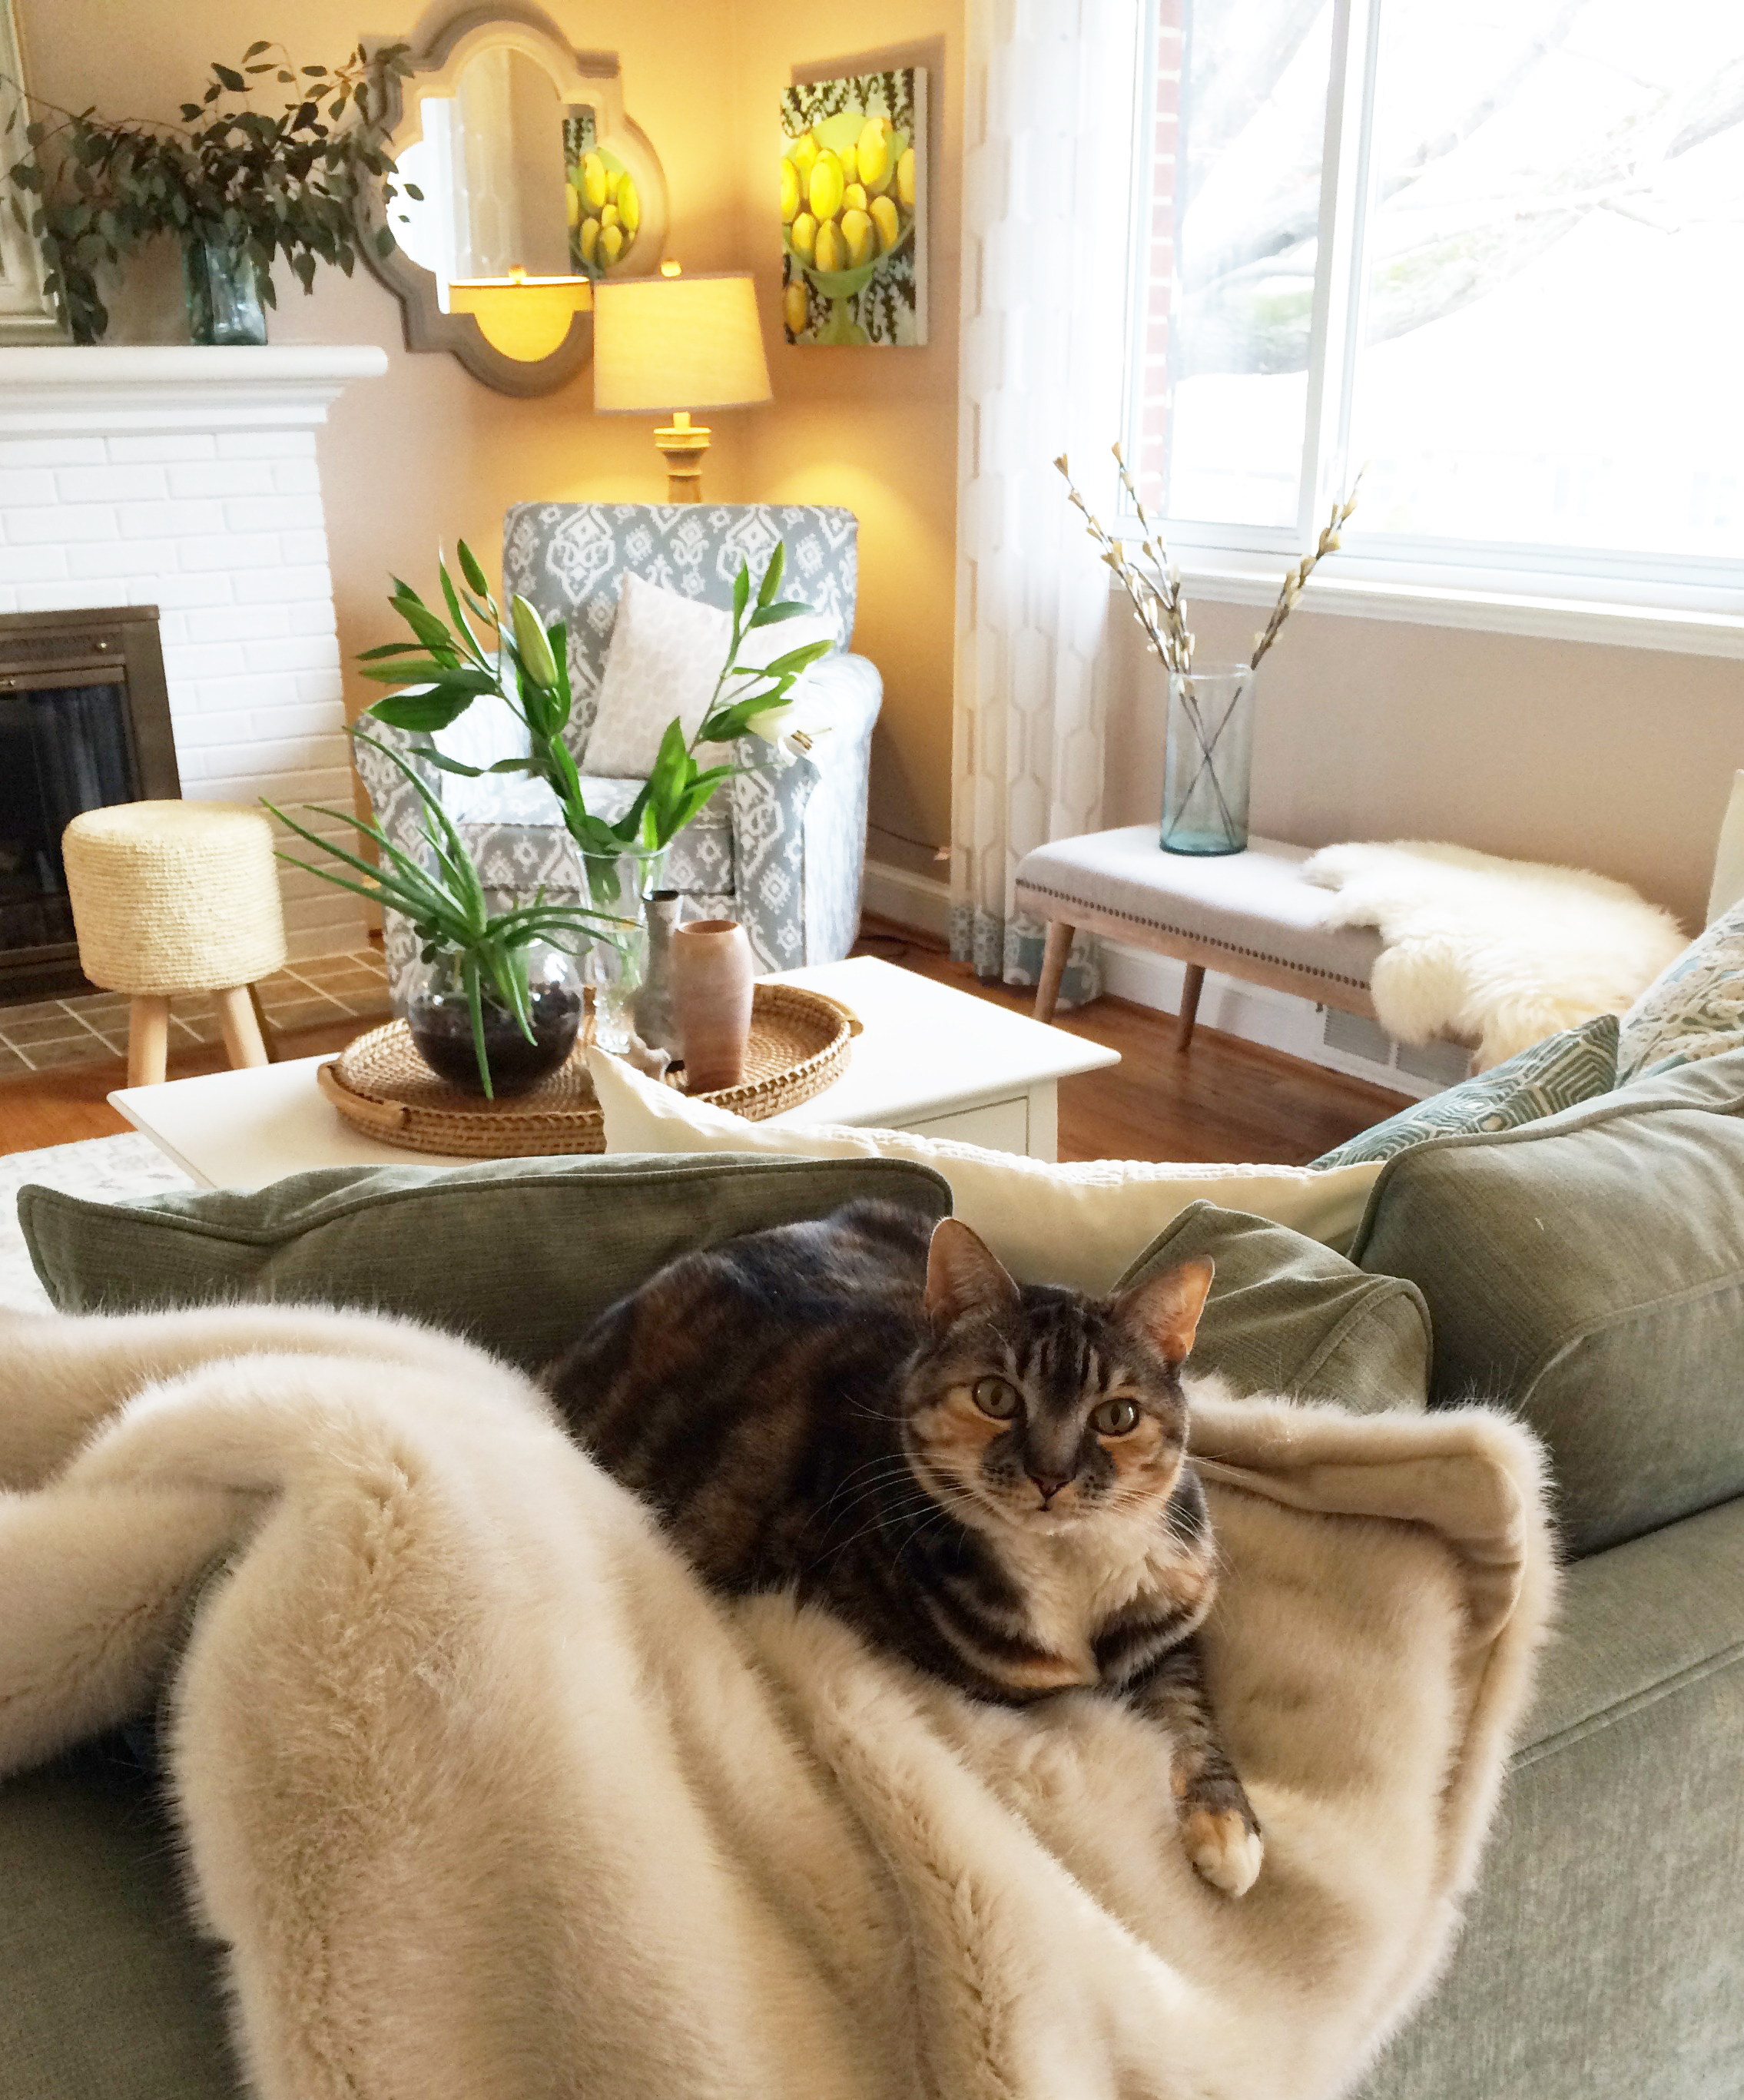
Eva modeling at the photoshoot. meow.